

Project:
Little Crab/personal project
I started this little project as I wanted to learn Cinema 4D. I followed a tutorial which included : •. modeling • deforms • mirroring geometry • splines • fields • wind deformers and others.
Cinema 4D
Motion
Year: 2026
Step by Step
Modeling Objects with Primitives - I started with primitive objects which are the basics of 3D building blocks, and learnt their properties and how to use them to build my character.
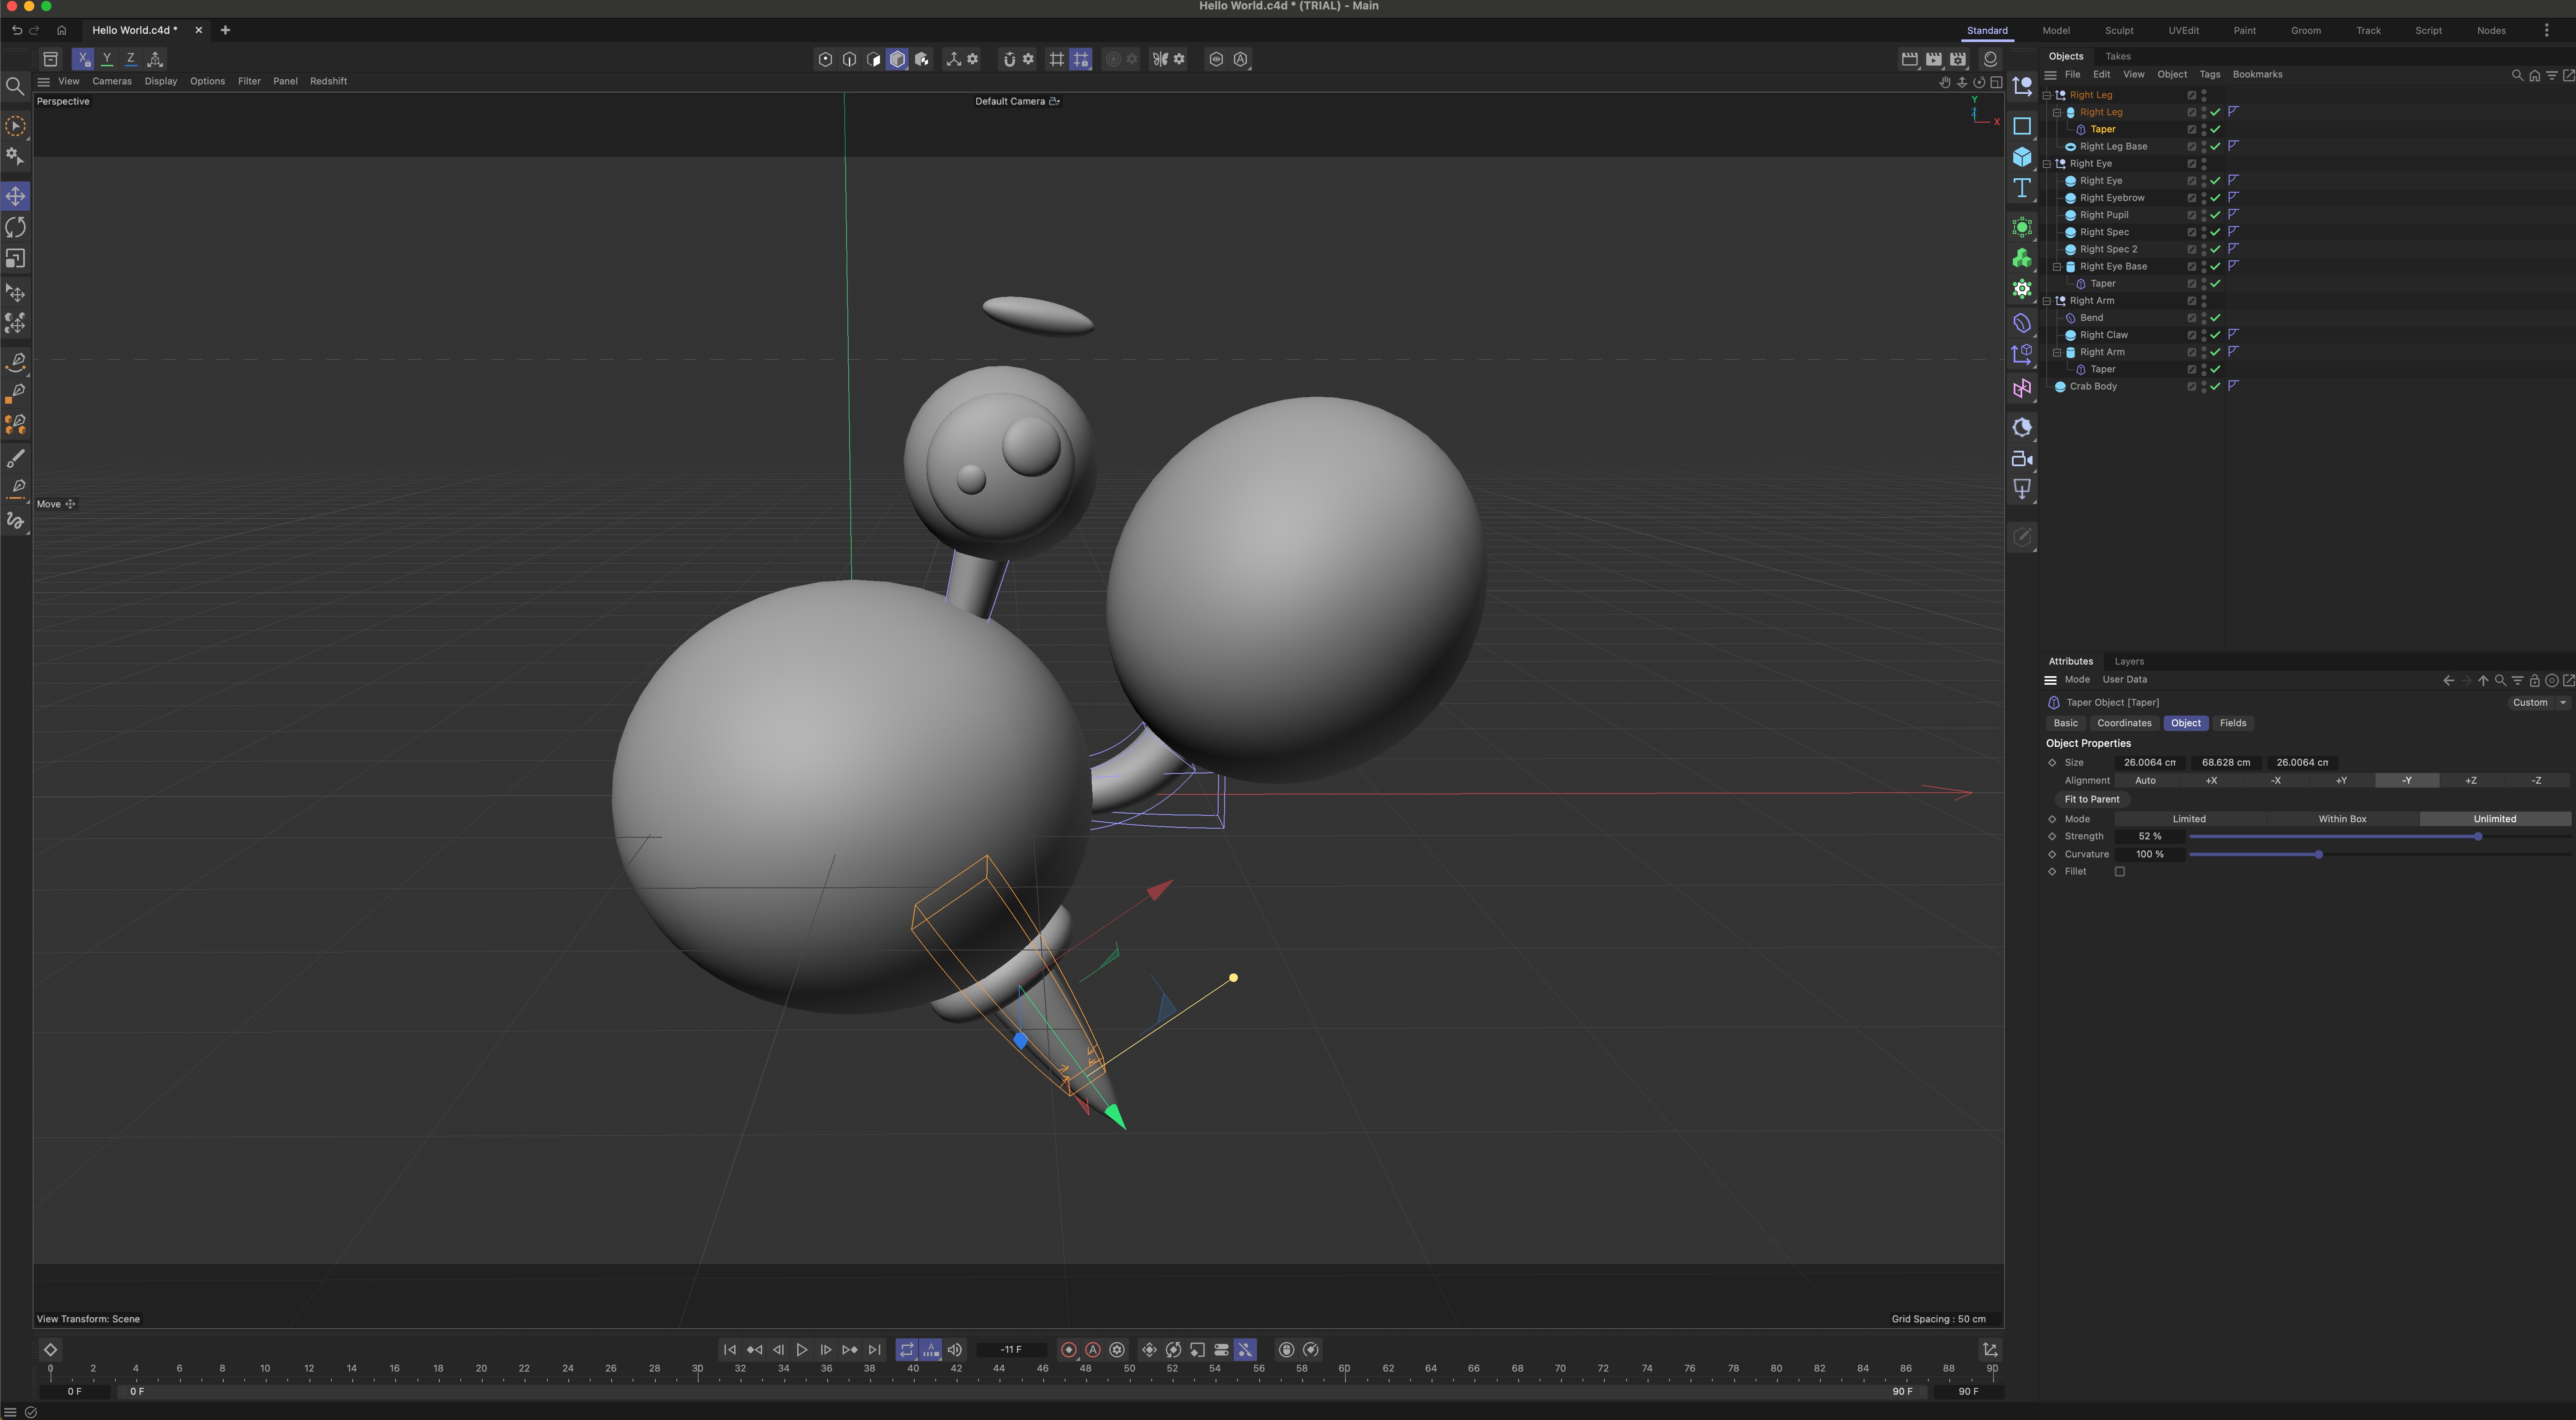
Deforms - I used the Deformers which allowed me to manipulate existing geometry, like using a Bend Deformer to bend the crab's arms and legs so they don’t look so rigid.
Deforms - I used the Deformers which allowed me to manipulate existing geometry, like using a Bend Deformer to bend the crab's arms and legs so they don’t look so rigid.
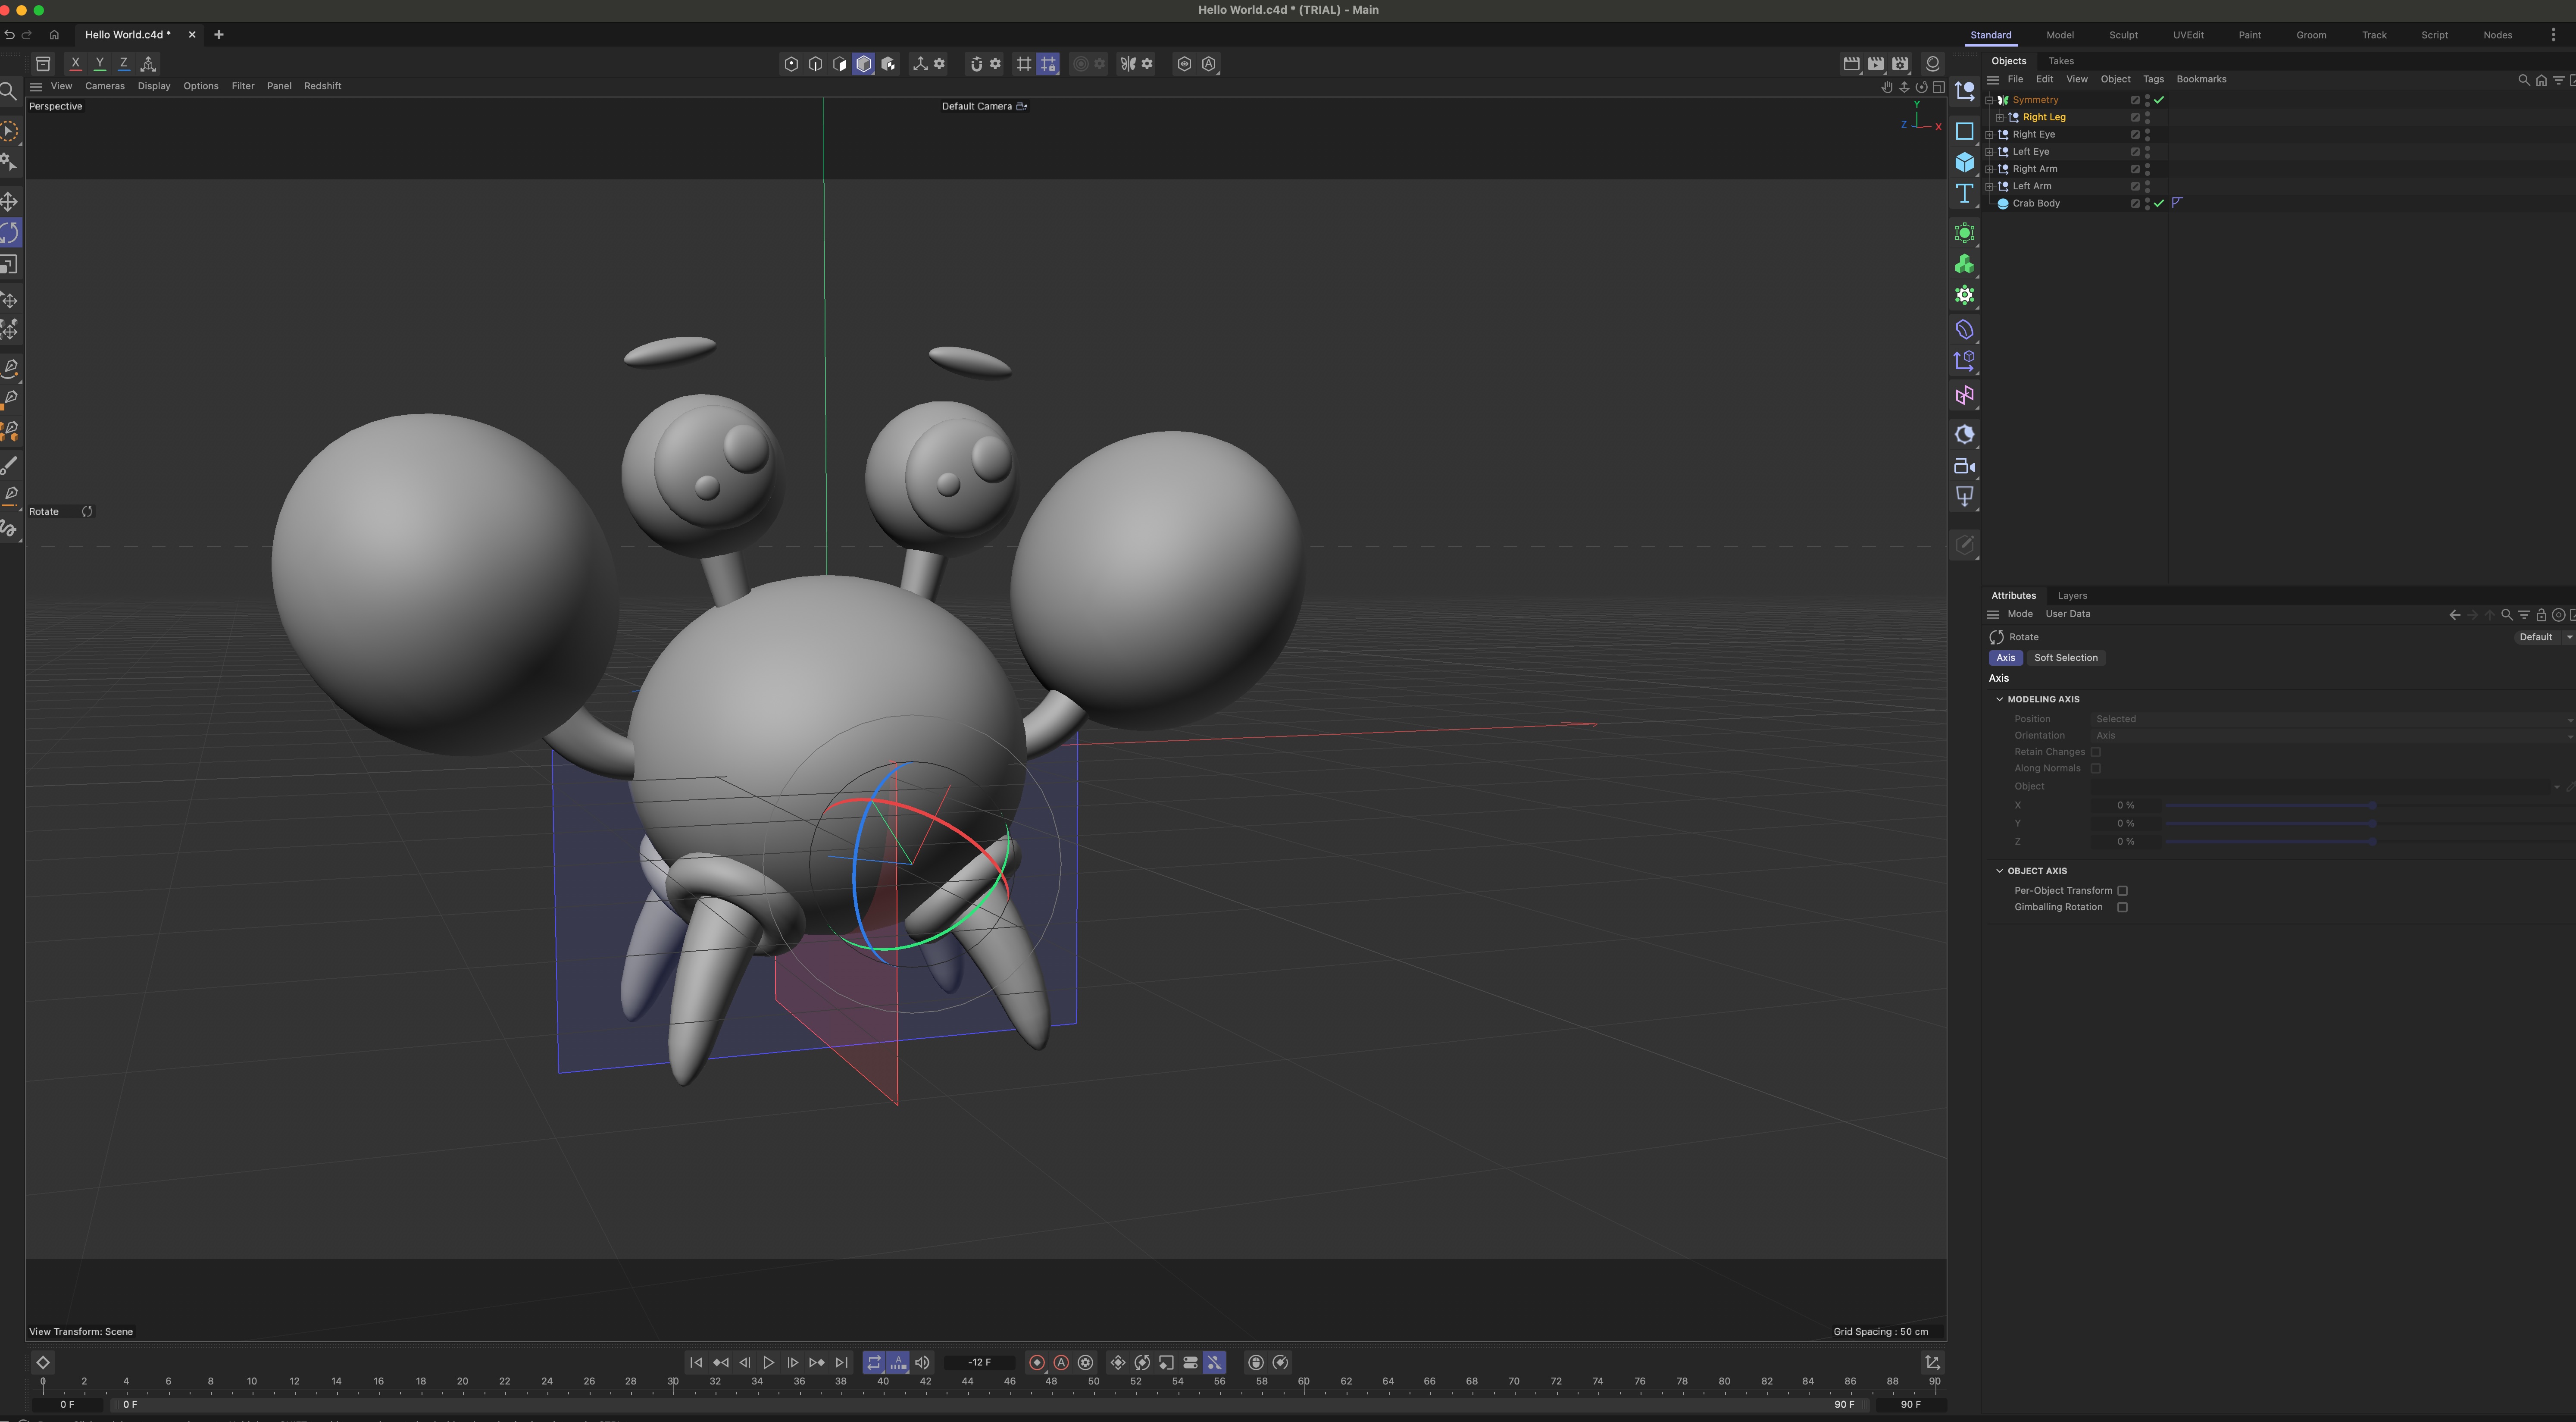
Mirroring Geometry - once I had the right part of my chracter built, I mirrored it. I also used the Naming tool so I could easily reflect which side of the character the limbs are associated with.
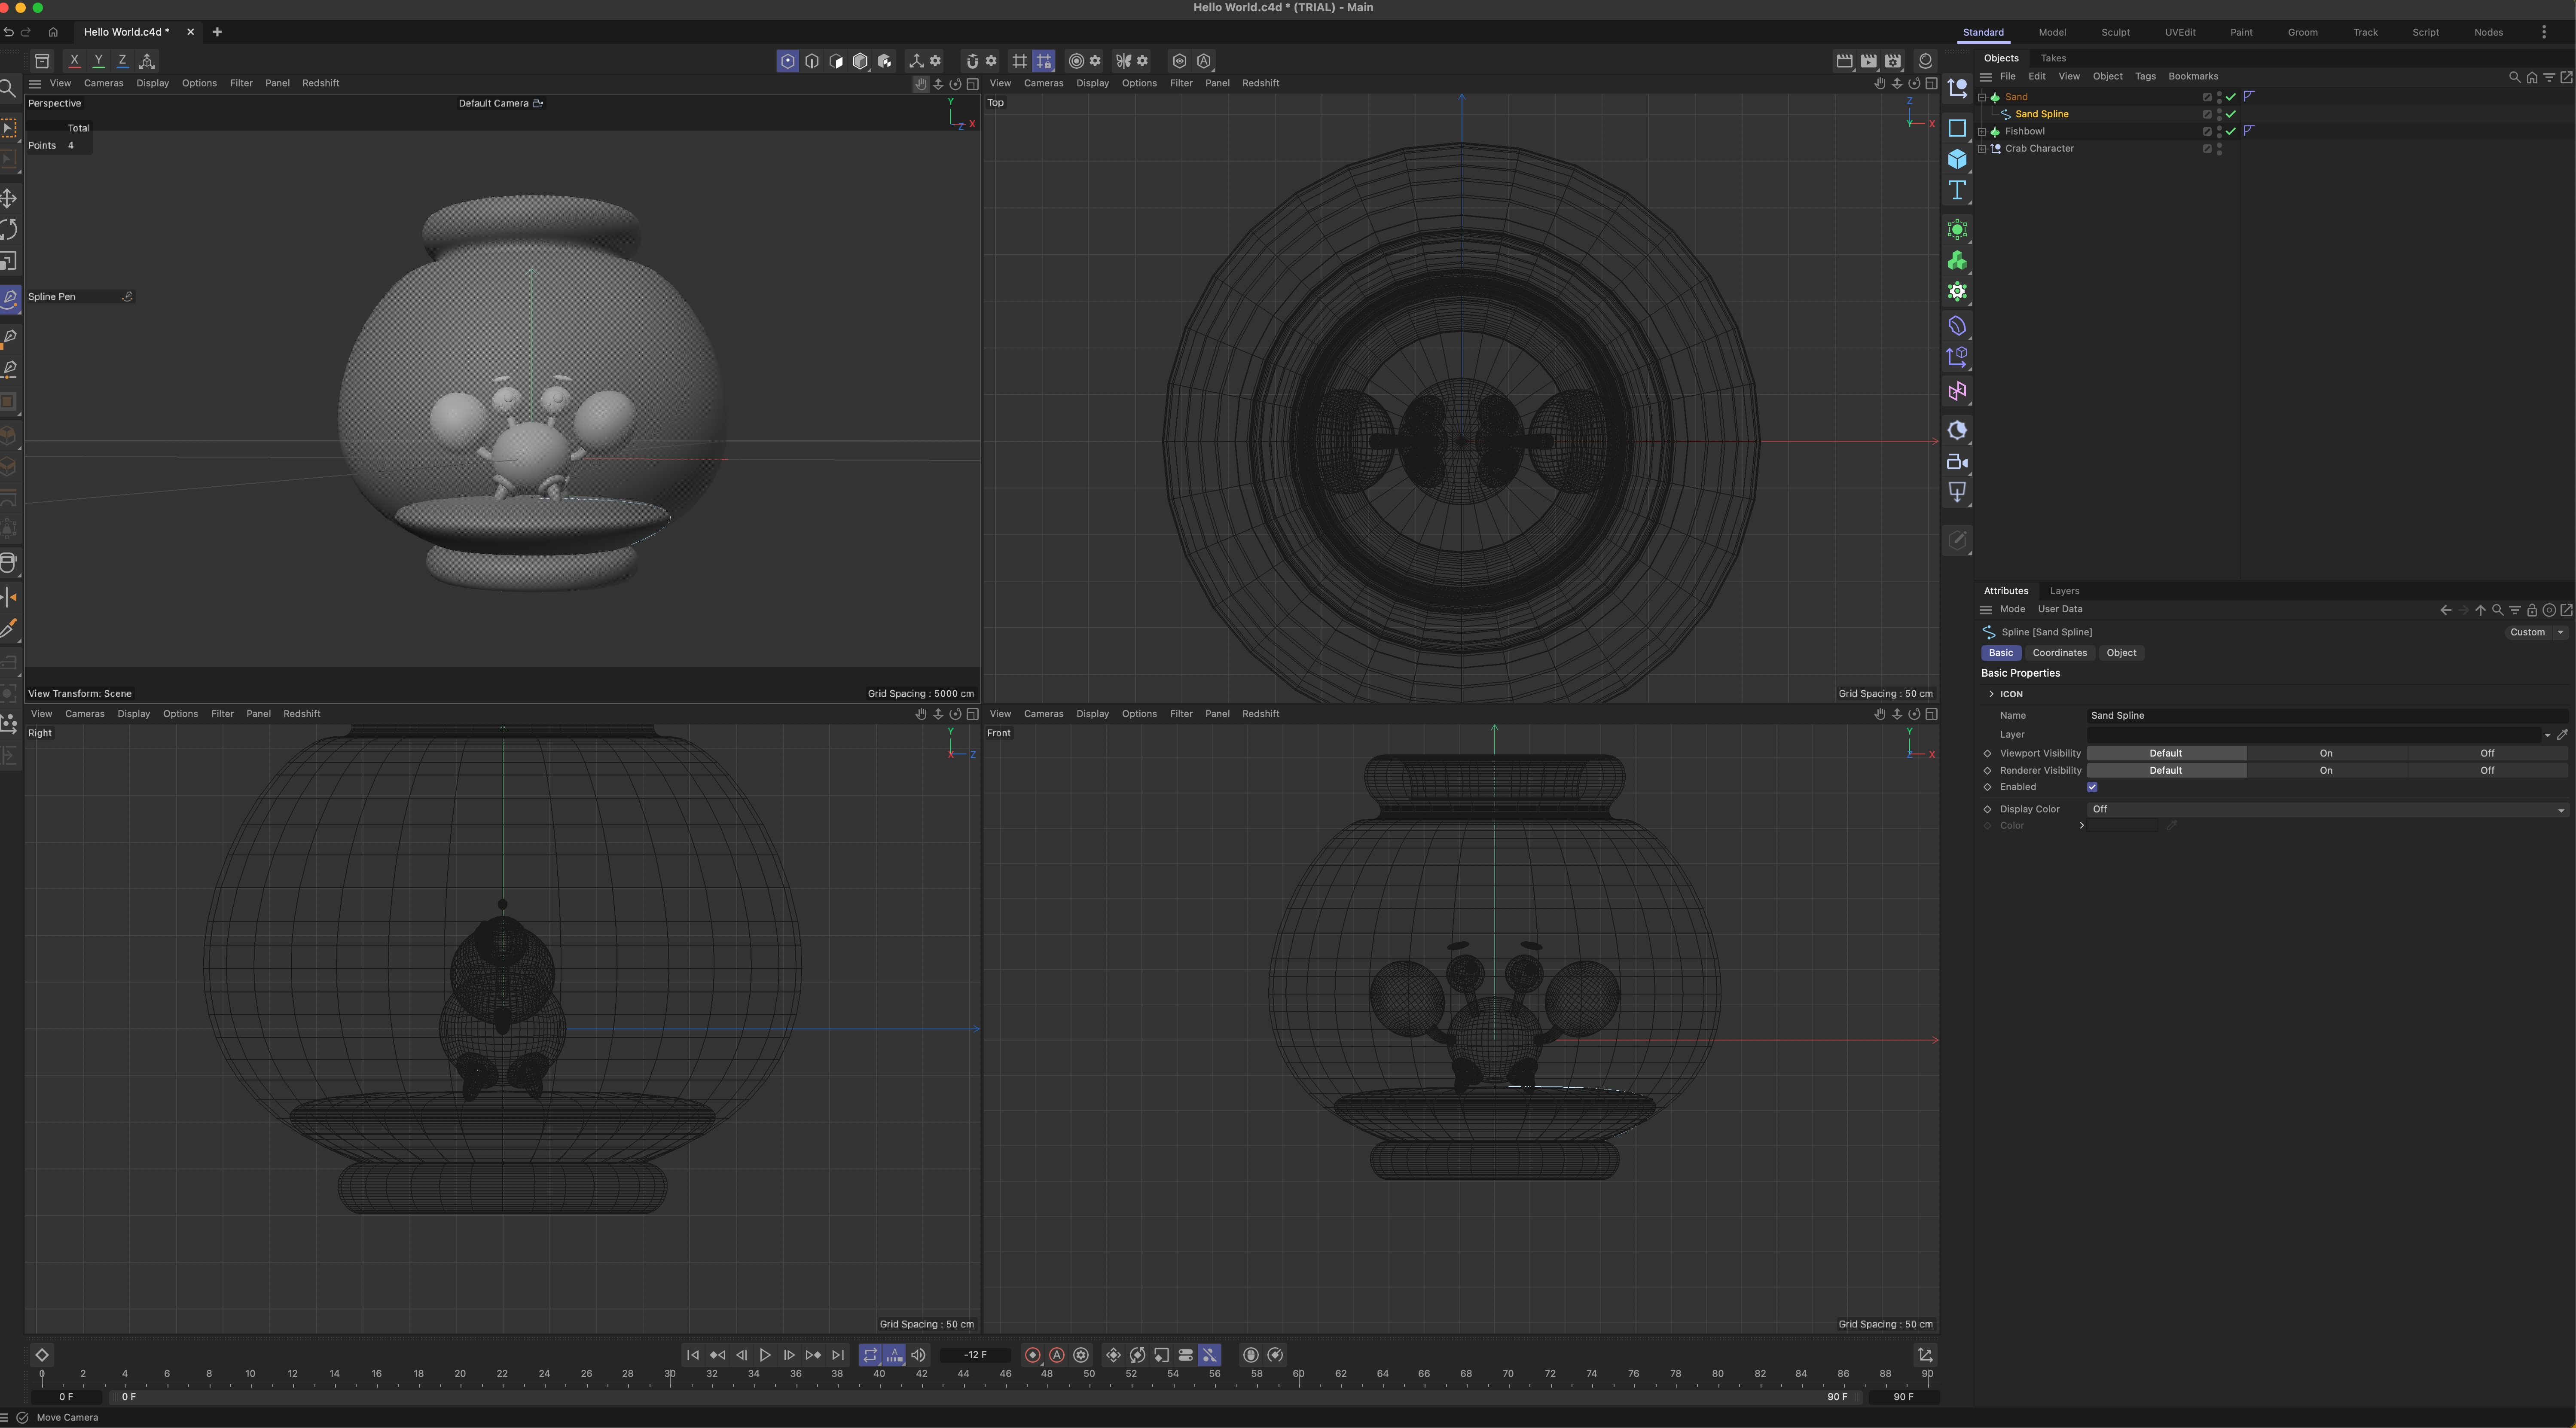
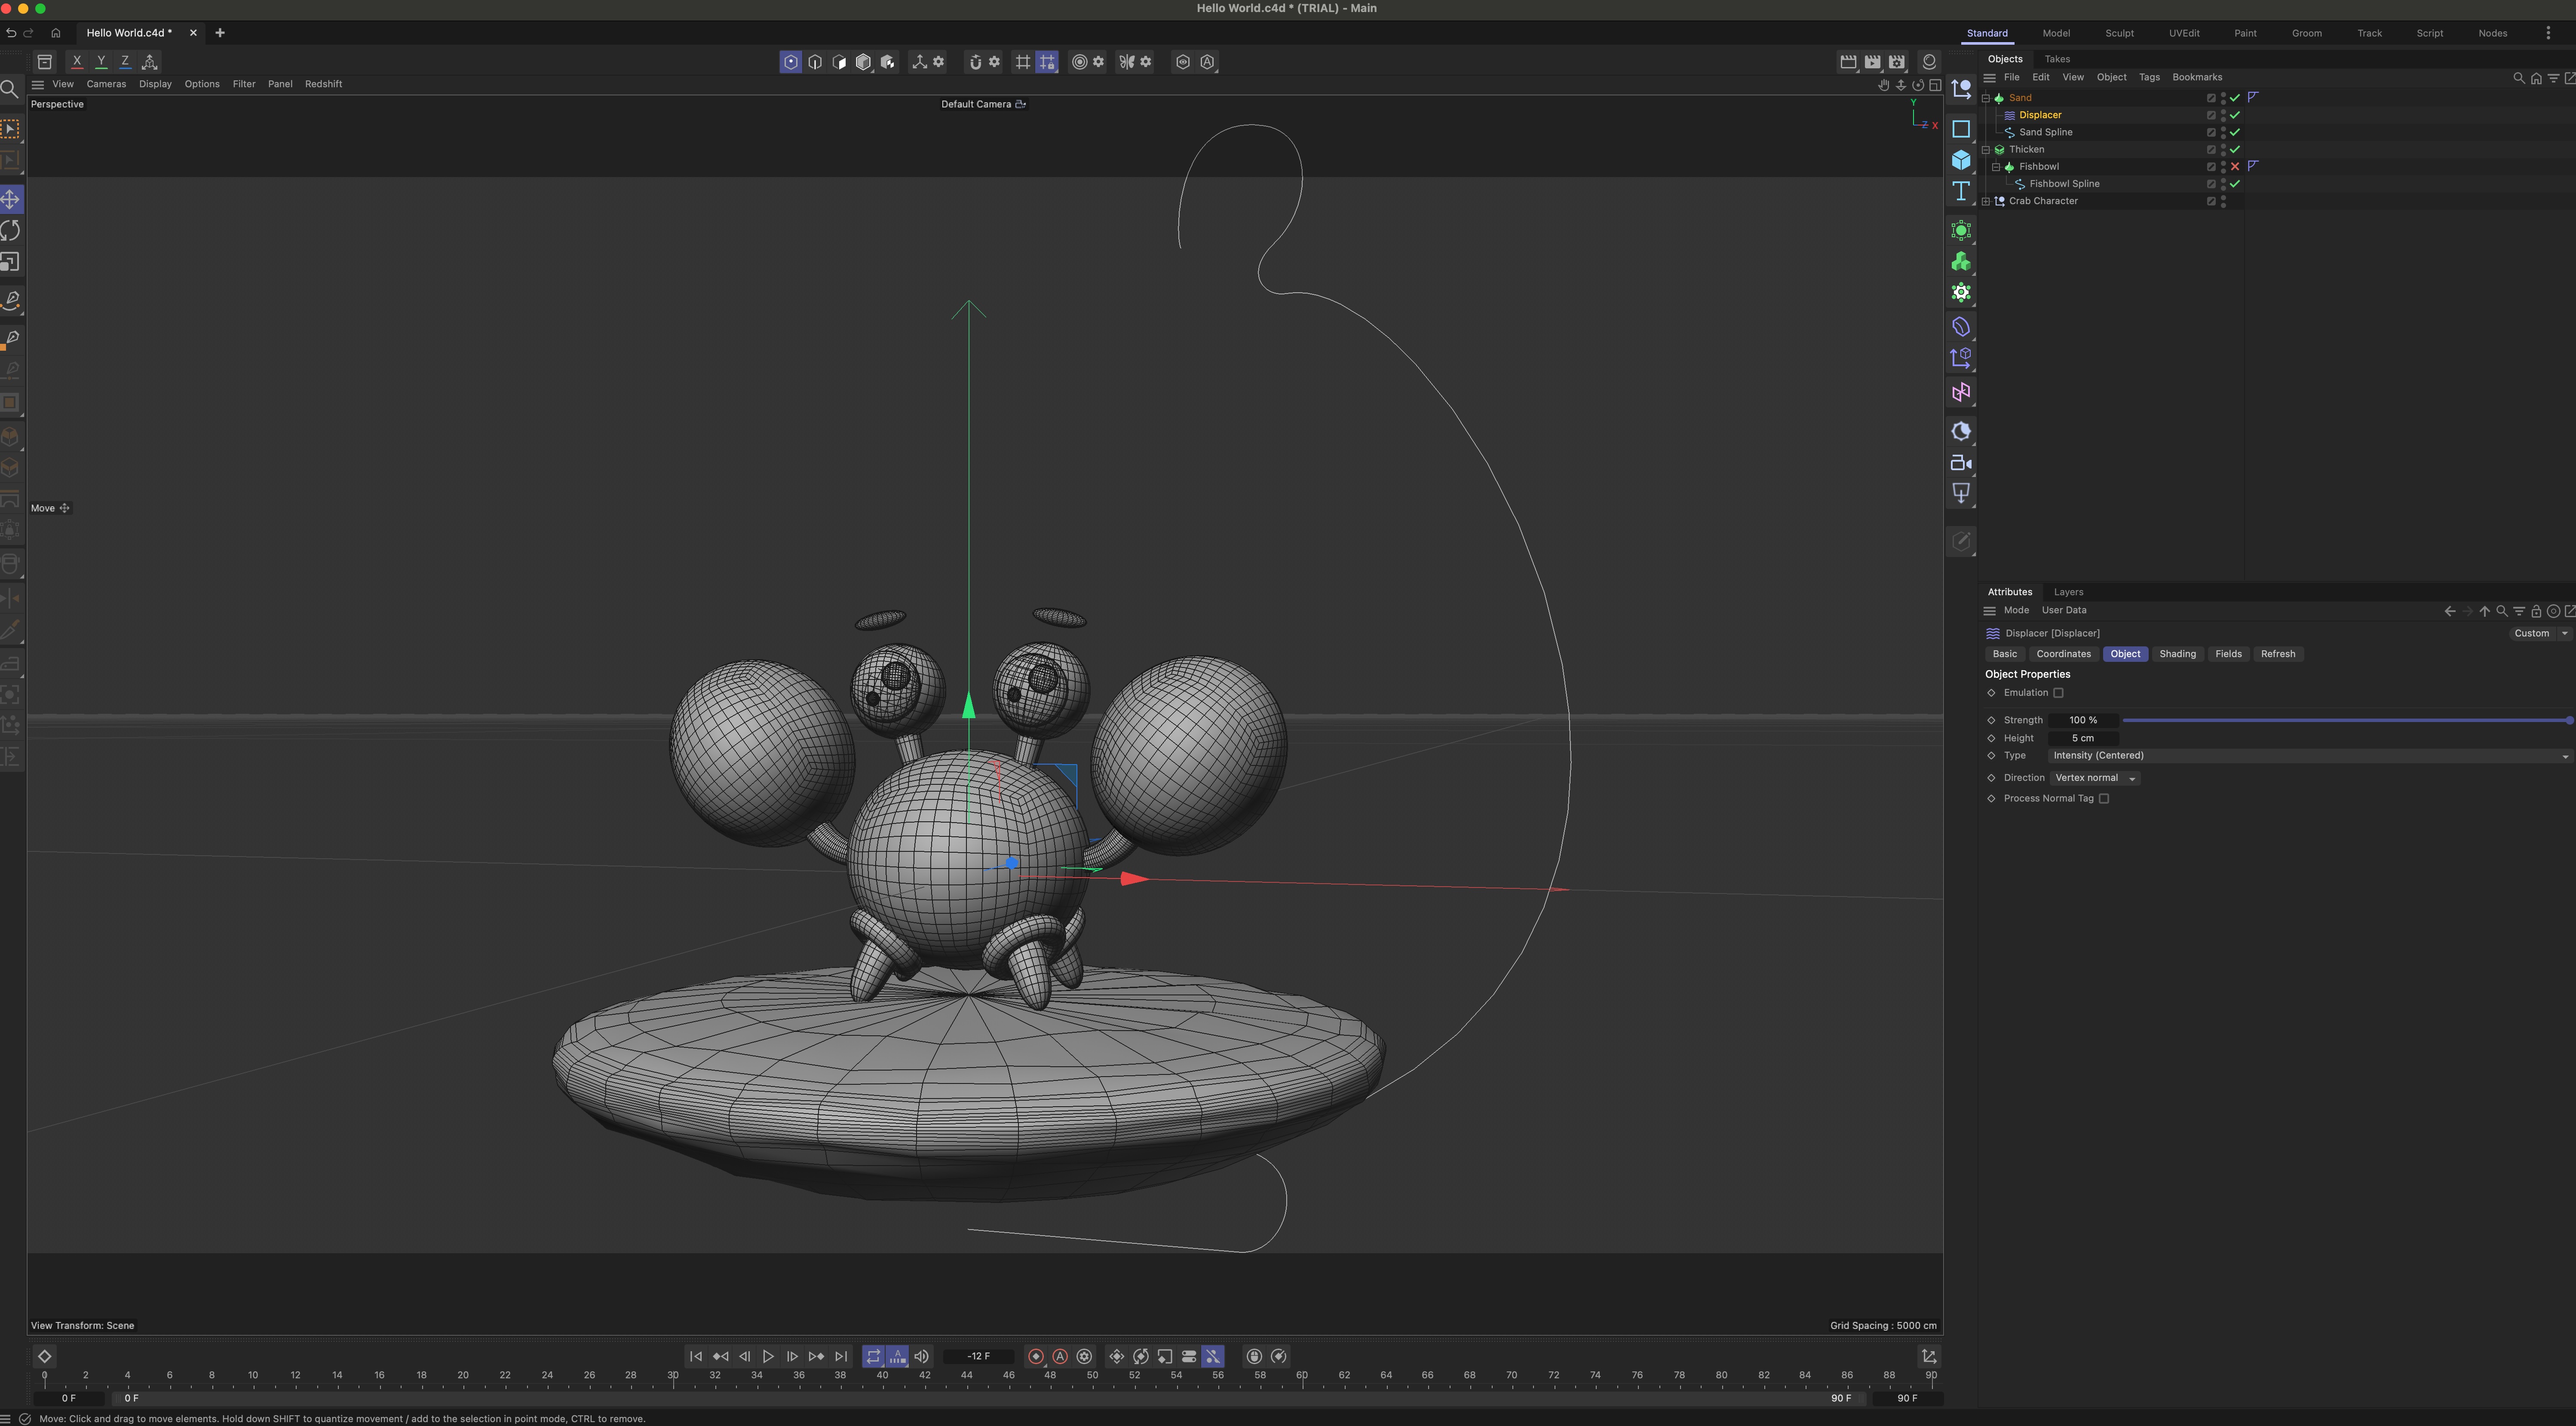
Modeling the Splines and Generators - here I was introduced to another type of generator object called Lathe Object that allowed me to procedurally model the fishbowl element and sand using a spline.
Fields and Wind Deformers - I looked into the Deformers and how they can allow me to manipulate existing geometry, like using a Bend Deformer to bend the submarine scope element and creatively utilizing the Wind Deformer to deform and animate the seaweed.
Then used the Wind Deformer, which allowed me to deform seaweed. I also learnt about the handy Solo tools which allowed me to declutter my scene and solo specific objects to better navigate and place objects in my scene.
Modeling Stylized Cartoon Rocks - for the little rocks I used the Displace Deformers, Volume Modeling and the Remesh tool to reduce geometry's polygon count.
Then used the Wind Deformer, which allowed me to deform seaweed. I also learnt about the handy Solo tools which allowed me to declutter my scene and solo specific objects to better navigate and place objects in my scene.
Modeling Stylized Cartoon Rocks - for the little rocks I used the Displace Deformers, Volume Modeling and the Remesh tool to reduce geometry's polygon count.
Placement Tools - I used the Place Tool, Dynamic Place Tool and Scatter Pen Tool to precisely place objects inside the fish bowl.
Organic Modeling - Then I modeled a simple fish and used the Subdivision Surface generator object to smooth out the fish's surface.
MoGraph - using the MoGraph Module tool I cloned and animated multiple copies of the fish.
Organic Modeling - Then I modeled a simple fish and used the Subdivision Surface generator object to smooth out the fish's surface.
MoGraph - using the MoGraph Module tool I cloned and animated multiple copies of the fish.
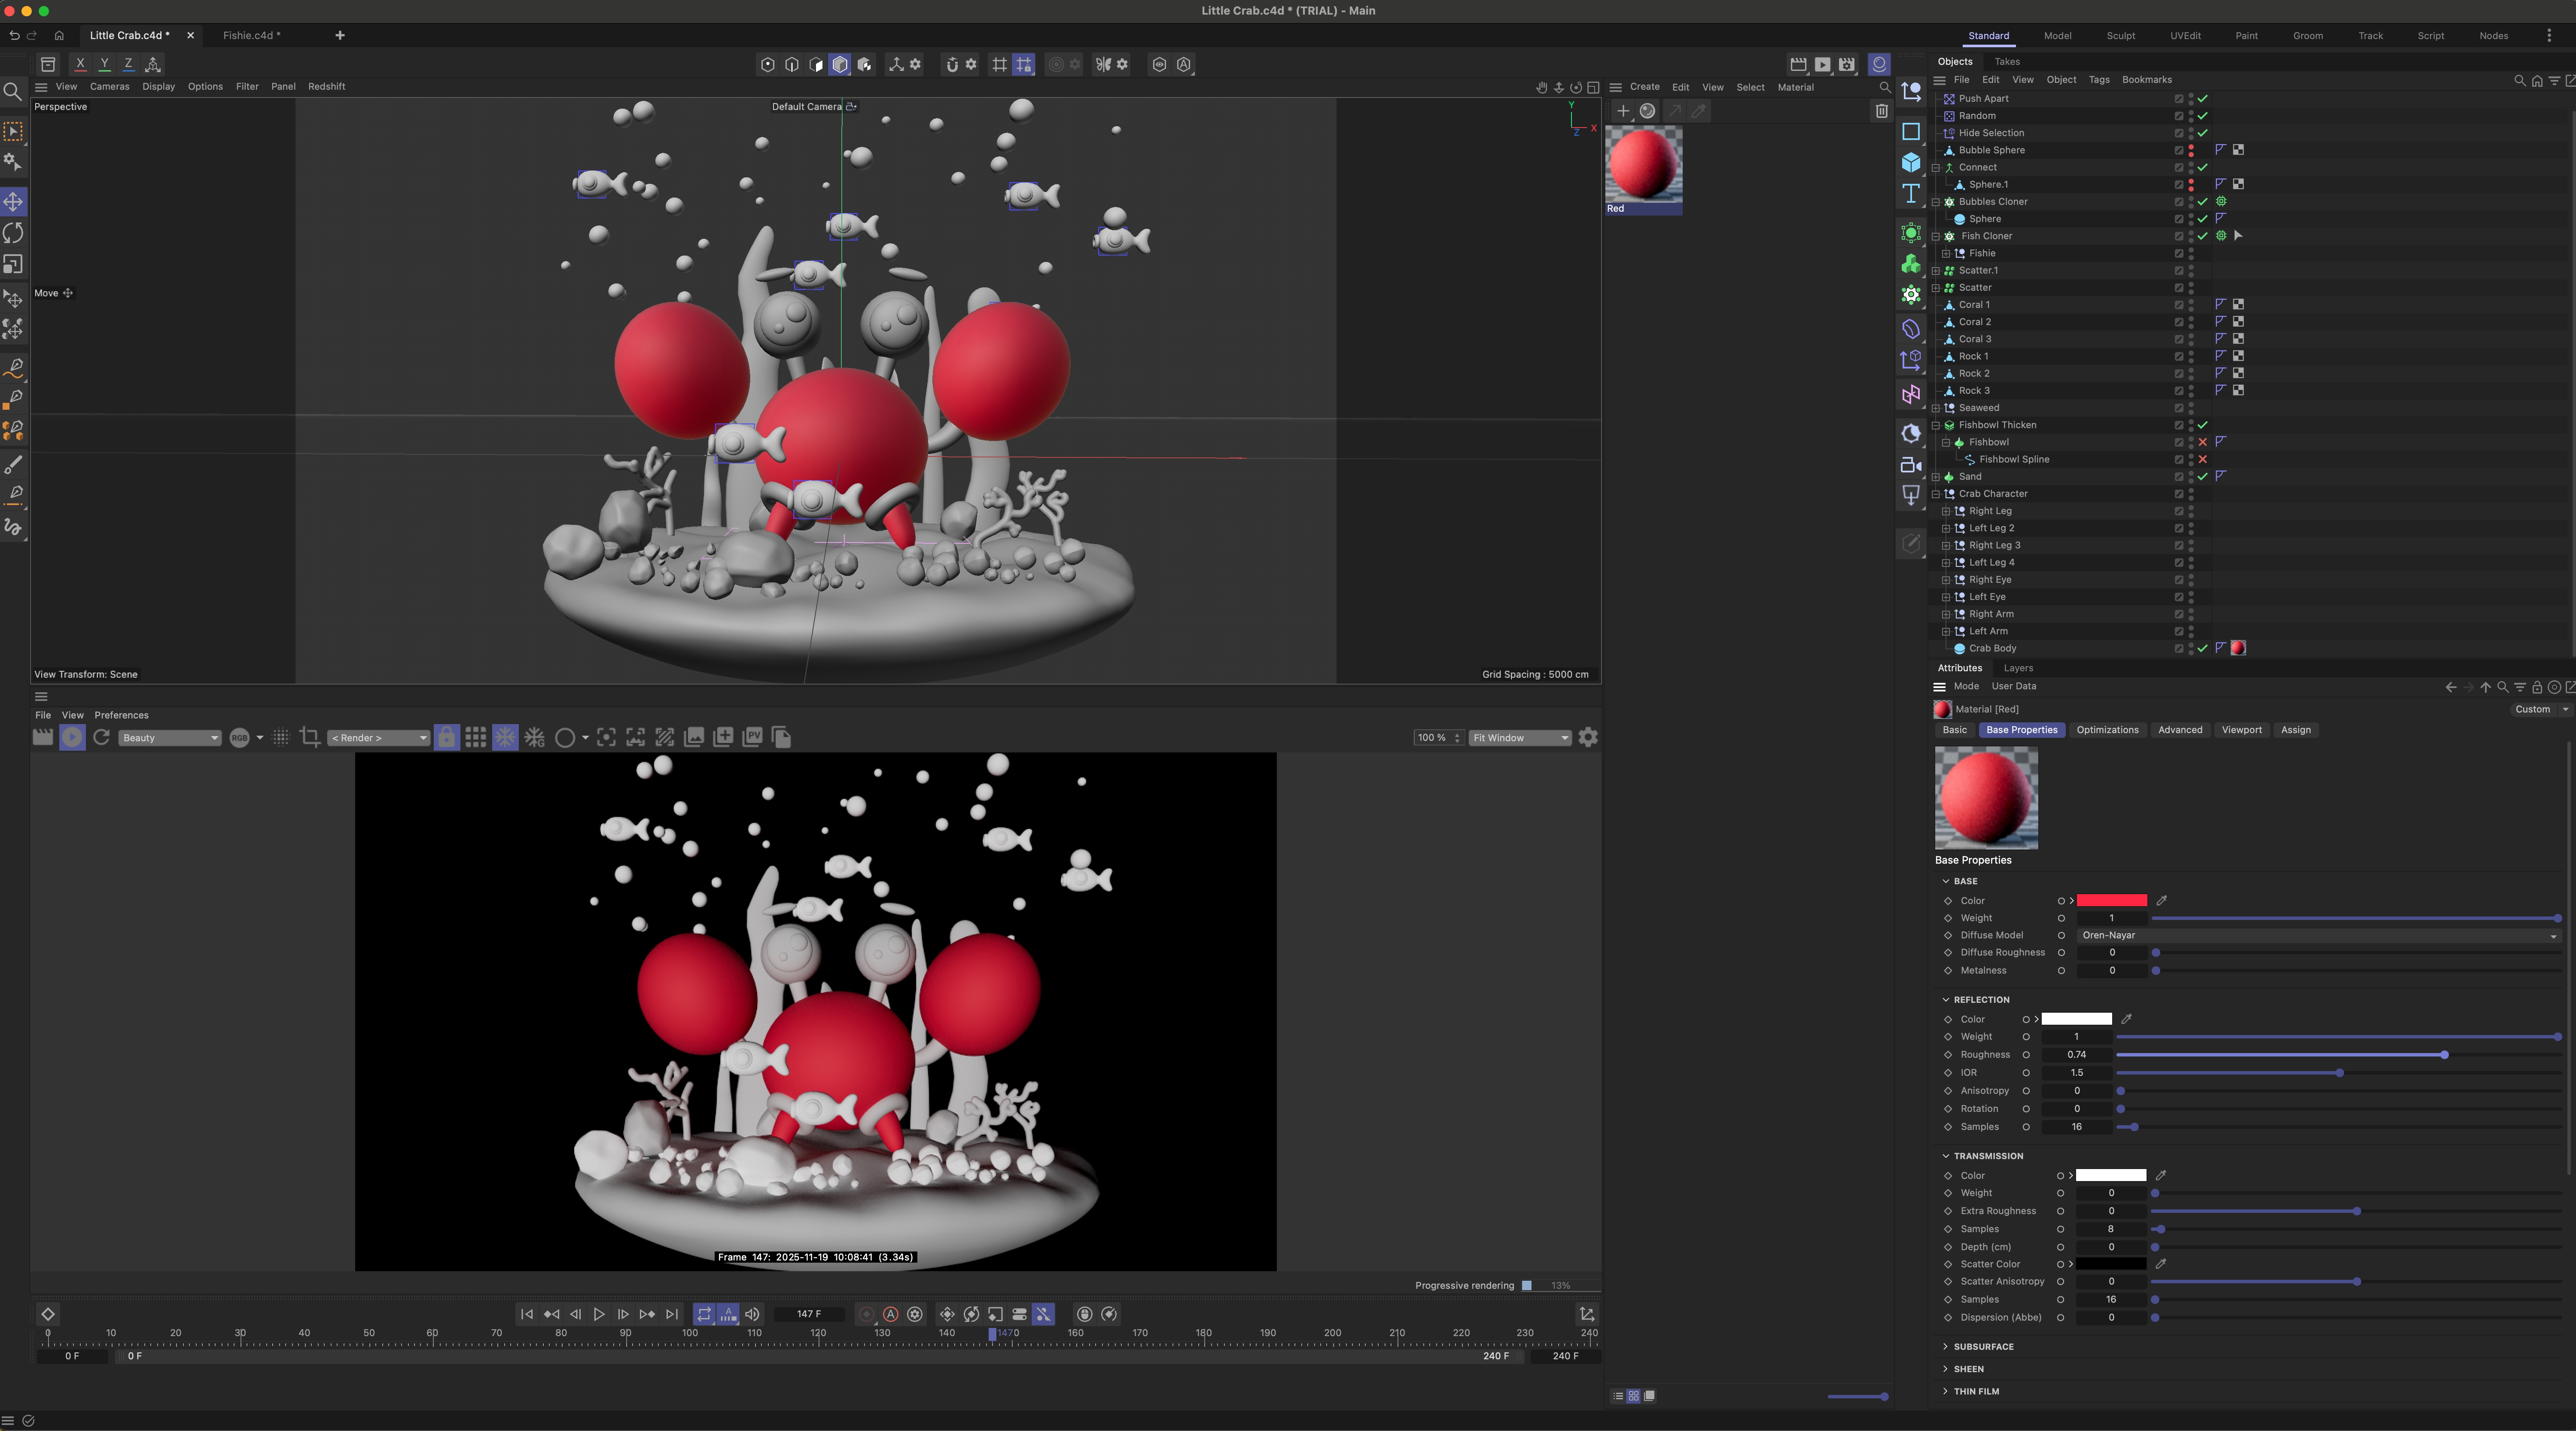
Materials - to create the materials I used the Redshift material system and the Color and Roughness material channels.
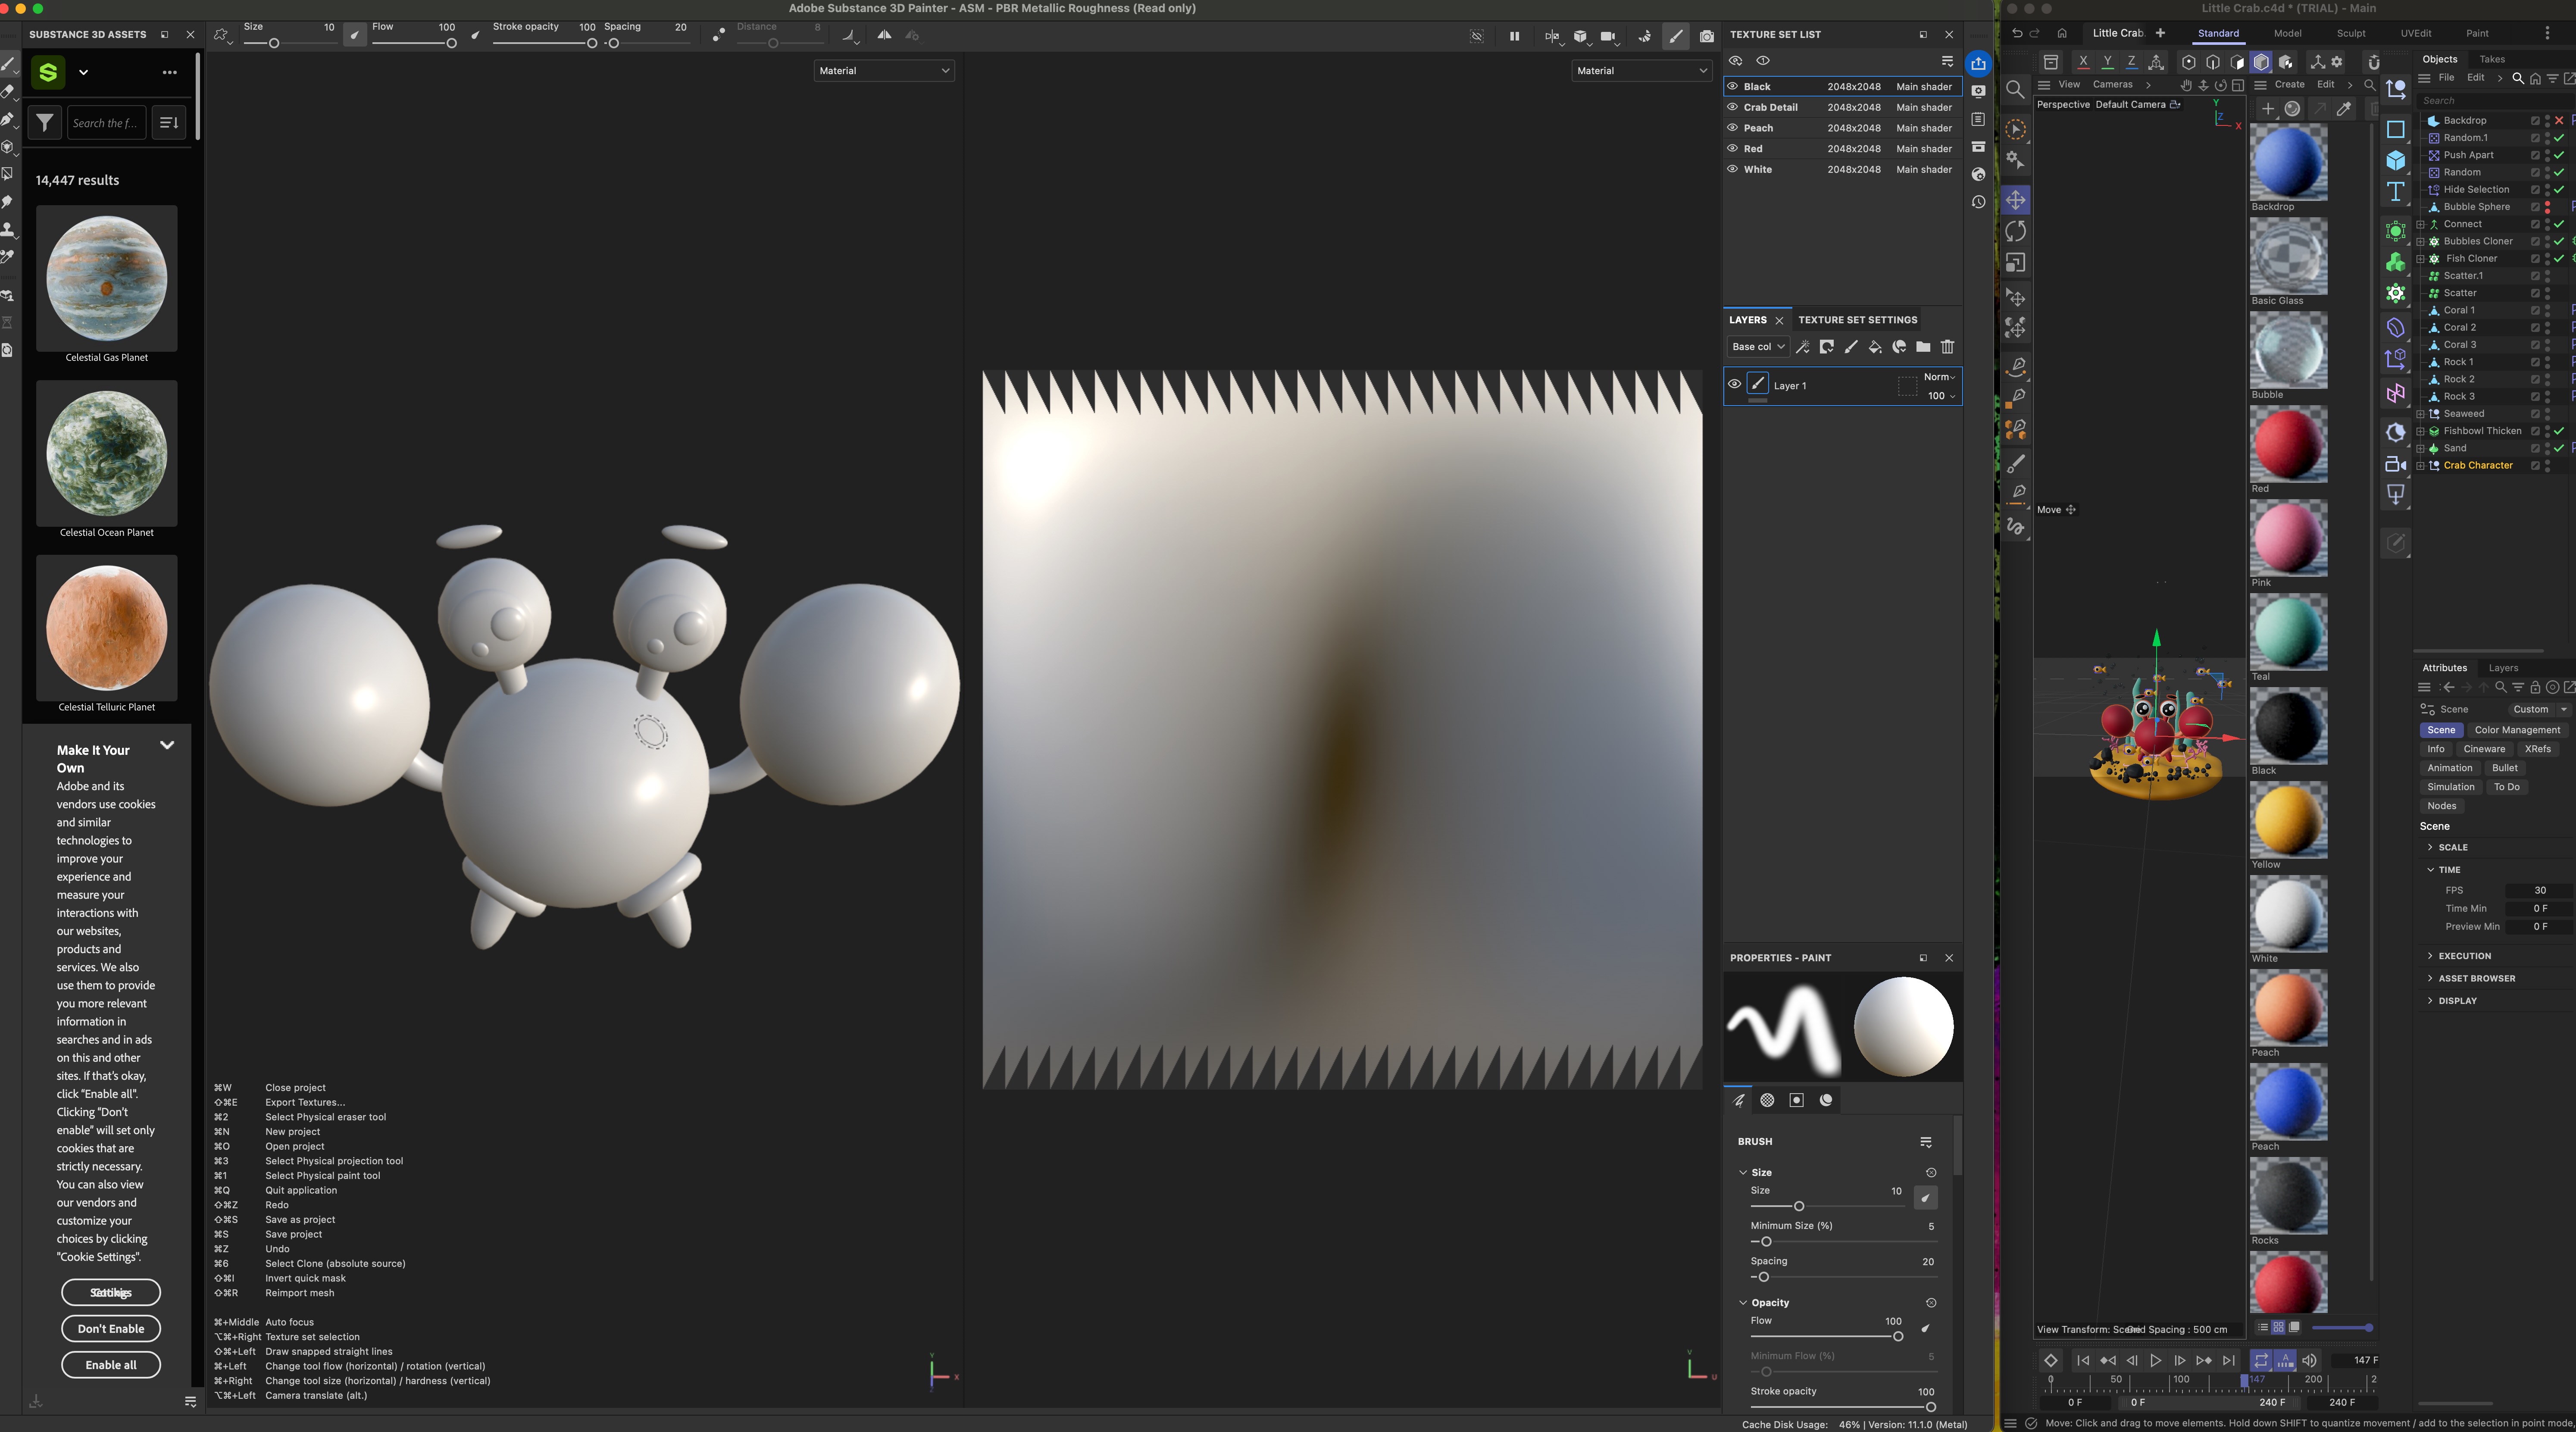
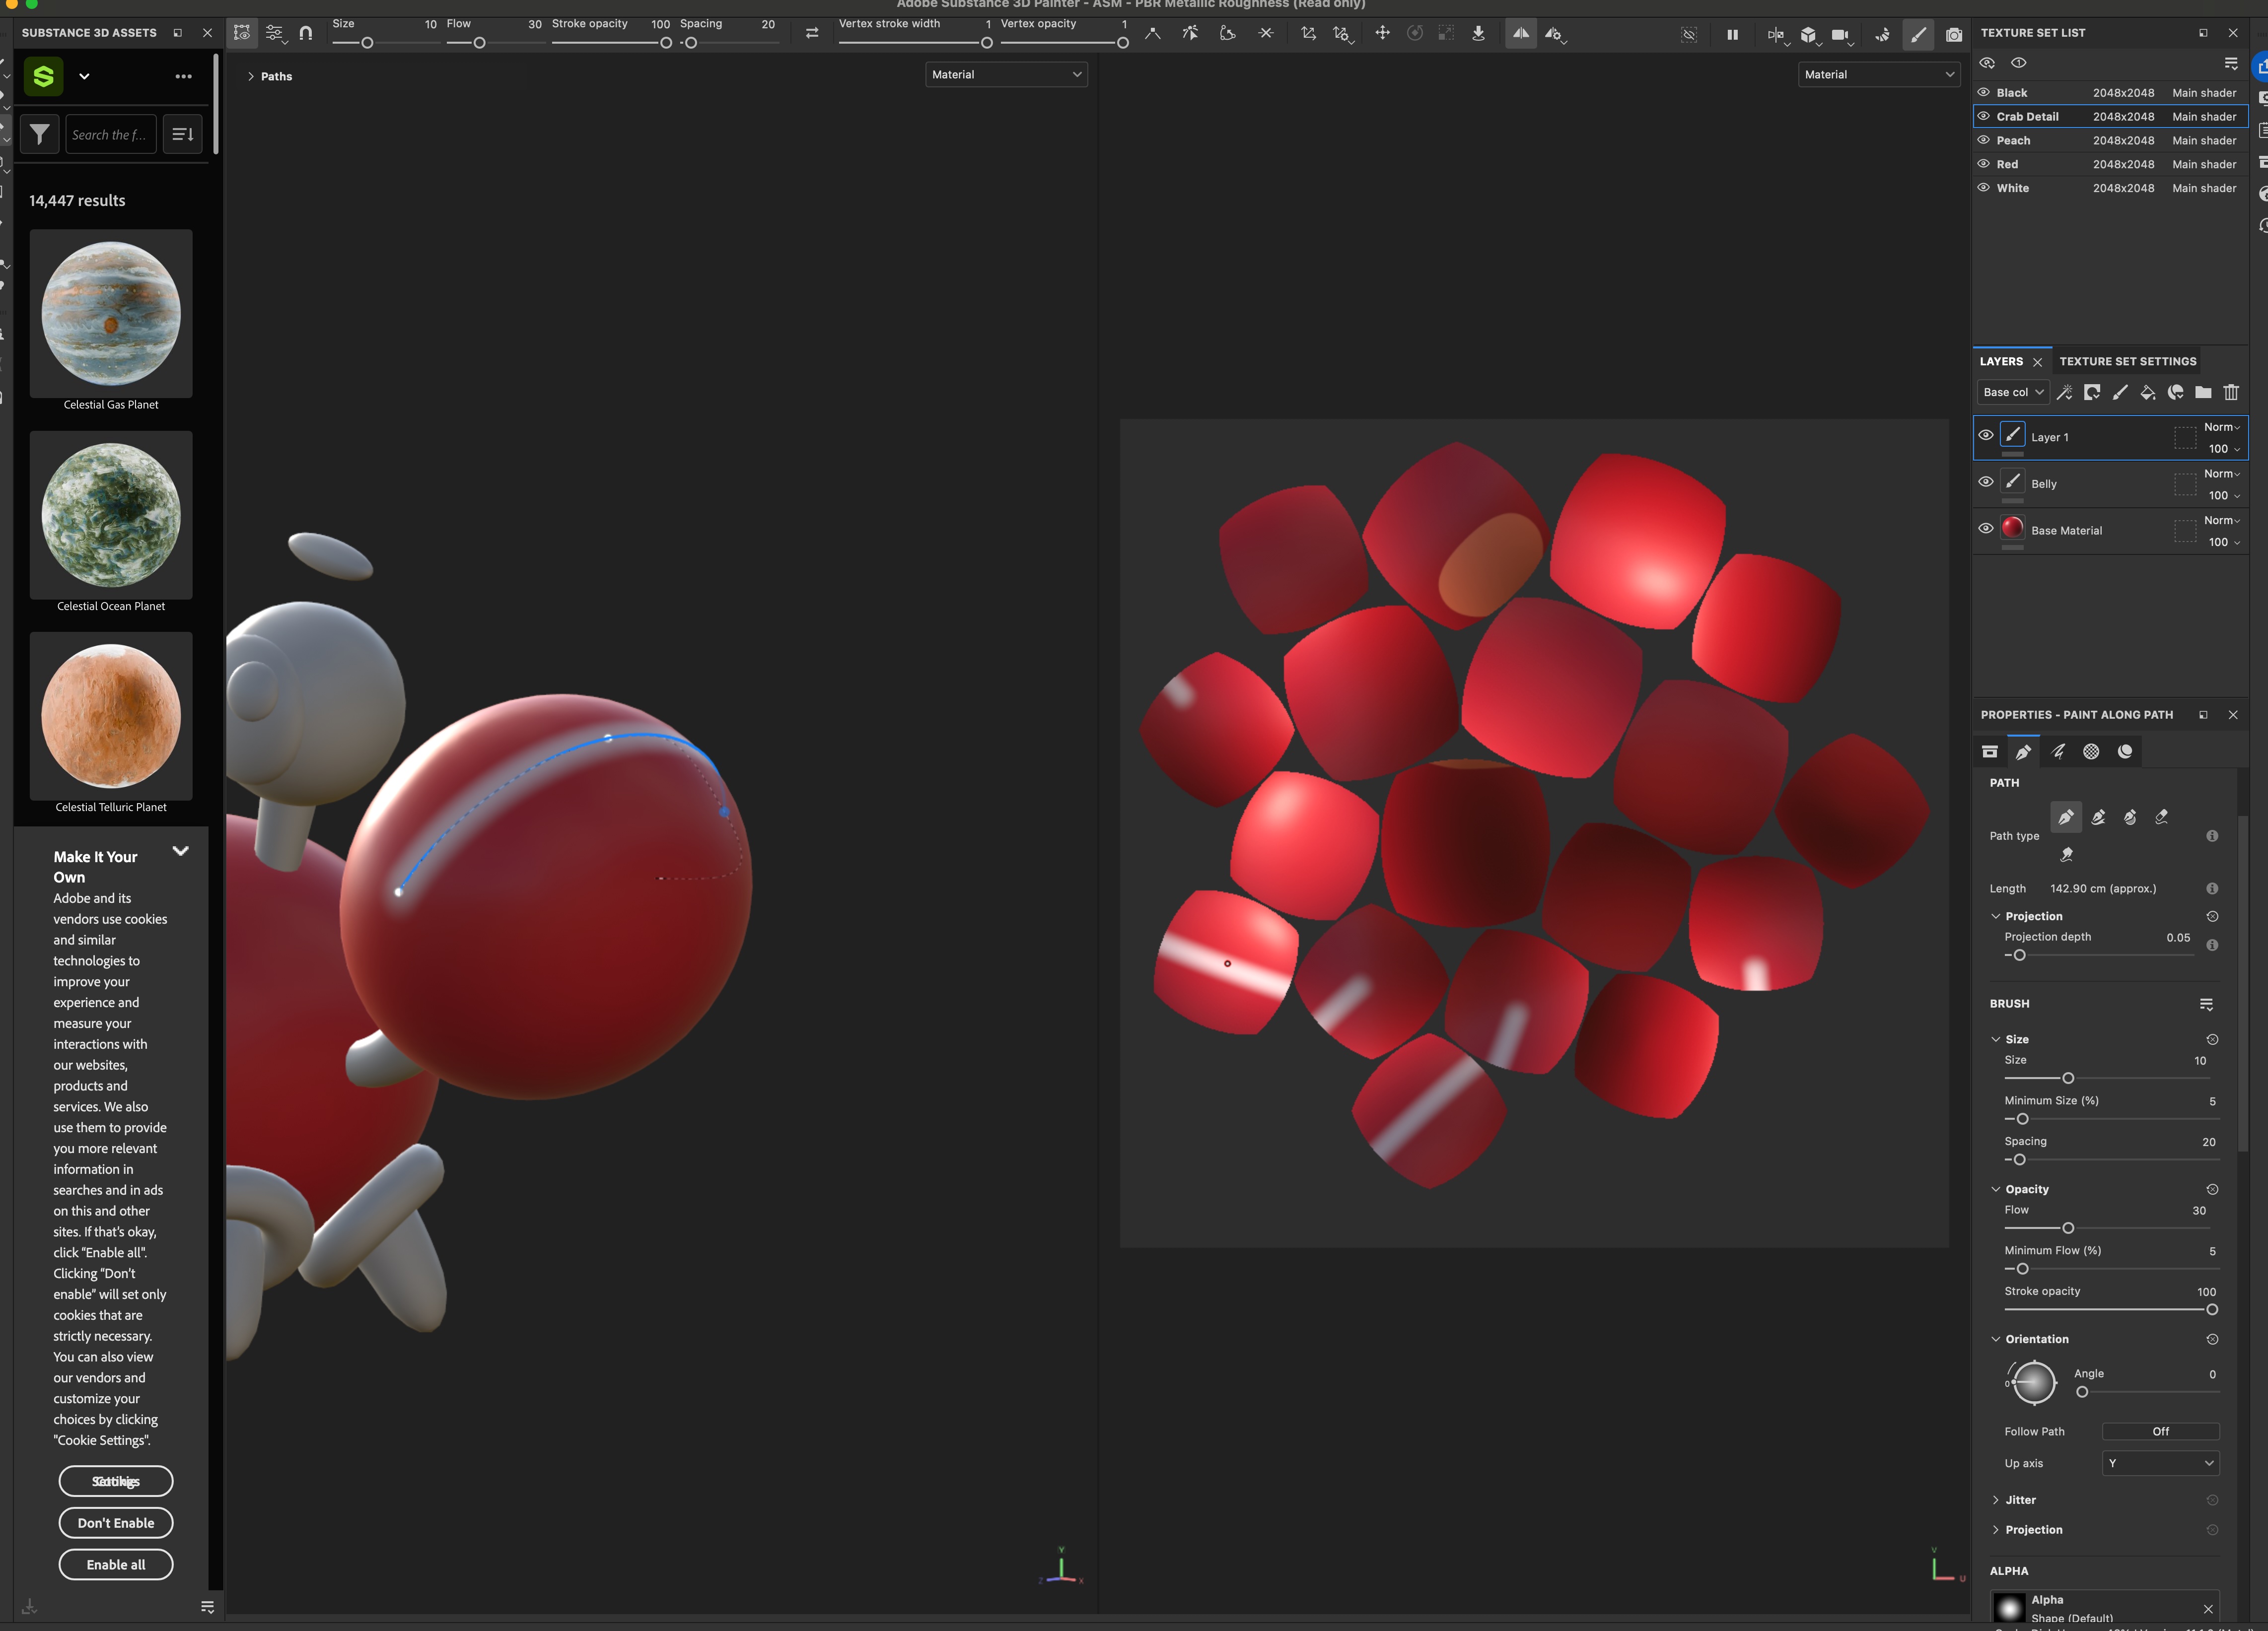
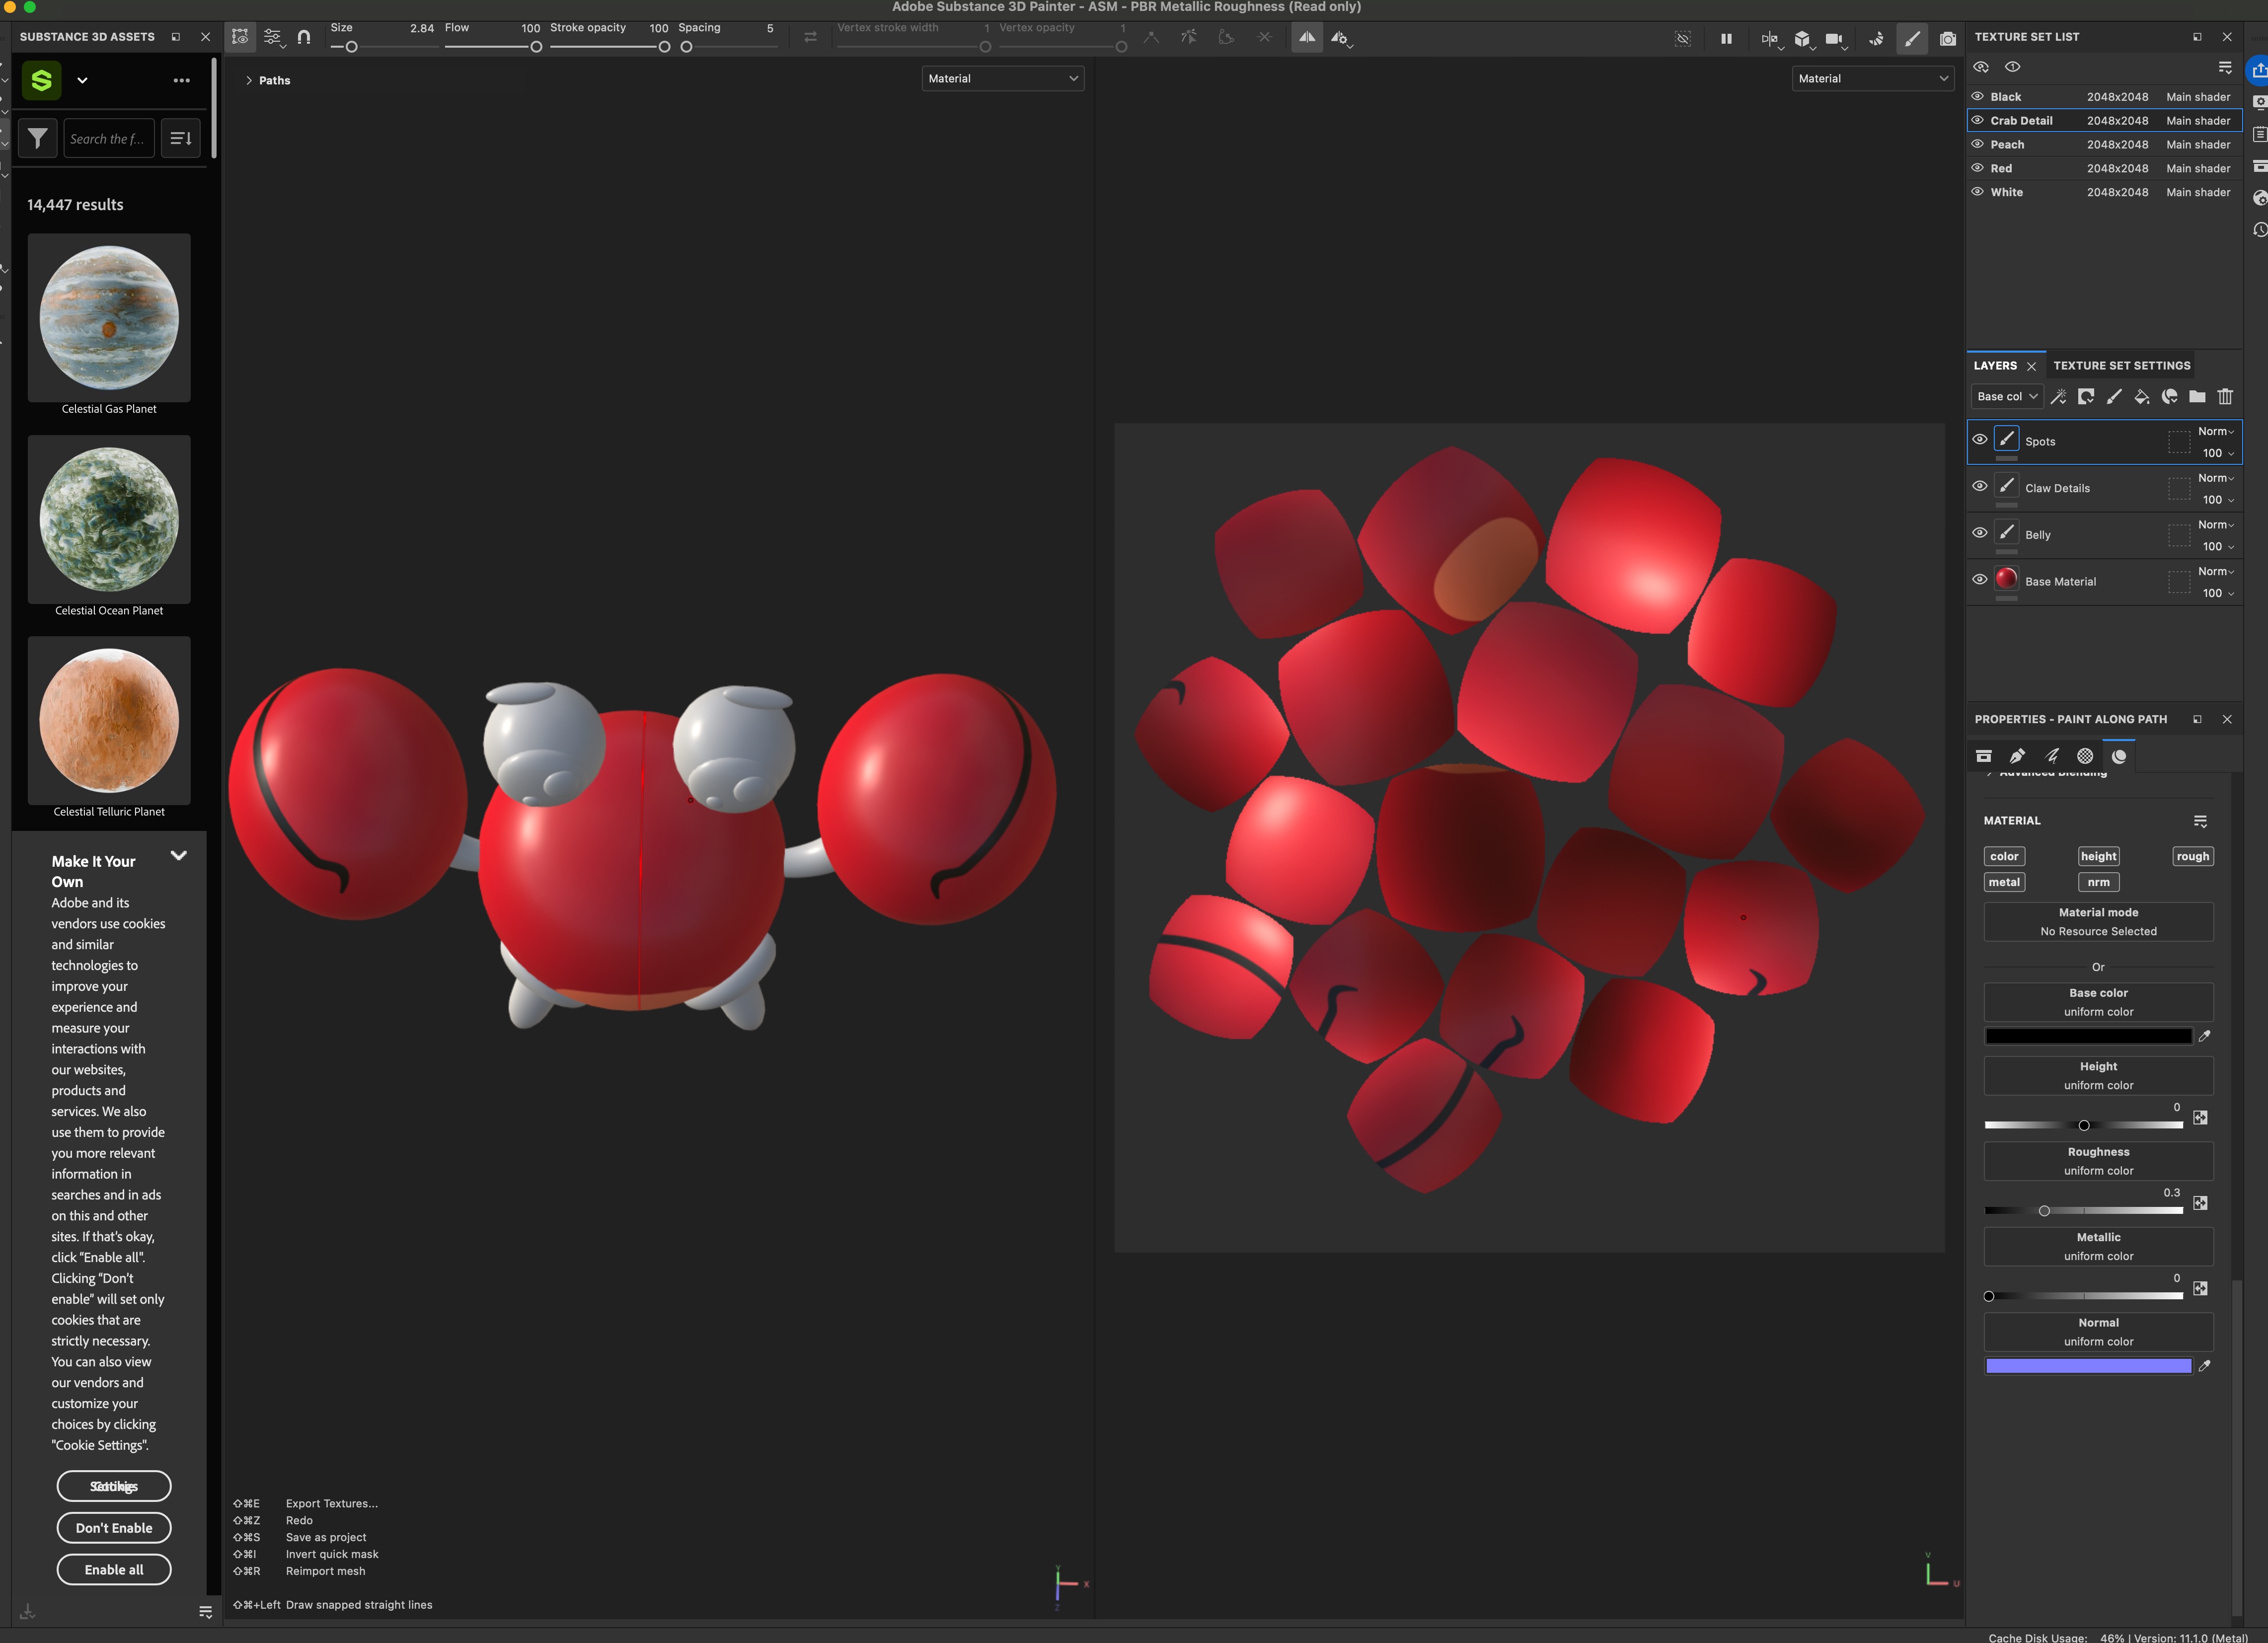
UV Unwrapping and Substance Painter - for the texturing I used the Substance Painter. I prepared my character in Cinema 4D and imported it into Substance.
UV Unwrapping and Substance Painter - for the texturing I used the Substance Painter. I prepared my character in Cinema 4D and imported it into Substance.
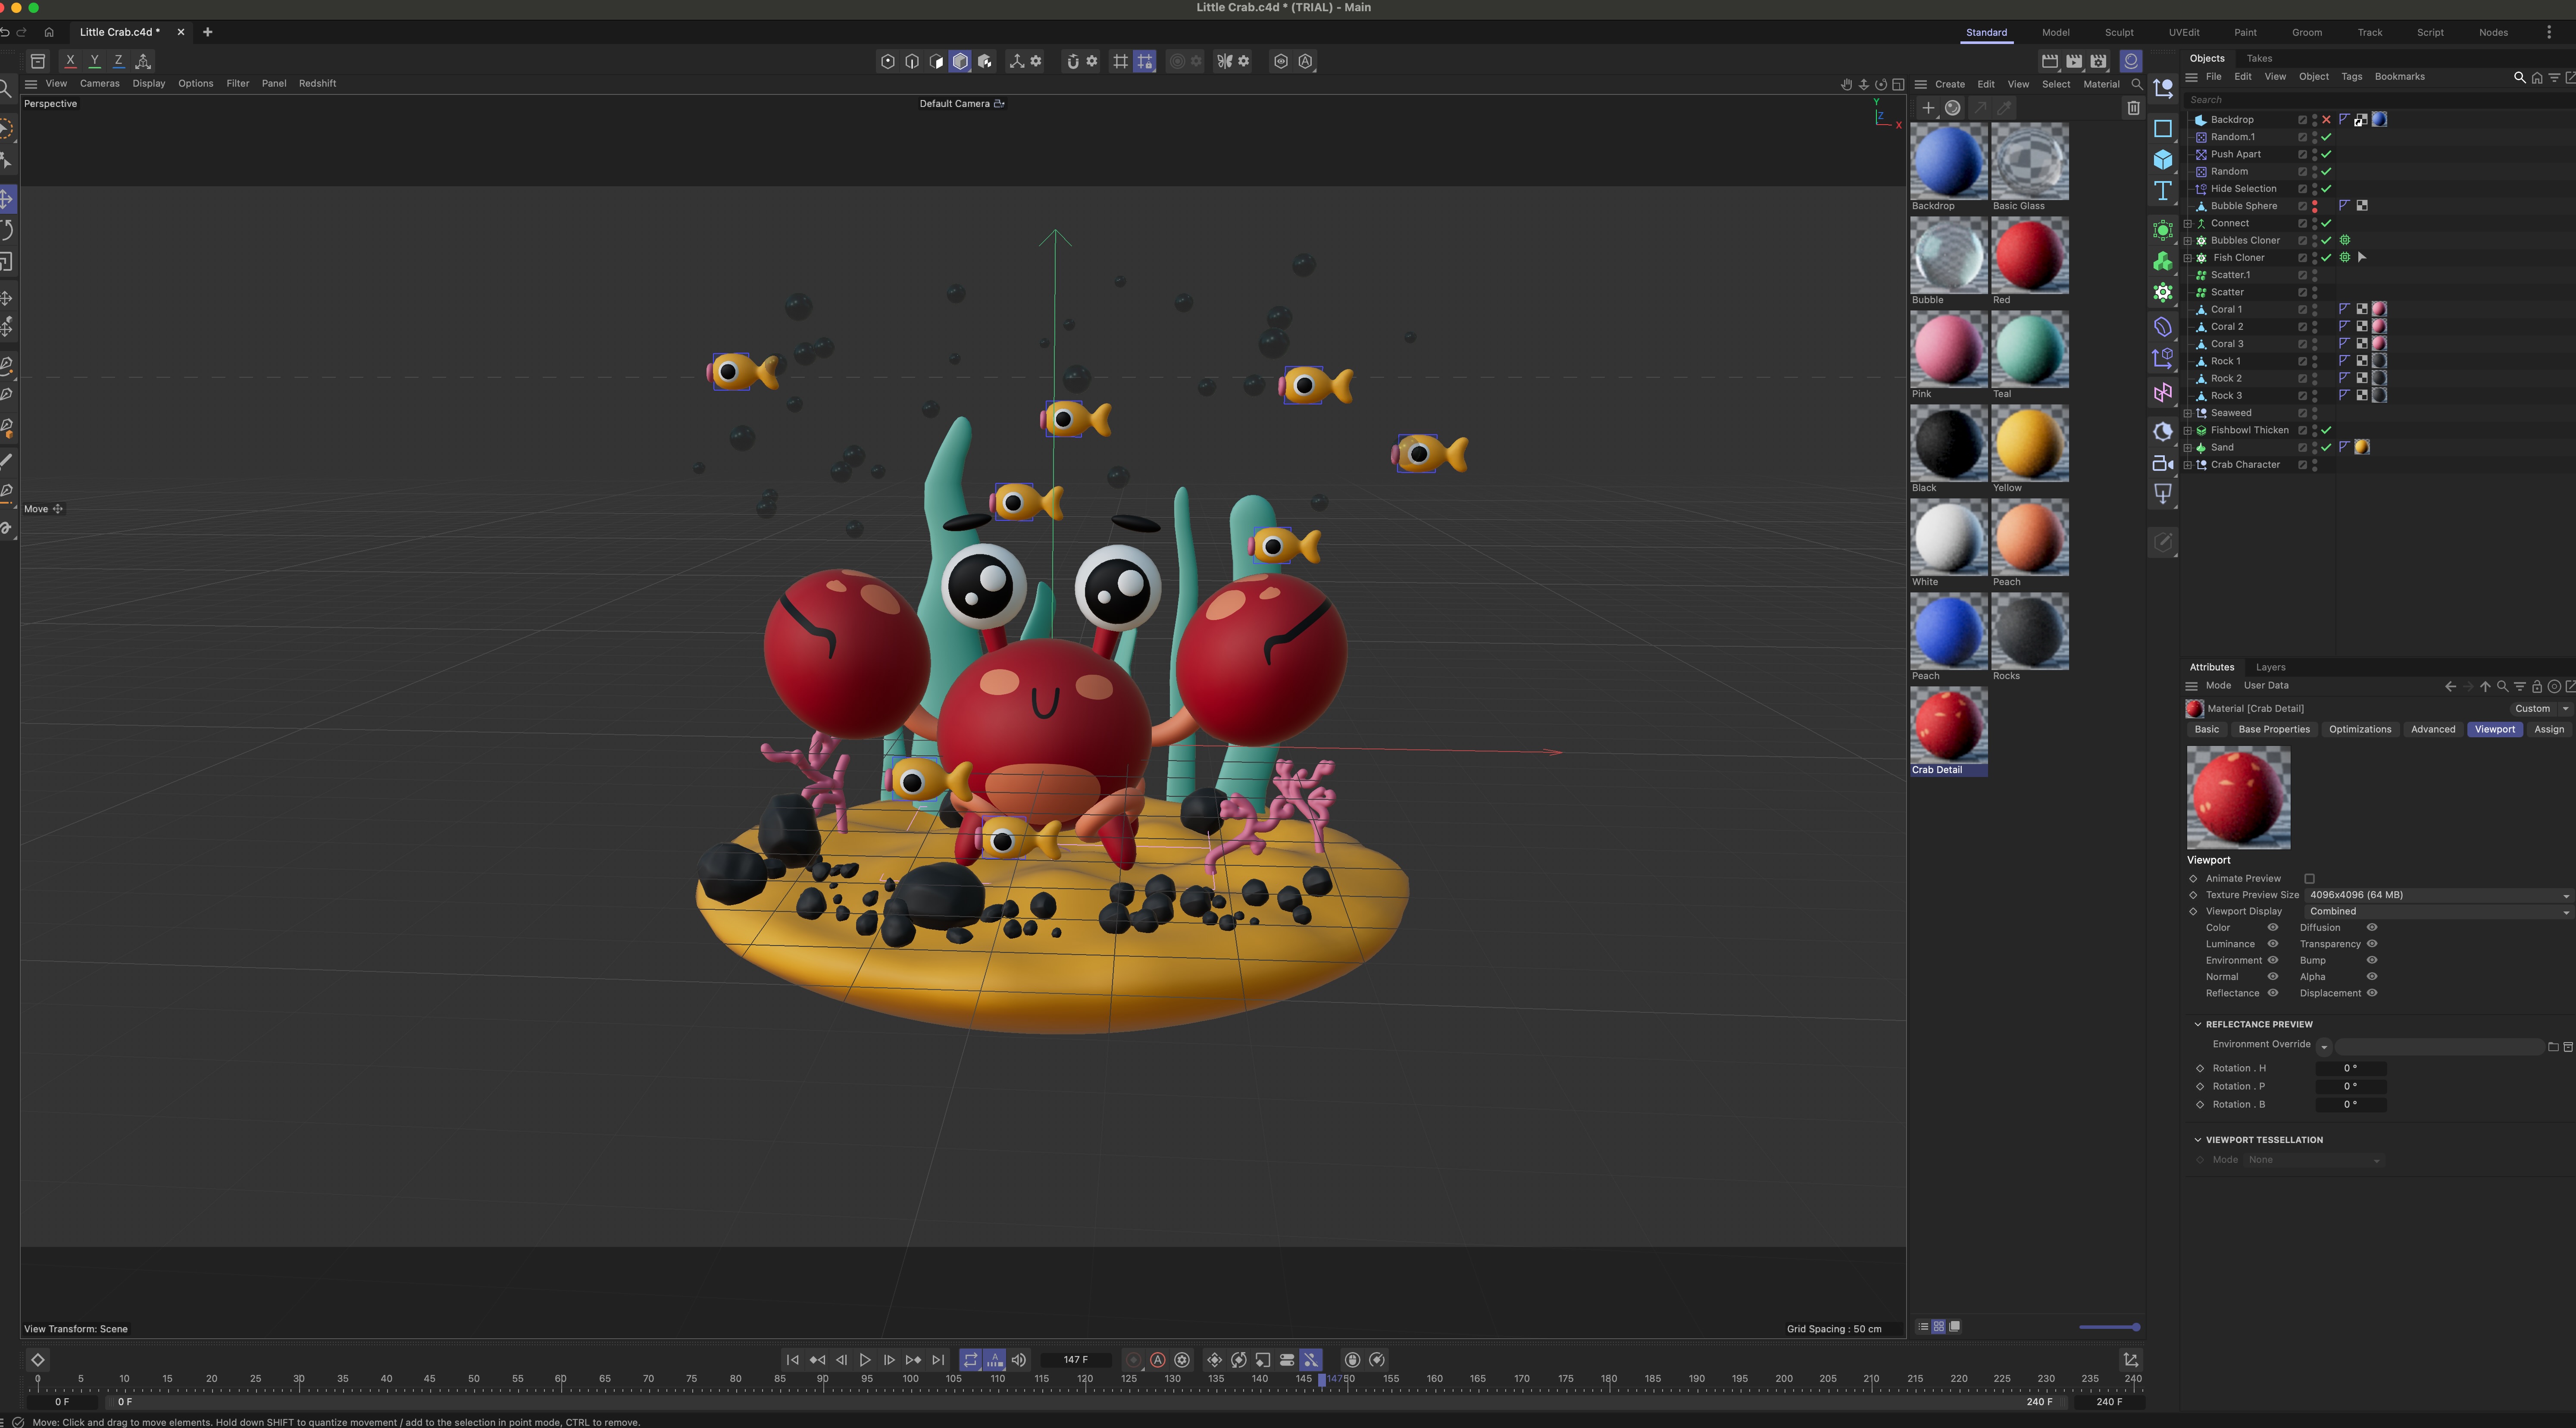
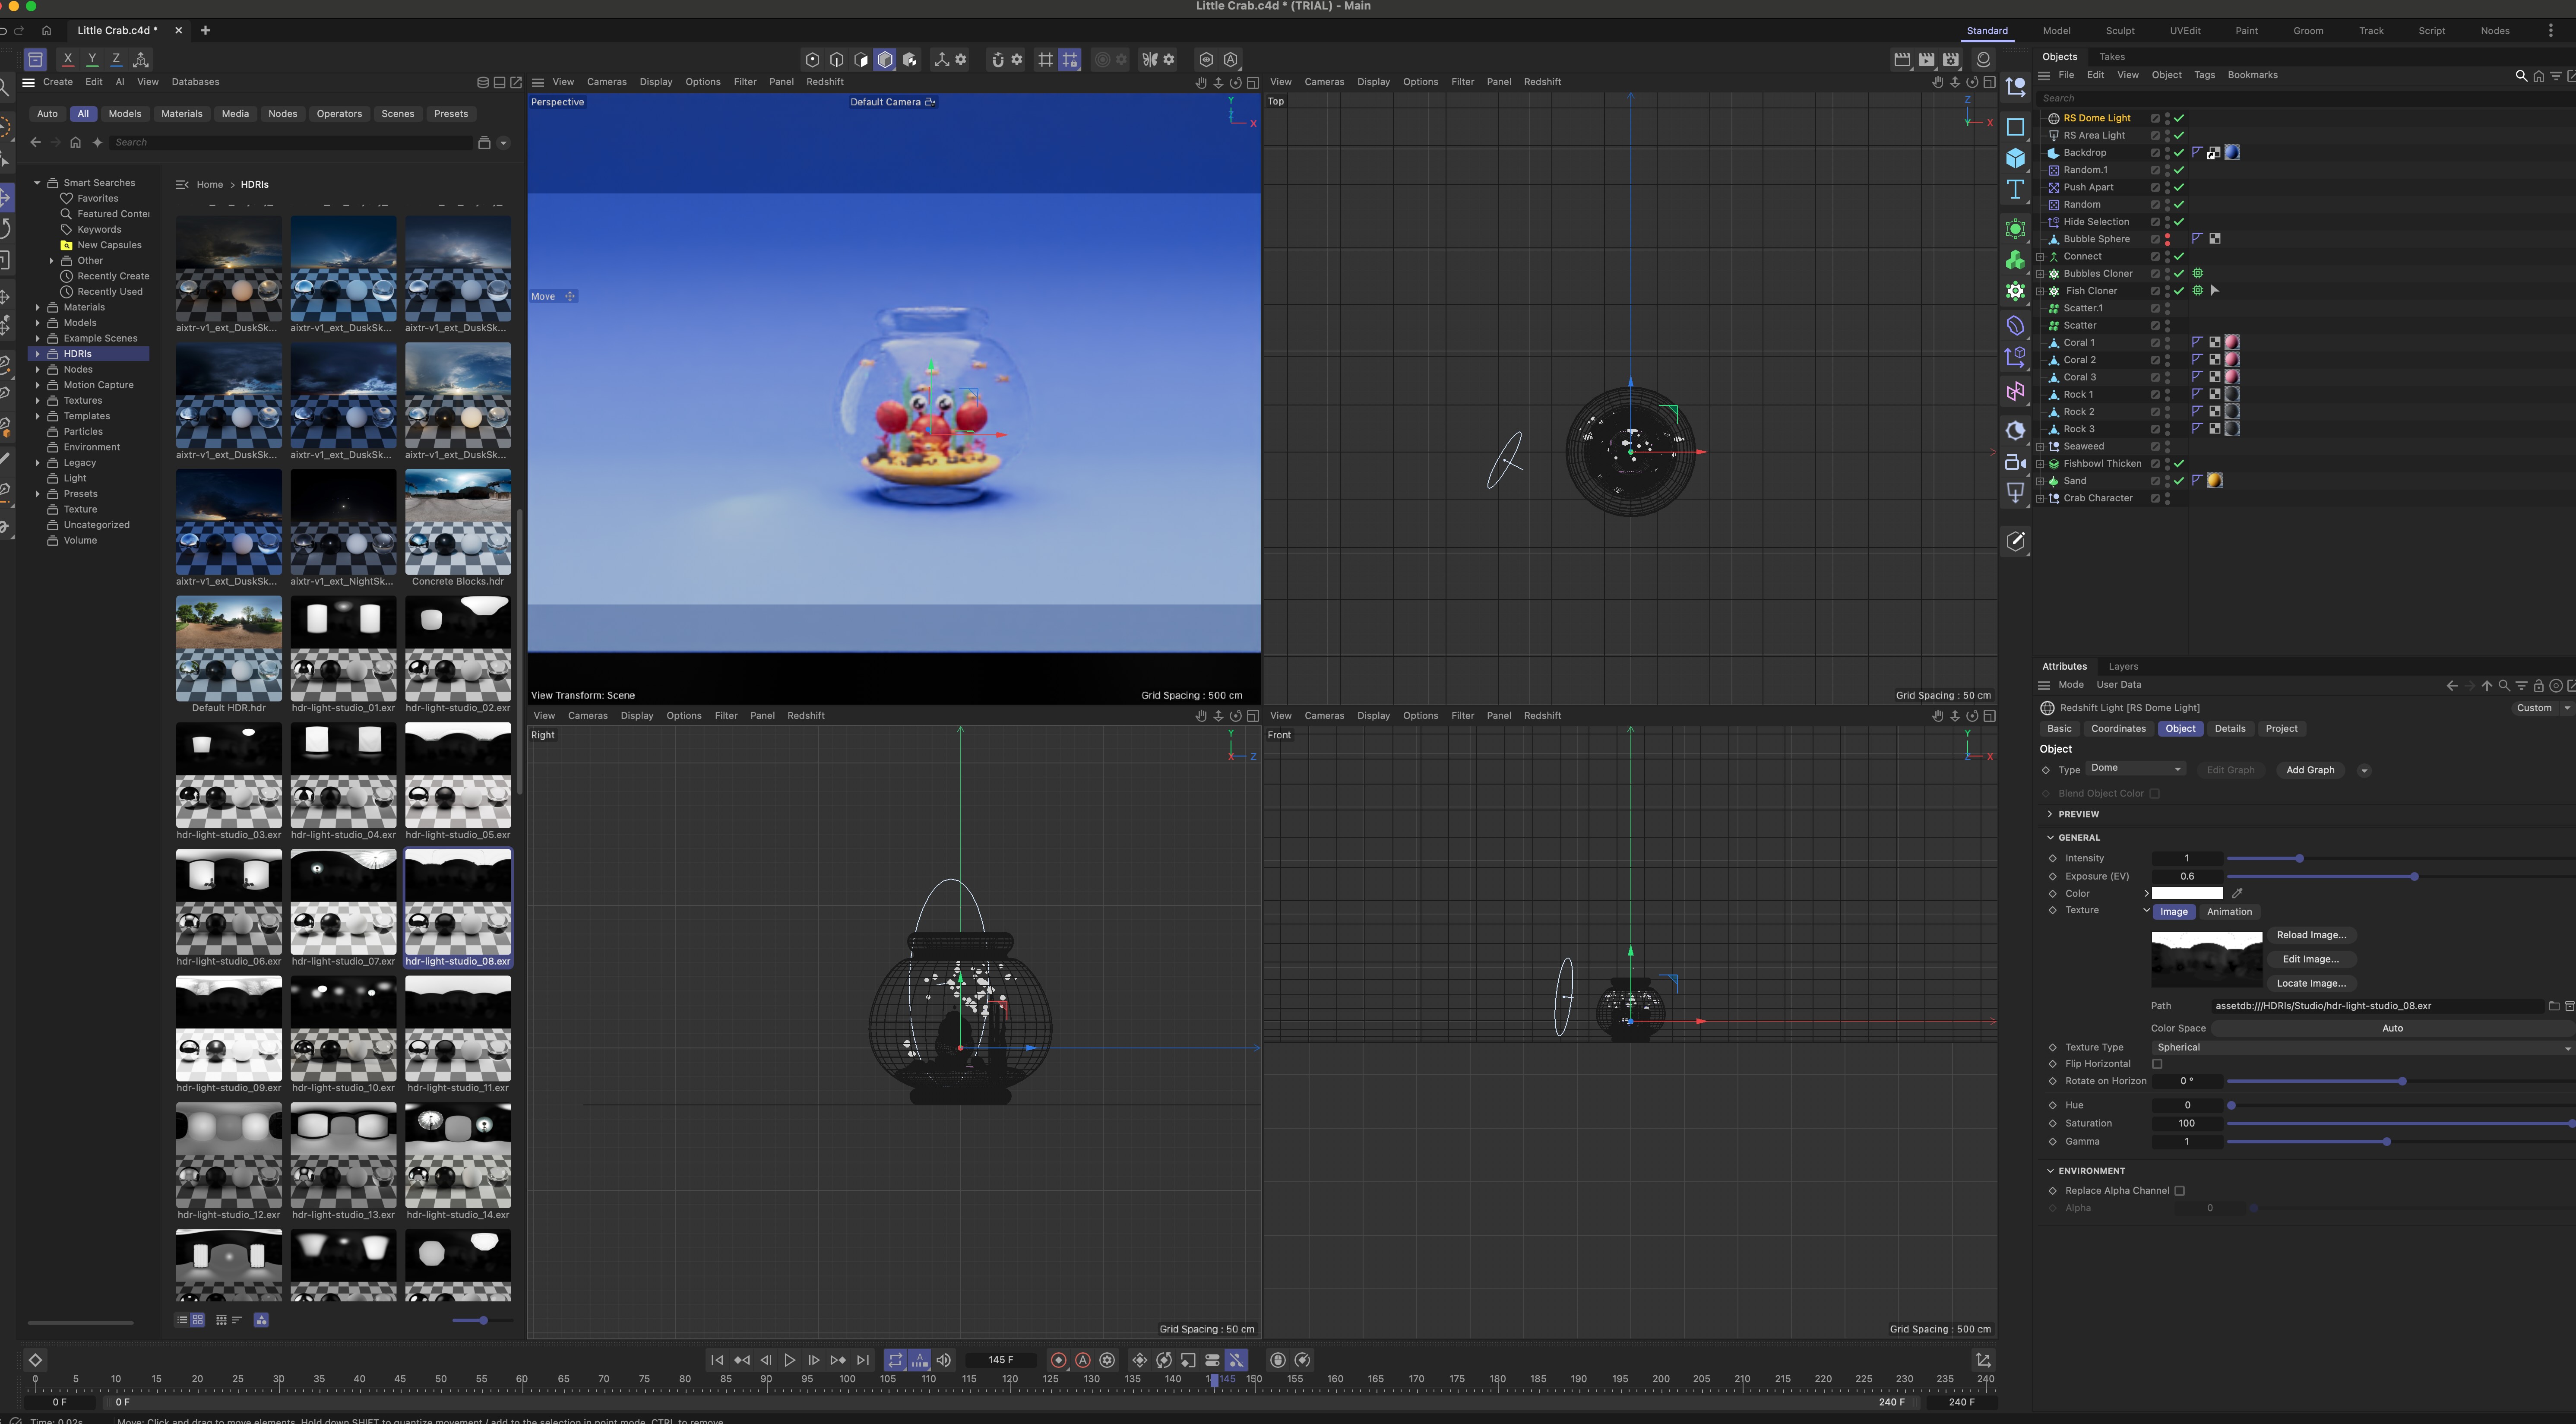
3D Lightning - I used basic lighting techniques and utilized physically based lights using Redshift. I learnt about the different ways to use lights, and different light types to get my renders looking perfect!
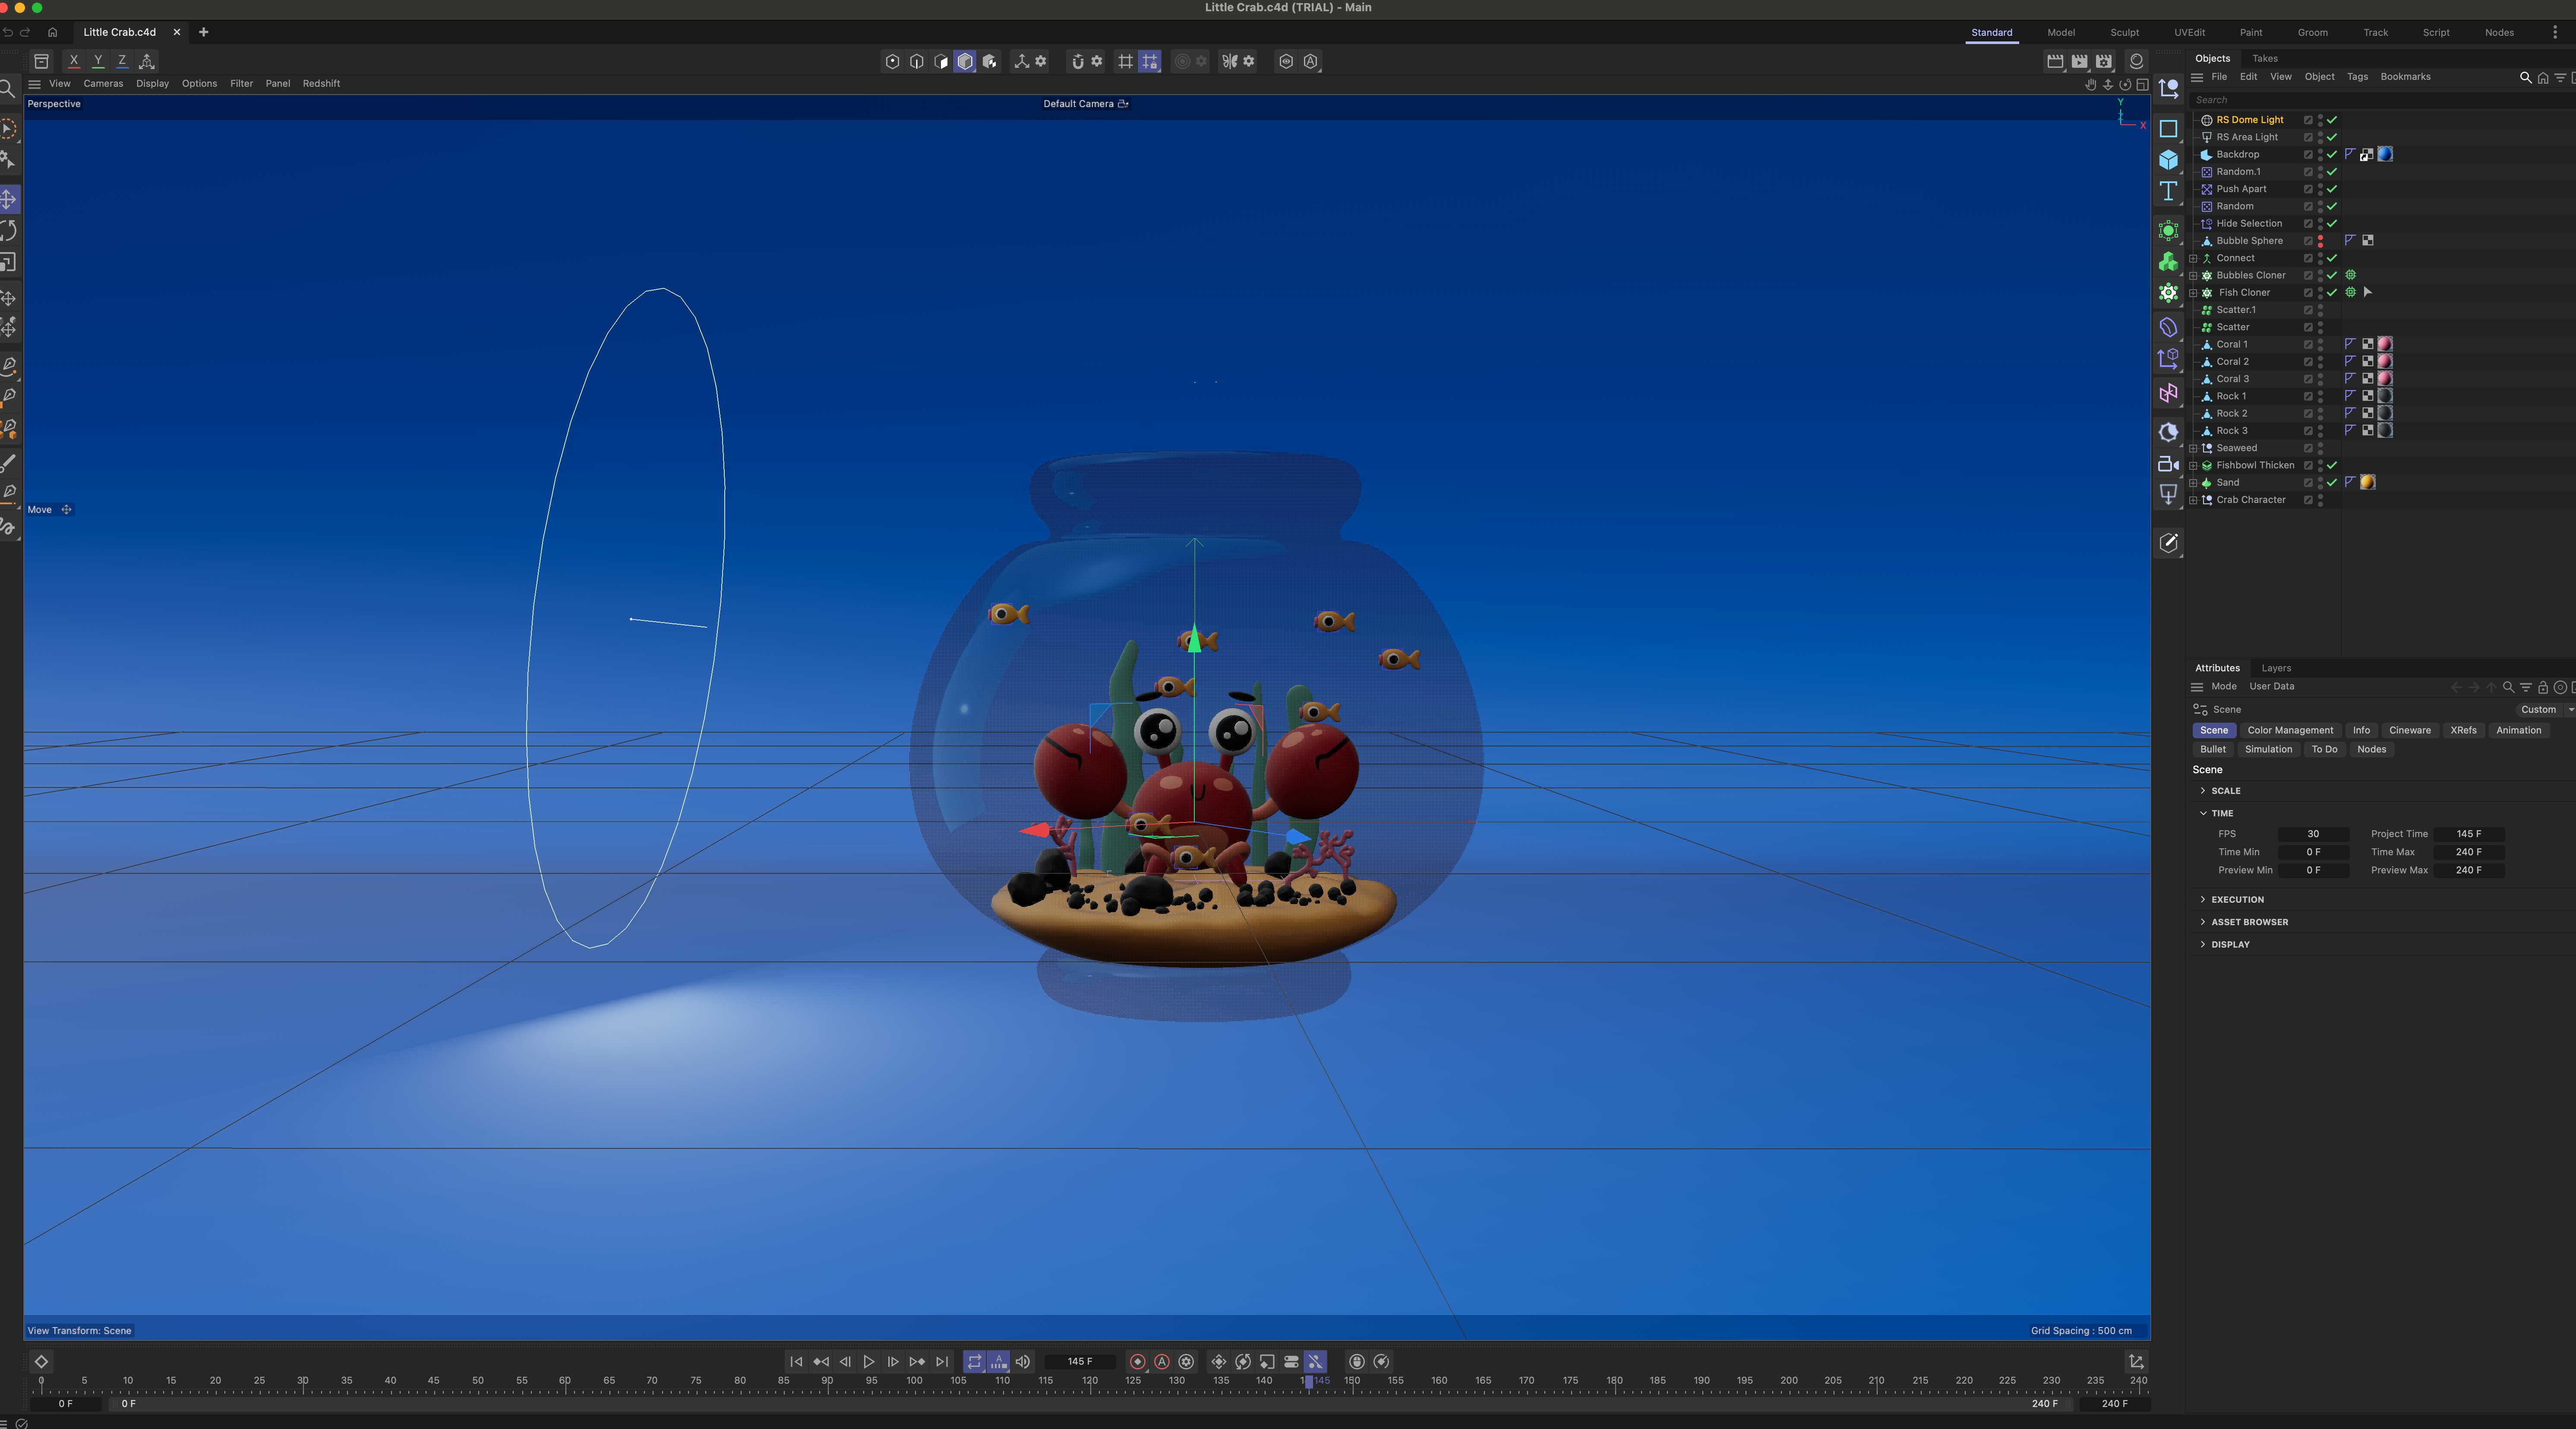
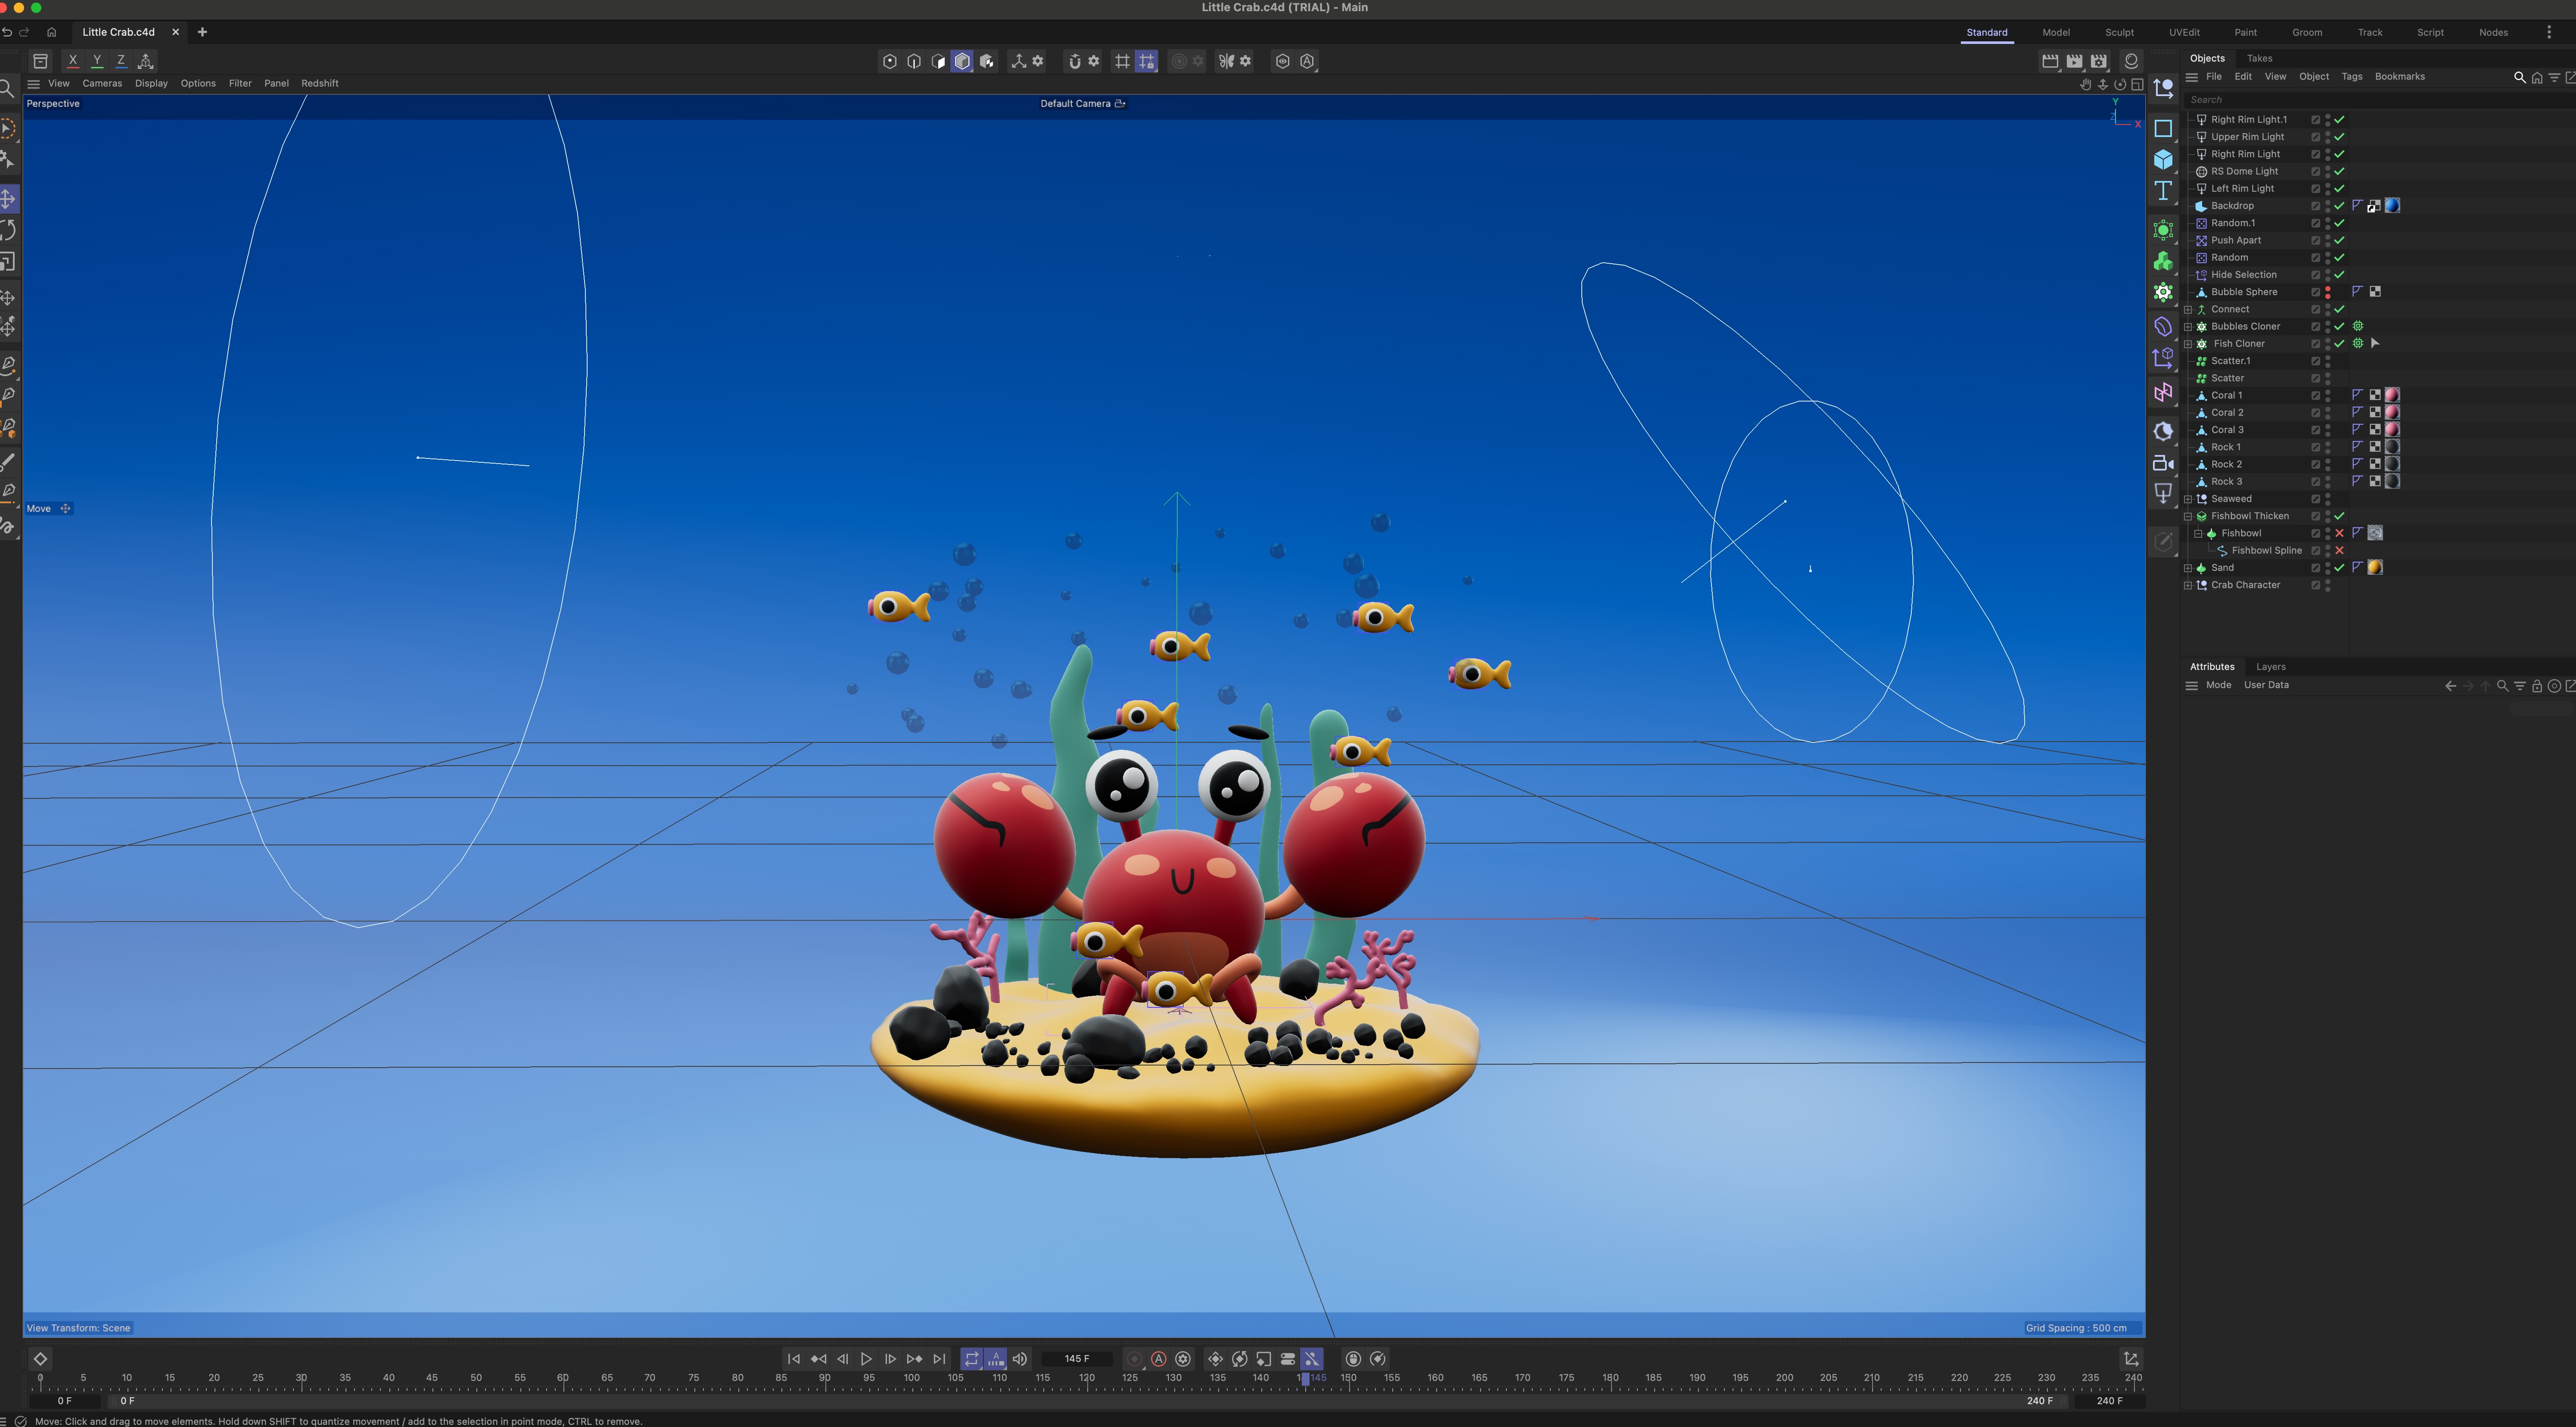
Animation - When I was happy with the lightning and the materials I started setting keyframes to animate the crab. I used the Timeline to fine tune my animation tracks.
Squash and Stretch Animation - I wanted the little crab to feel more cartoonish so I used some of the 12 principles of animation - in this case - the Squash and Stretch Deformer.
Squash and Stretch Animation - I wanted the little crab to feel more cartoonish so I used some of the 12 principles of animation - in this case - the Squash and Stretch Deformer.
Animating a Simple Camera Move - I used the Camera Object settings and learnt how to frame my composition using Composition Helpers. Then using the Vibrate Tag tool, I learnt how to procedurally animate a simple arcing camera move.
Final Bits
Scene Management - I was introduced to the CINEMA 4D Layer system and learnt how to utilize it to organize and manage my scene.
Render - I rendered my animation using Redshift, I made sure to set up the final output paths and adjusting settings to optimize render speed.
Render - I rendered my animation using Redshift, I made sure to set up the final output paths and adjusting settings to optimize render speed.
Redshift AOV - I also got a brief overview of what Redshift AOVs are, how to set it up for my specific scene, and why they’re important for maximum flexibility when editing in post production.
Takes and Render Tokens - I also had a brief overview of the Take and Render Token Systems that allowed me to easily iterate off of a main project file, streamline file naming, and how to effectively use Takes to save different versions of a project in a single project file.
Takes and Render Tokens - I also had a brief overview of the Take and Render Token Systems that allowed me to easily iterate off of a main project file, streamline file naming, and how to effectively use Takes to save different versions of a project in a single project file.

see more projects
see more projects
see more projects
see more projects
see more projects
see more projects