

I have been working with Blender for a few years, and specifically with the Geometry nodes. In this test I have explored a tutorial I used to learn how to use the Geometry nodes. The tutorial was created by Chong 3D, and I have added a few adjustments to help me visualise the direction I had.
I first took on this tutorial in 2023, while still studying Blender. My aim then was to understand how I can use the Geometry Nodes and transform one object to another. This is what the first take looked like:
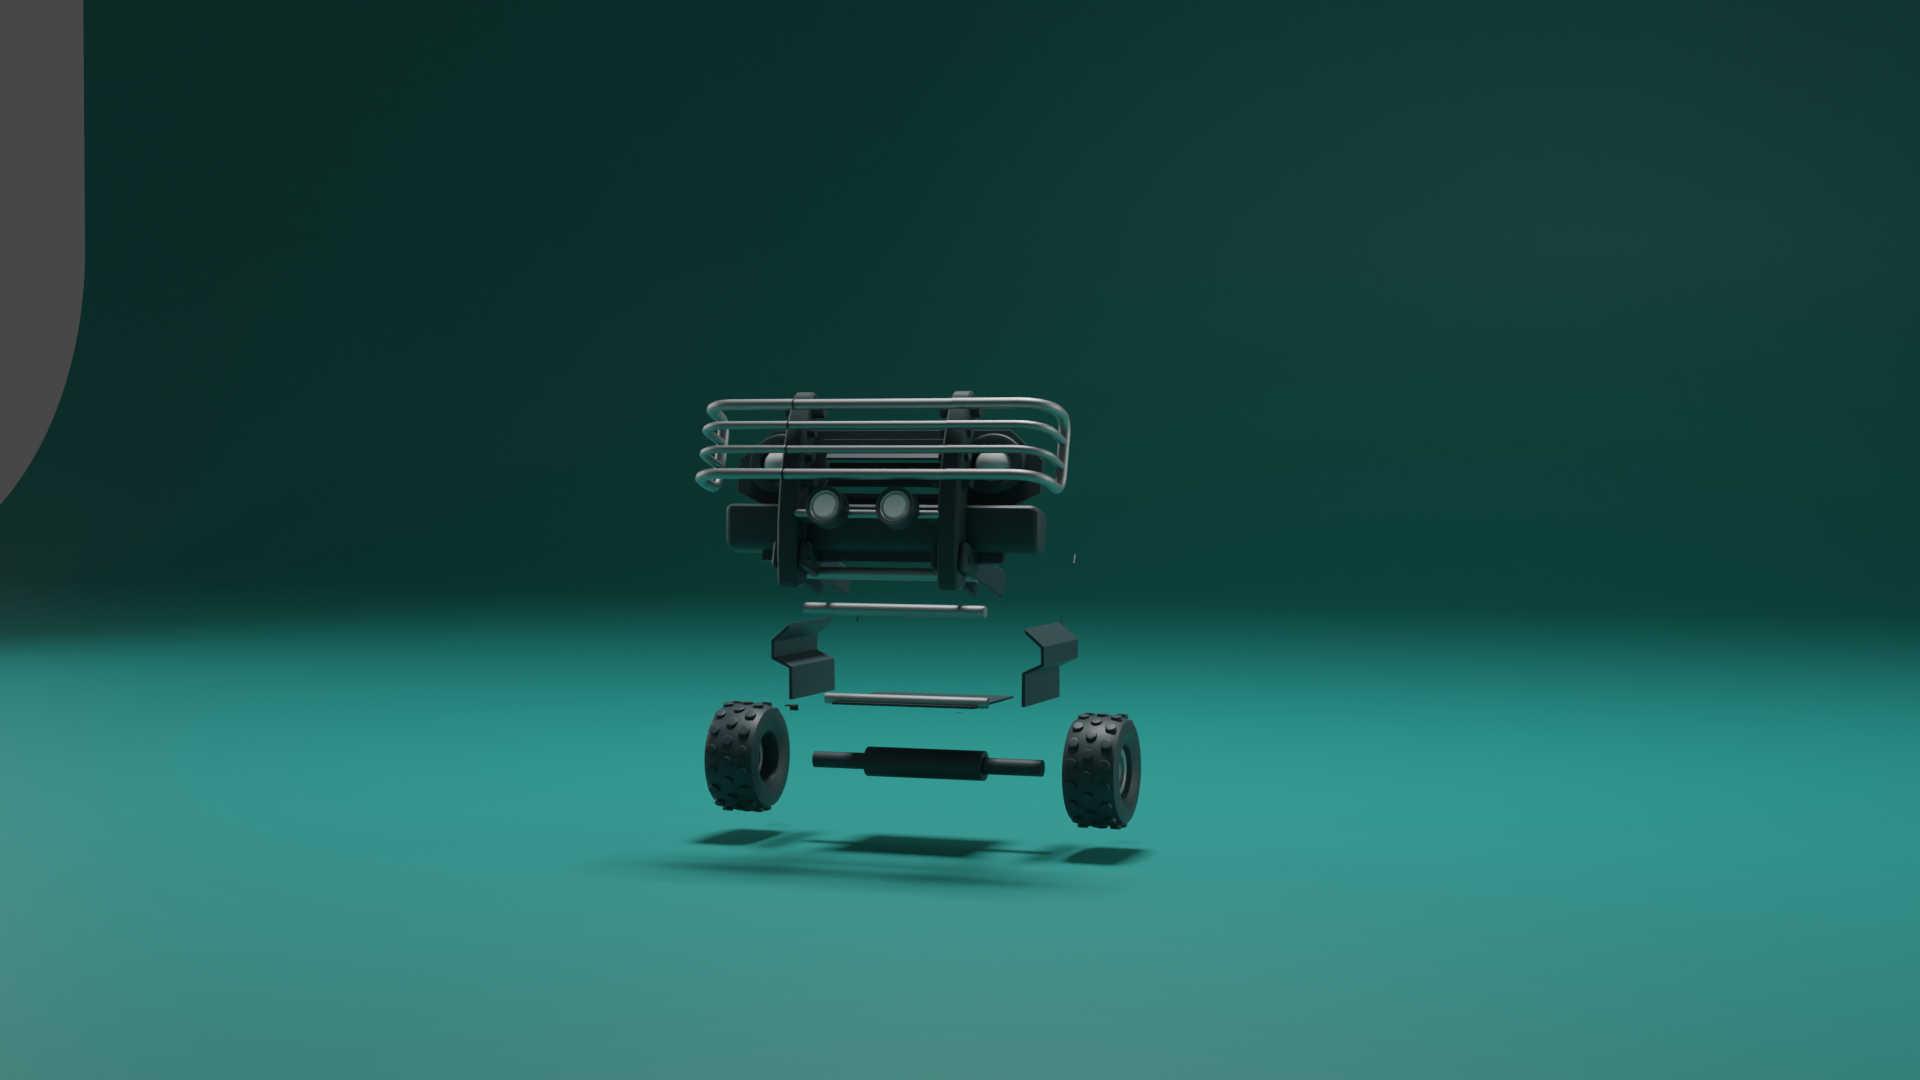
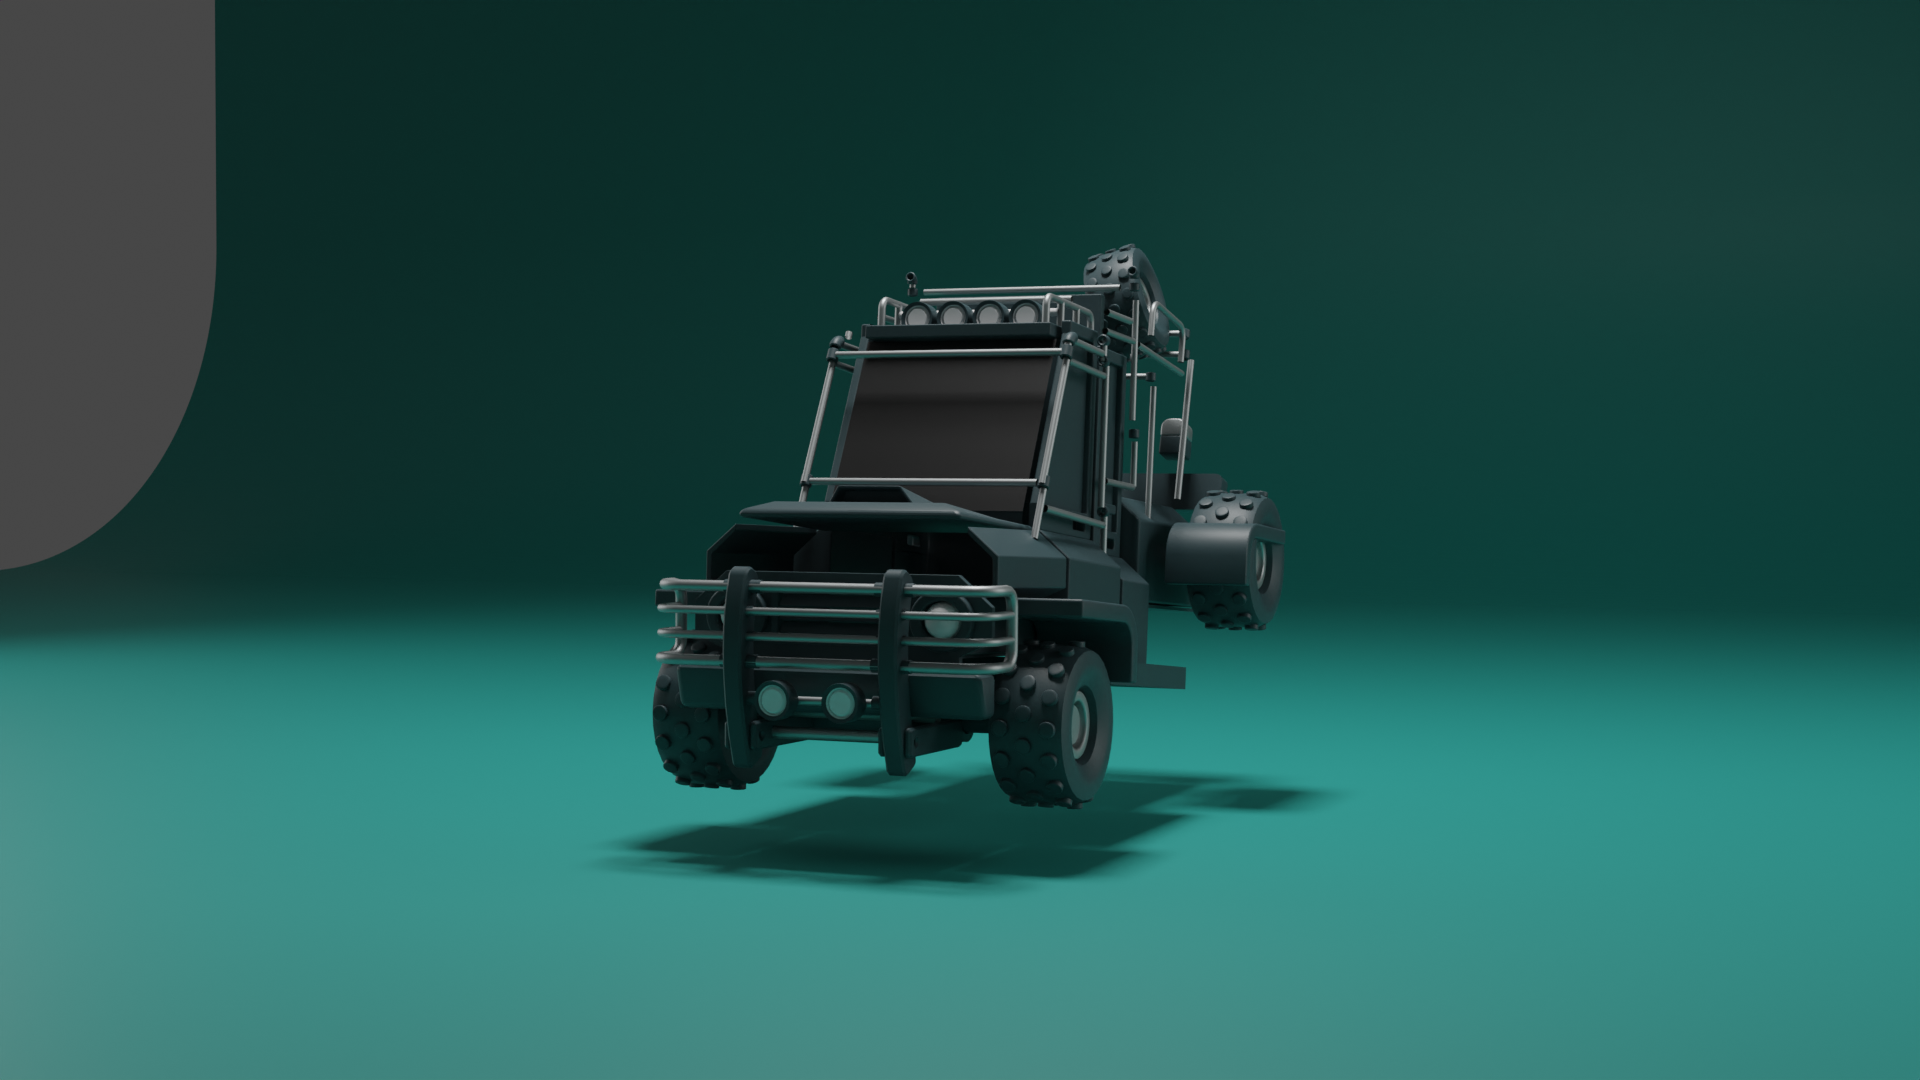
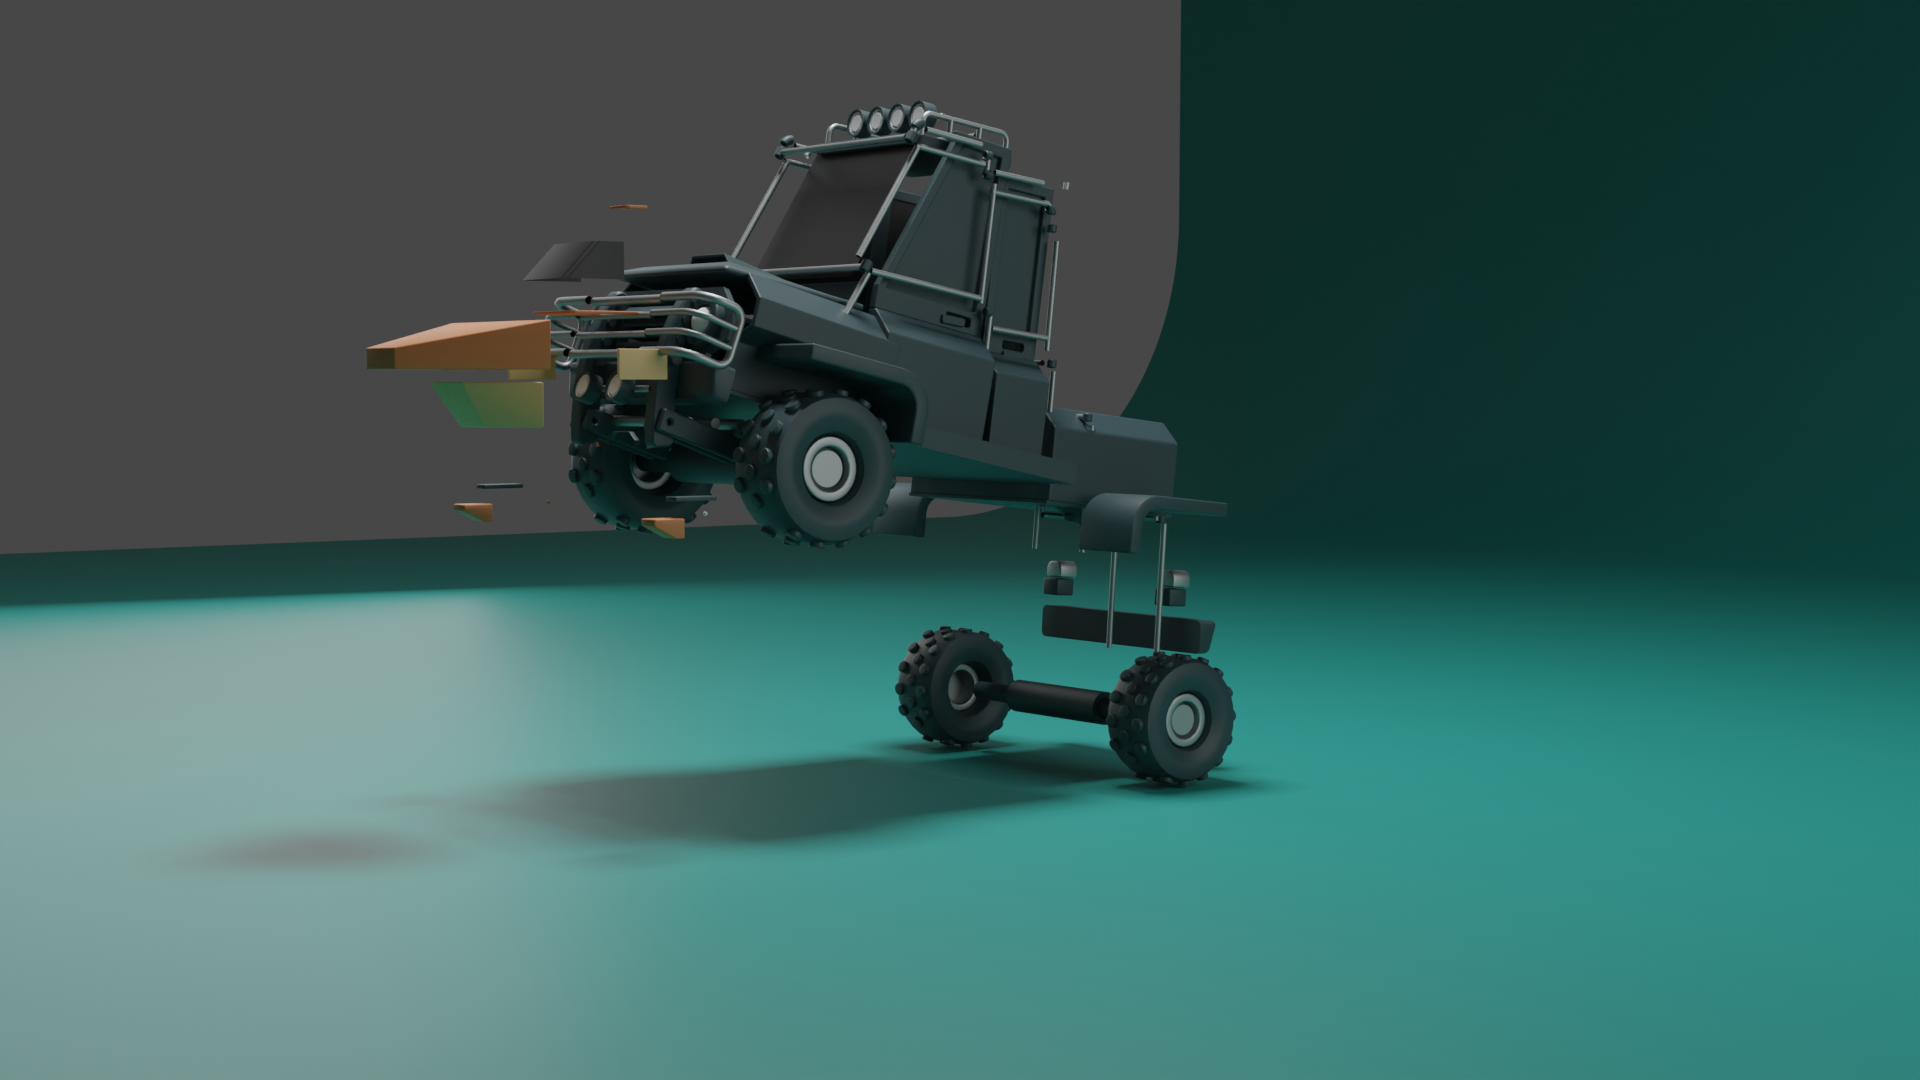
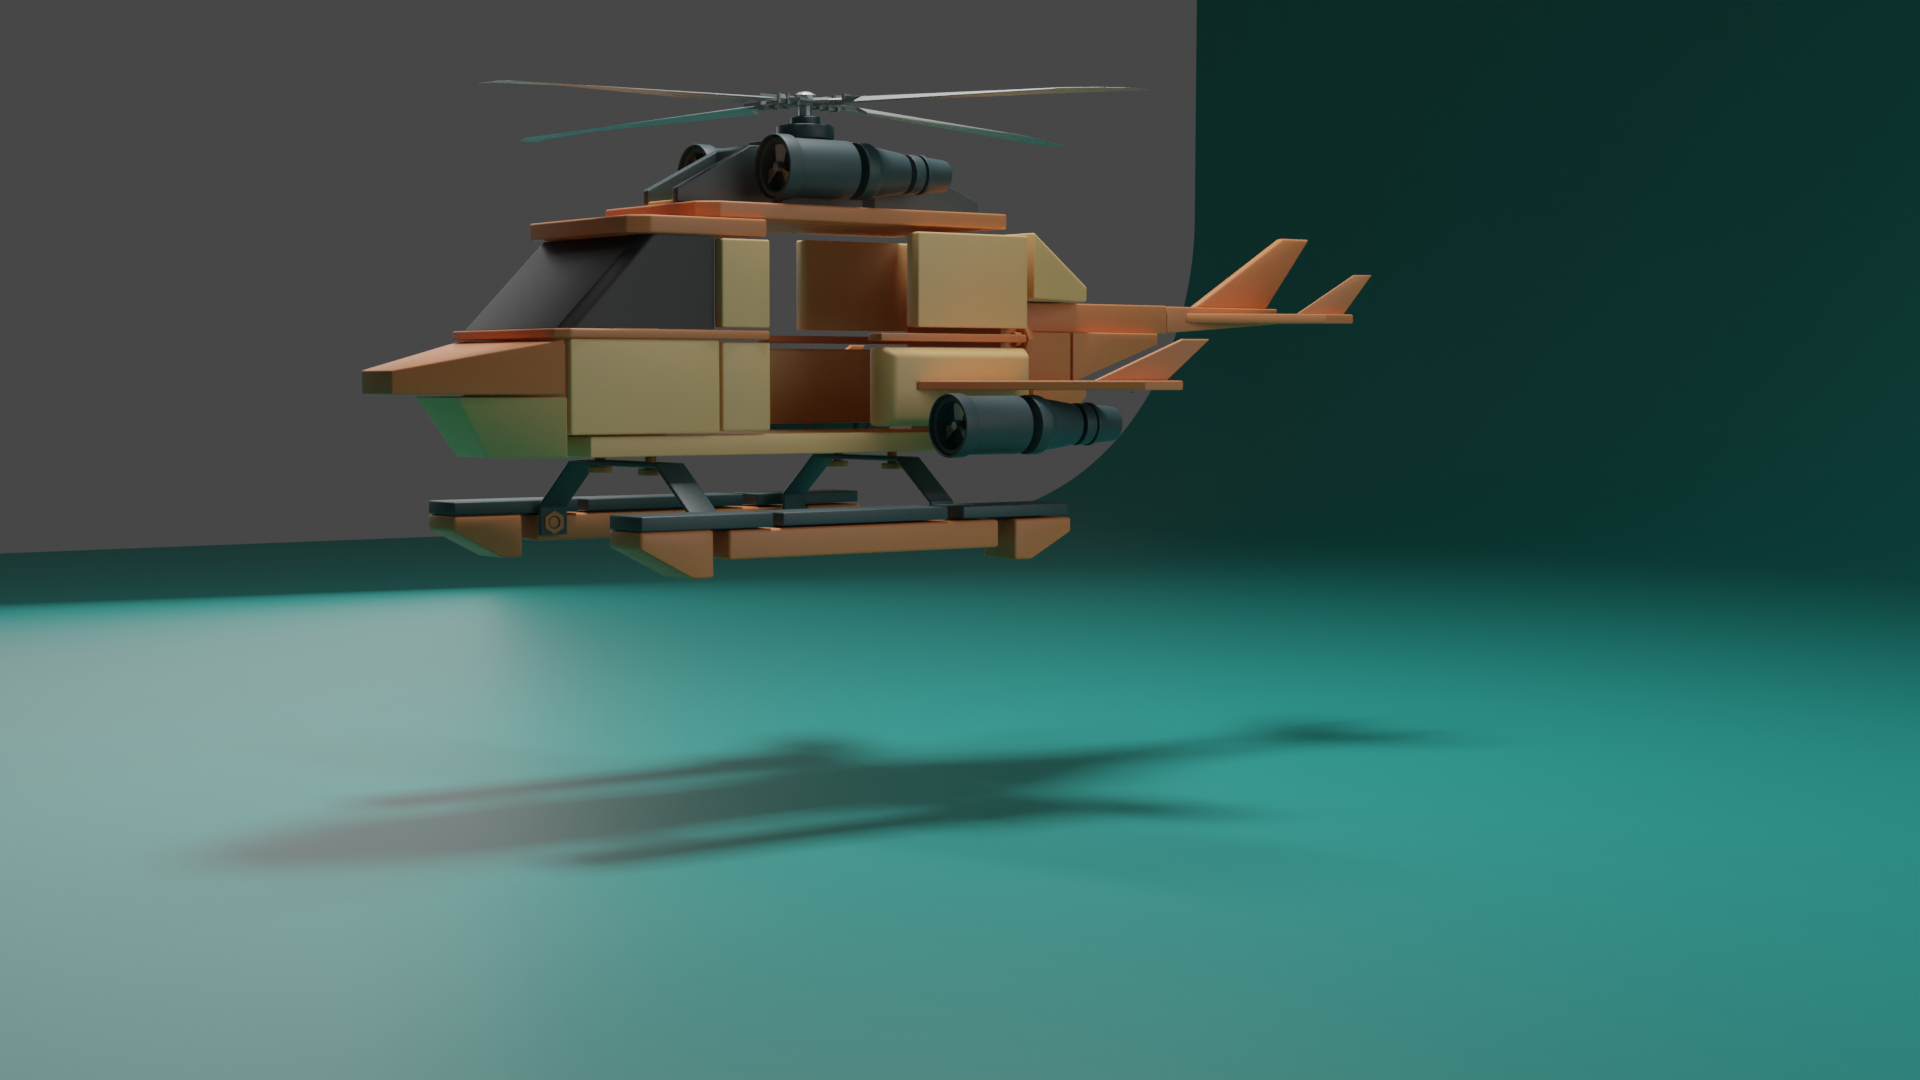
After a few adjsutments, I wanted to create a more dynamic animation:
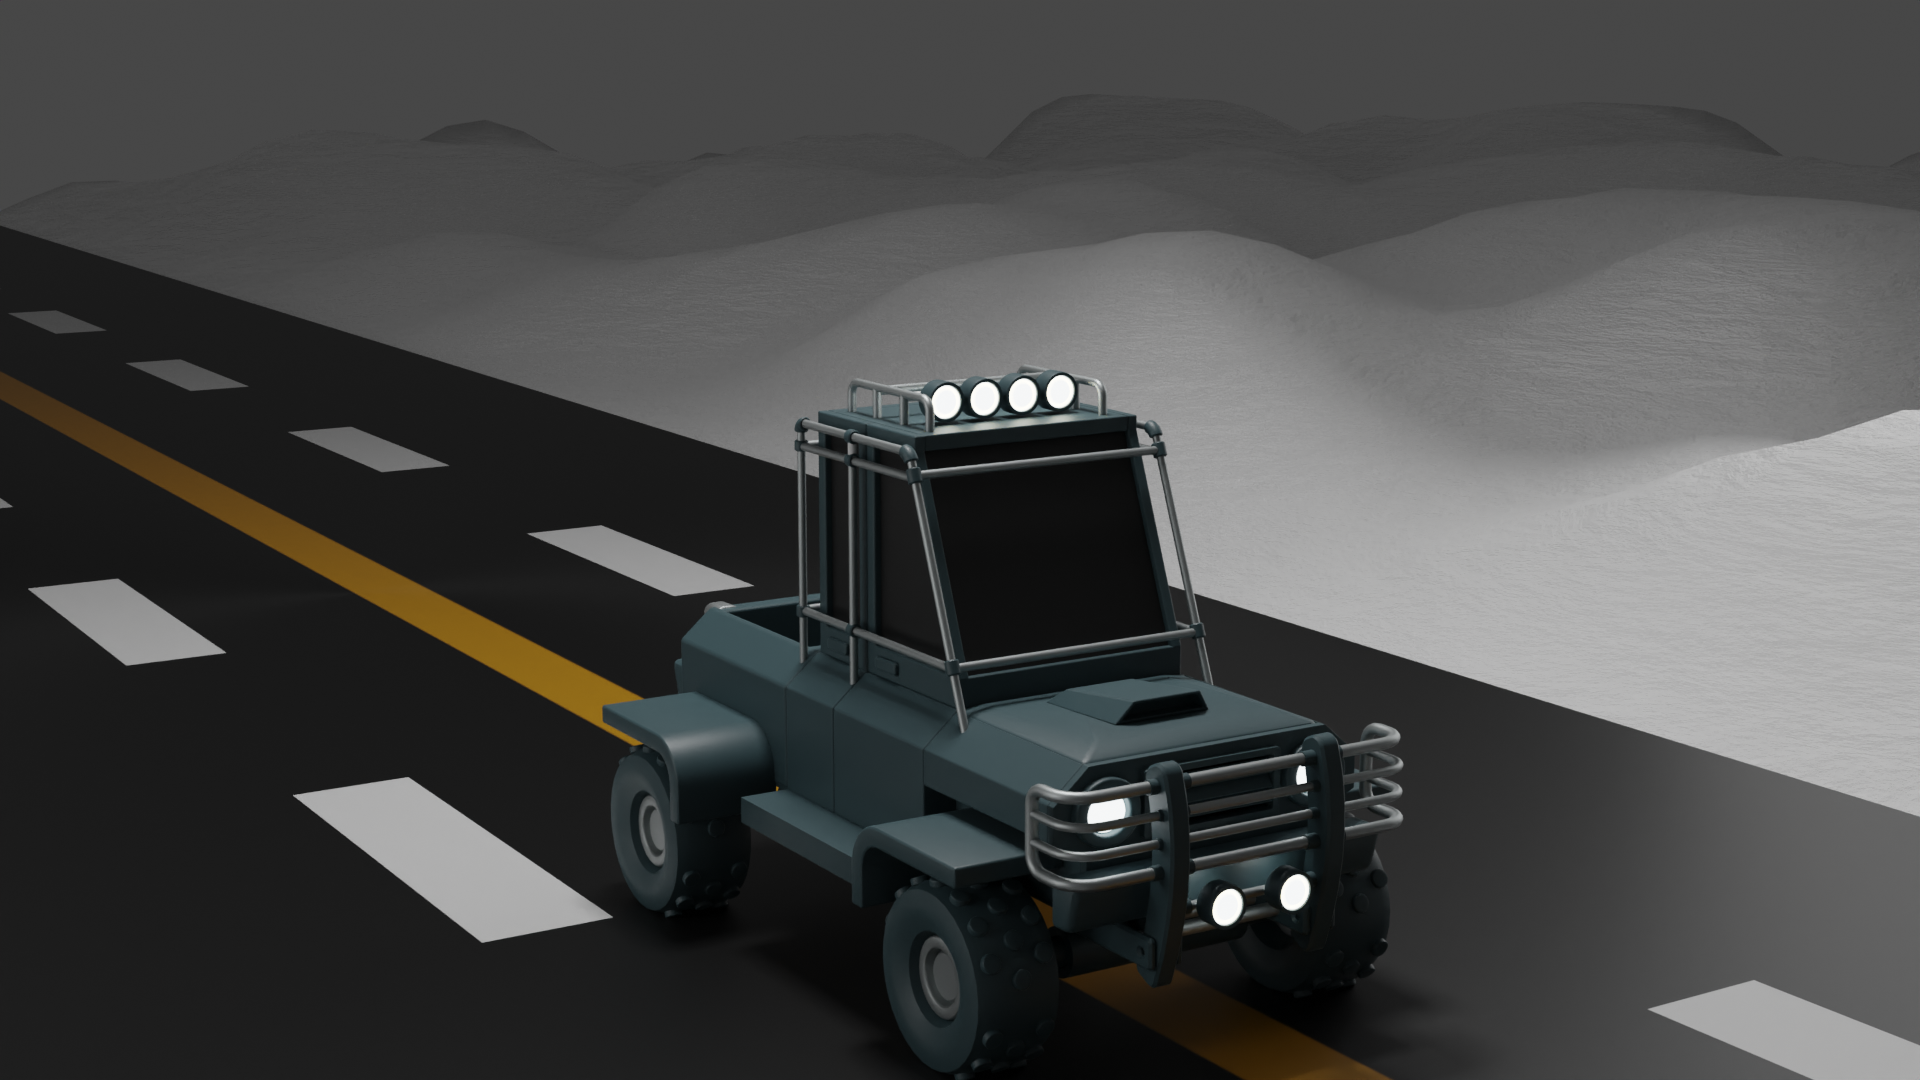
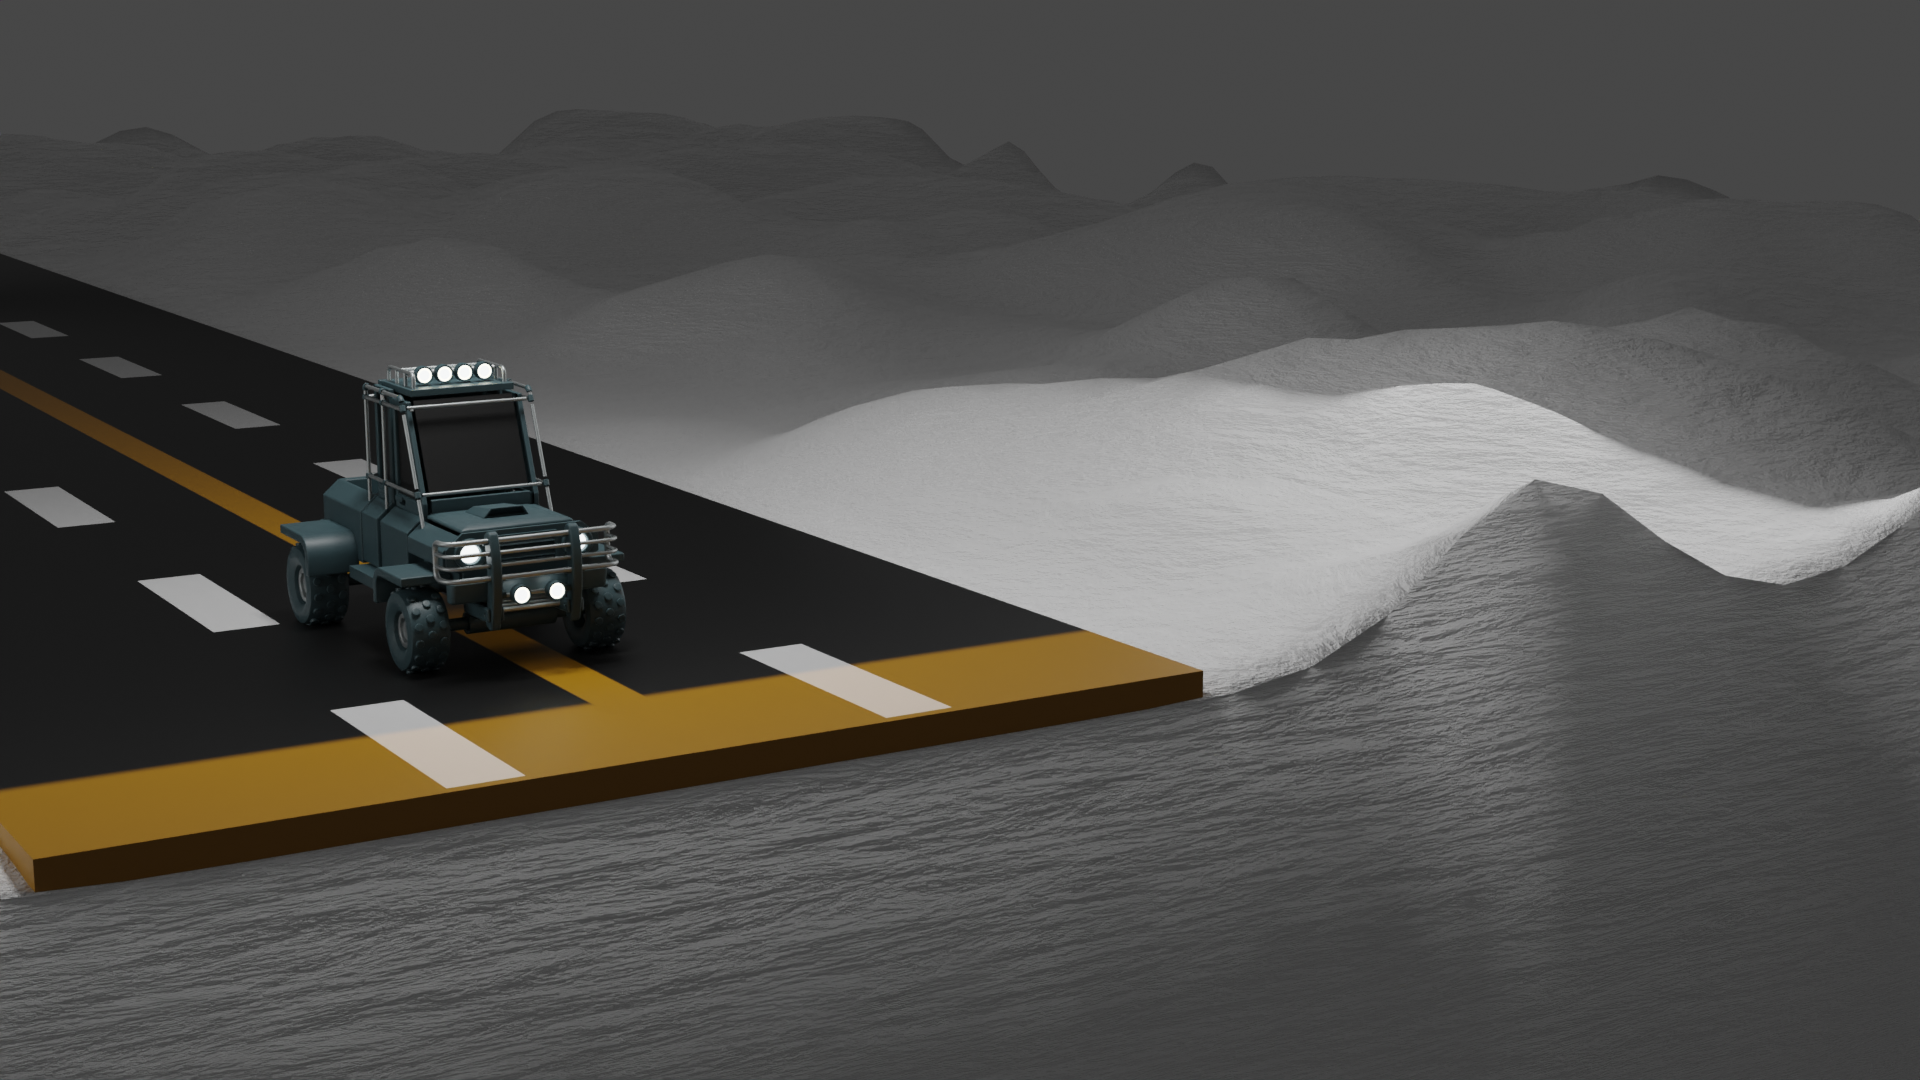
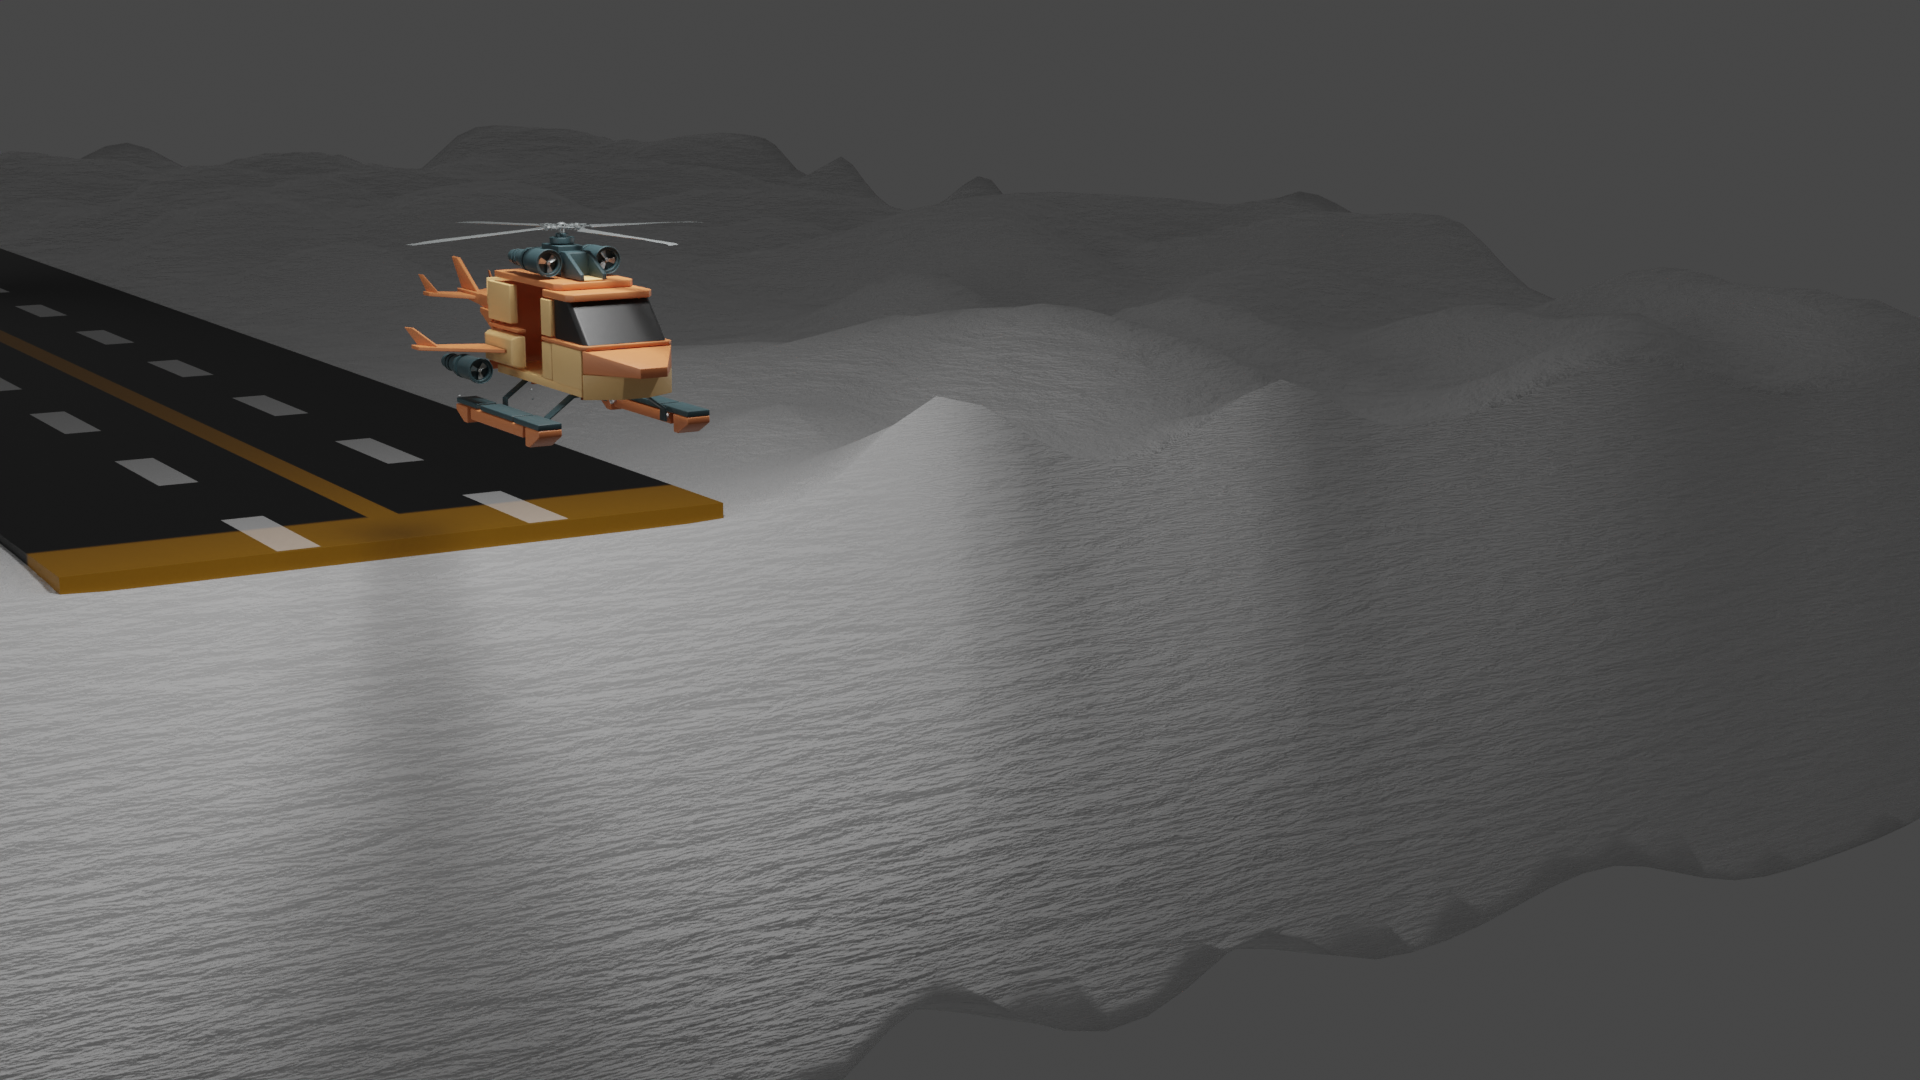
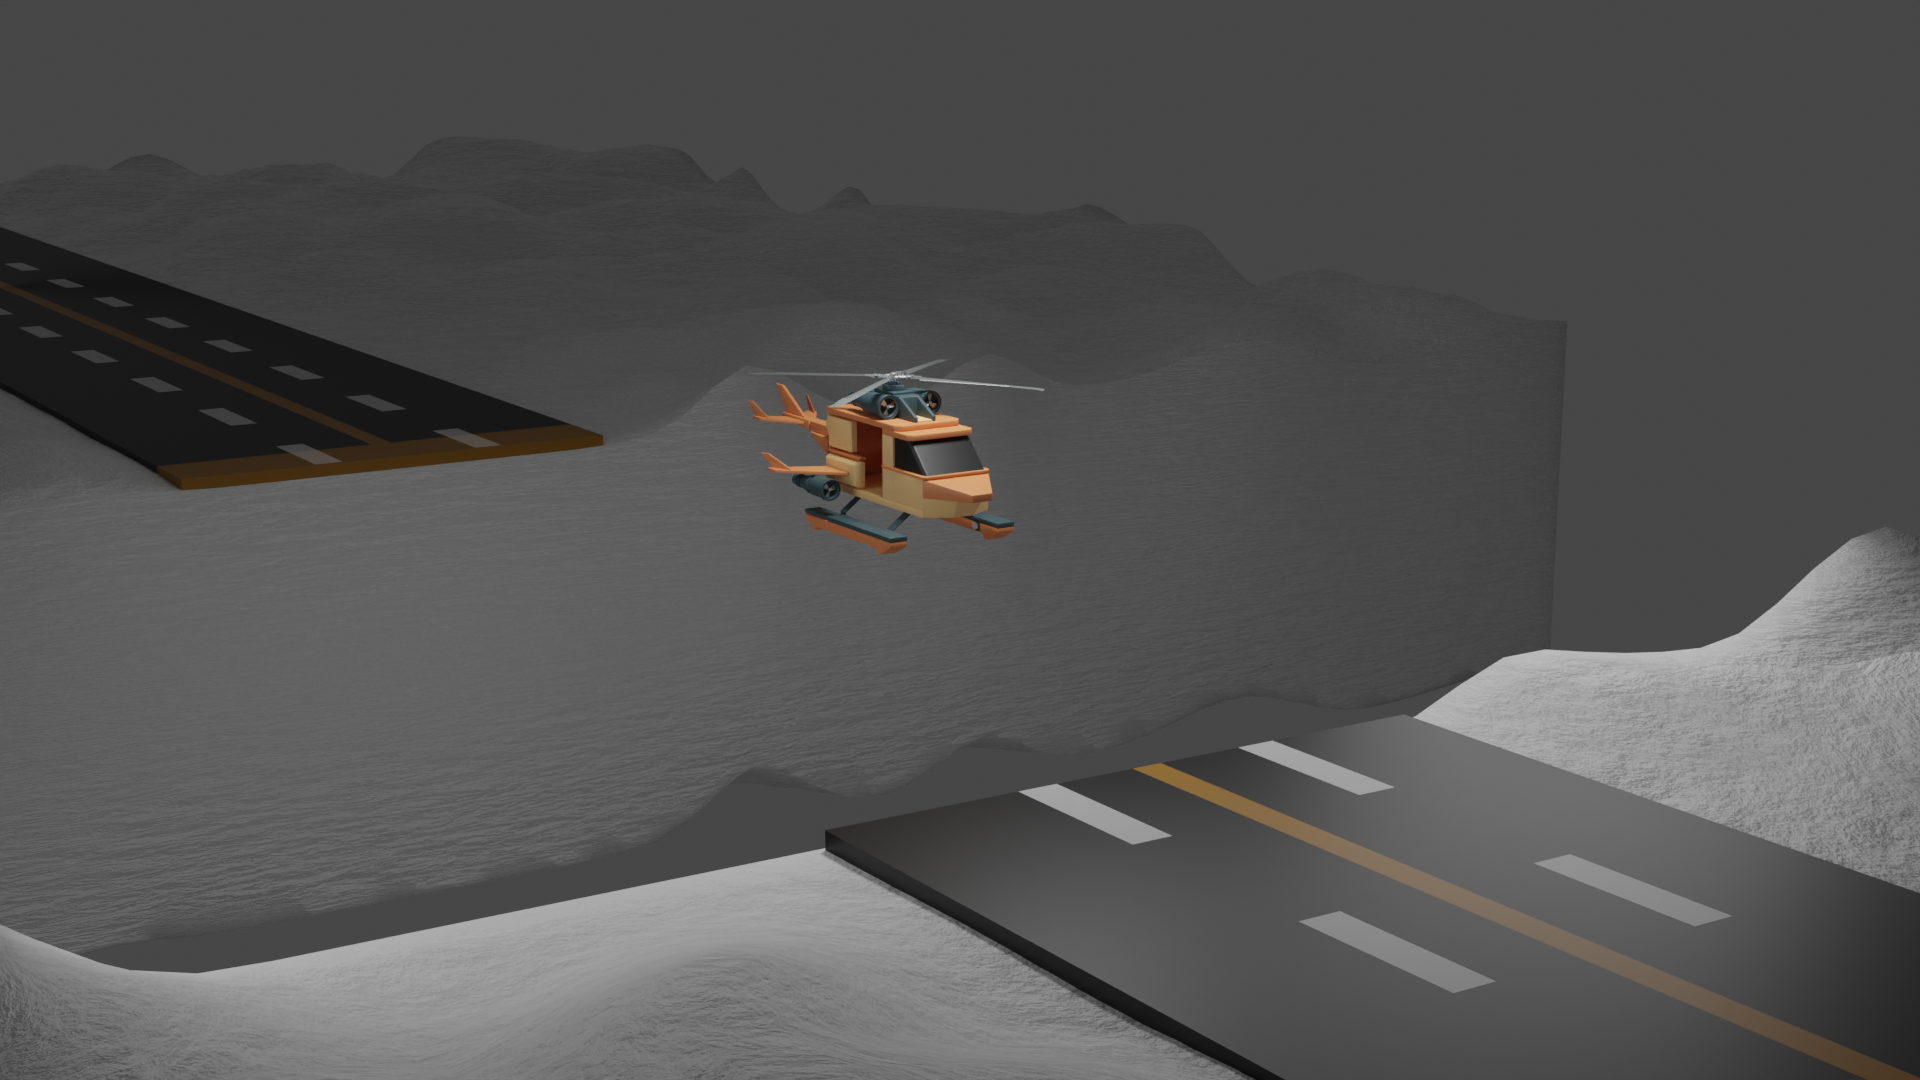
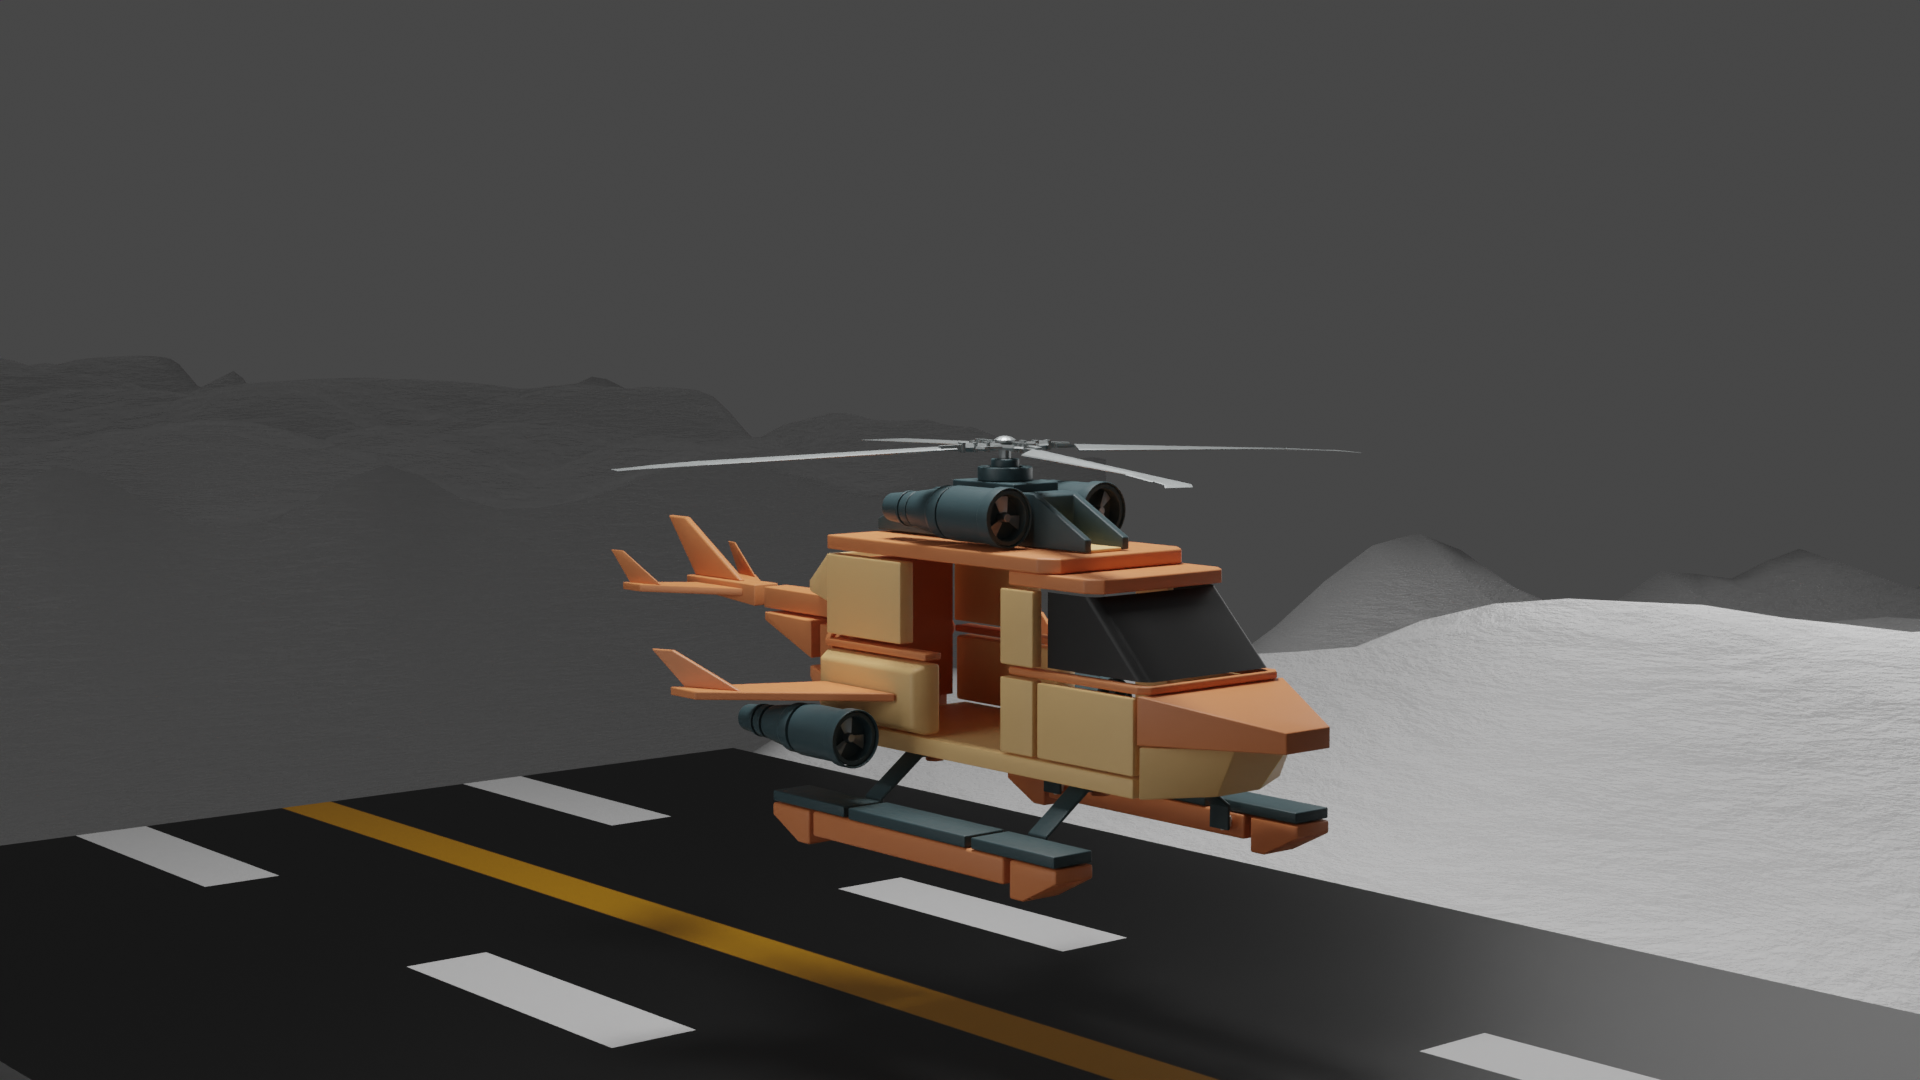
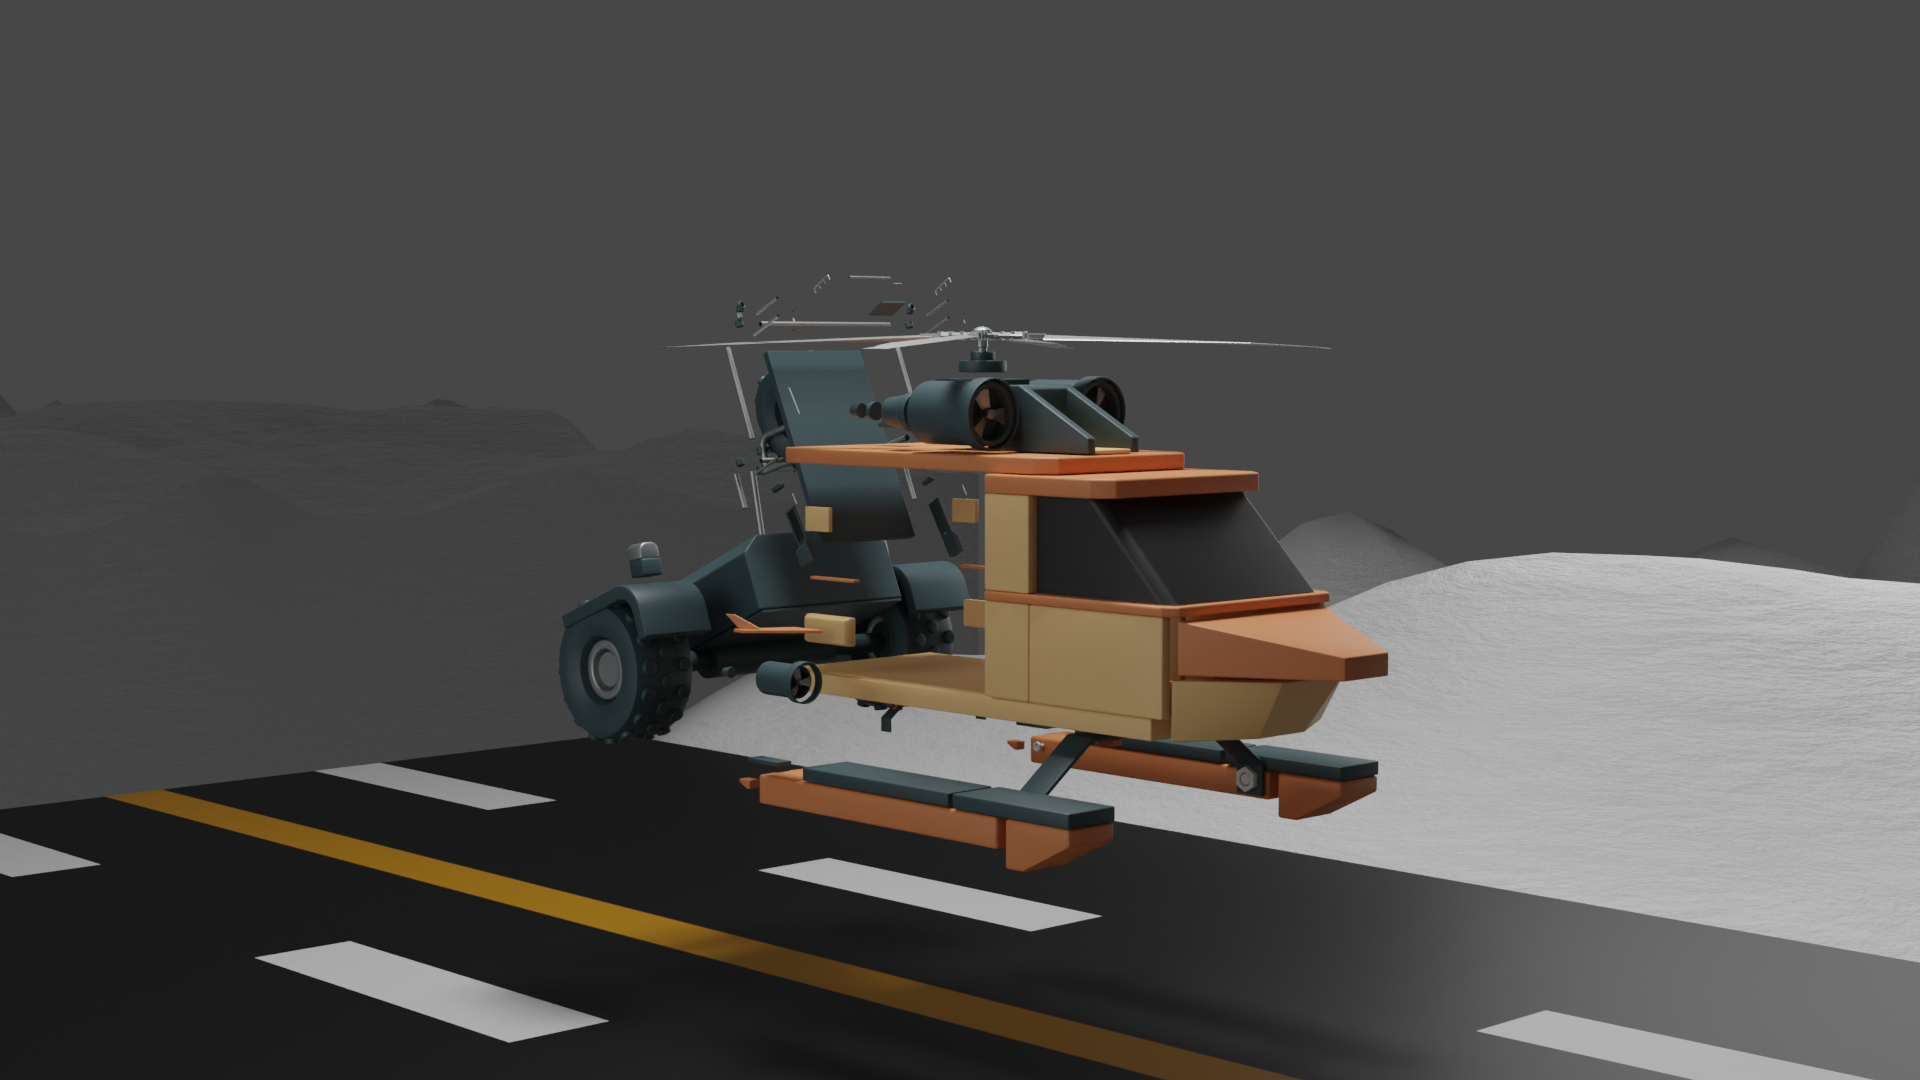
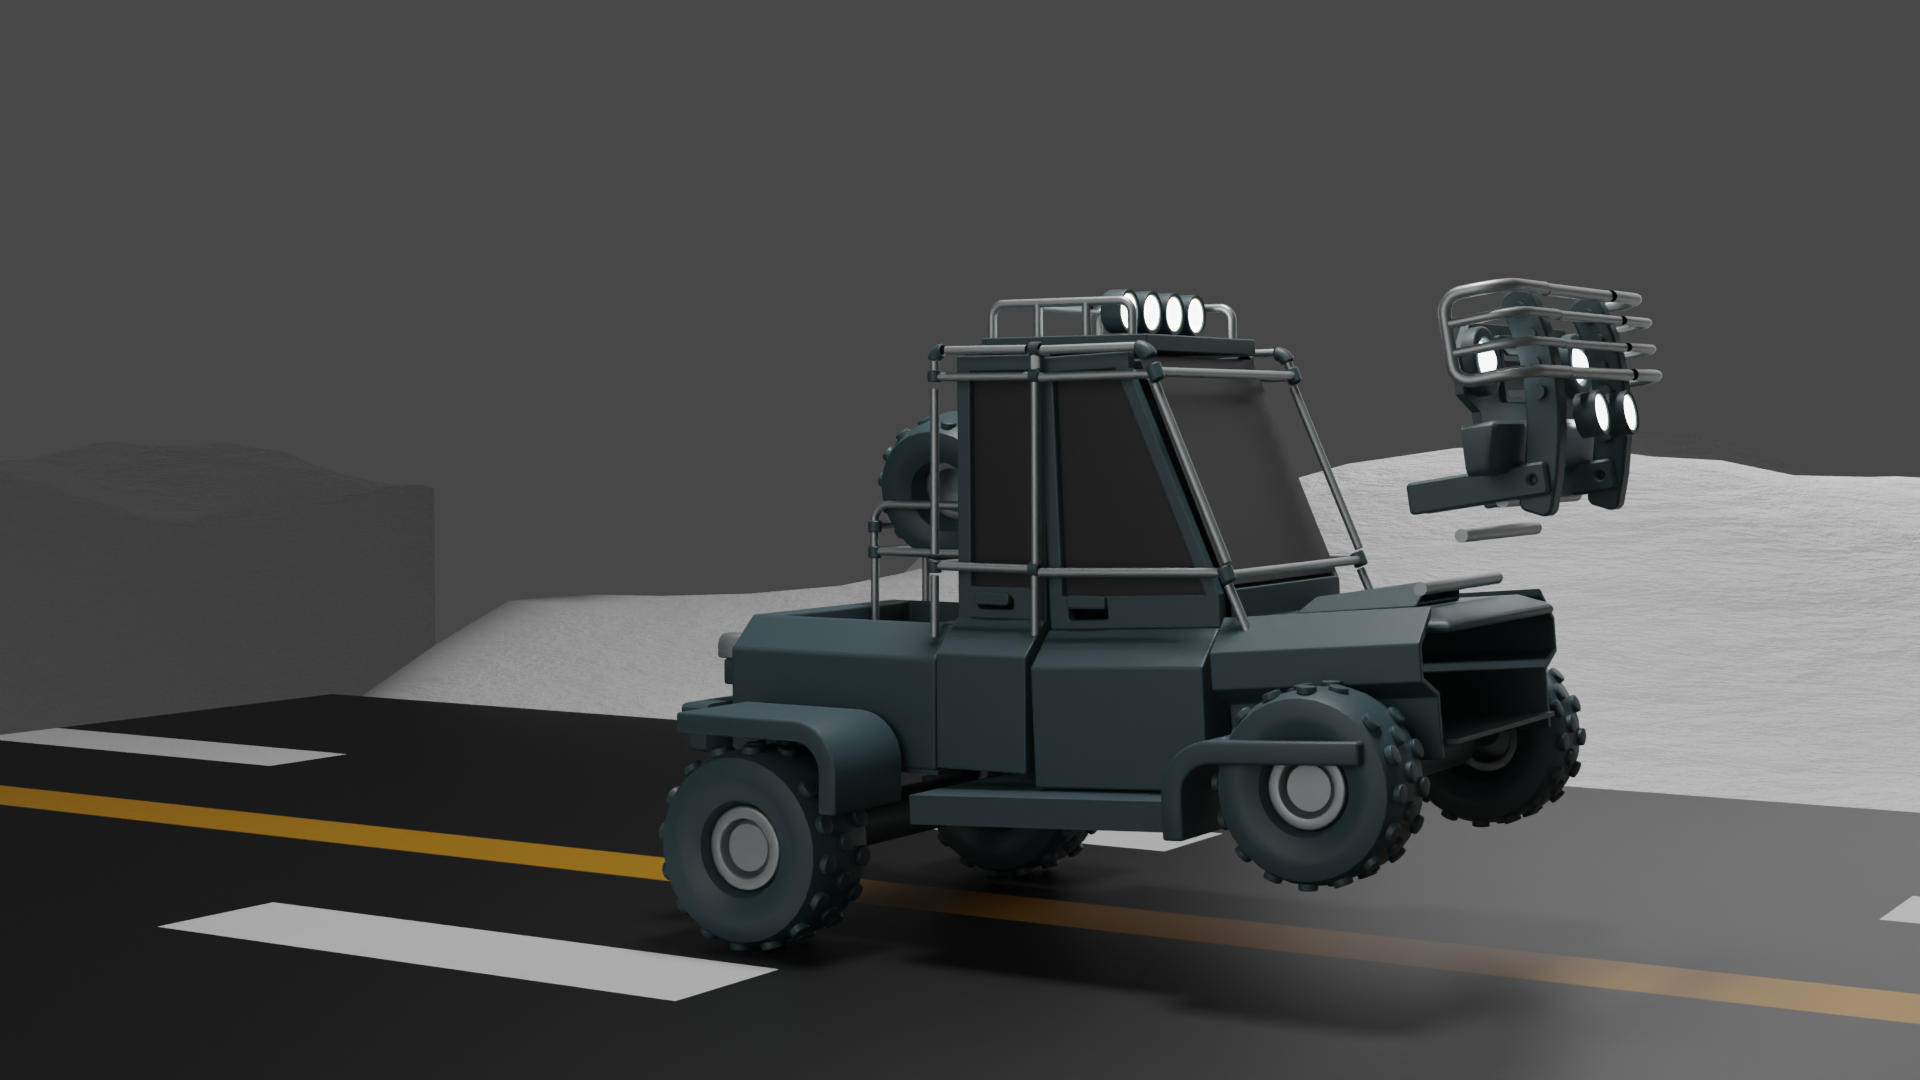
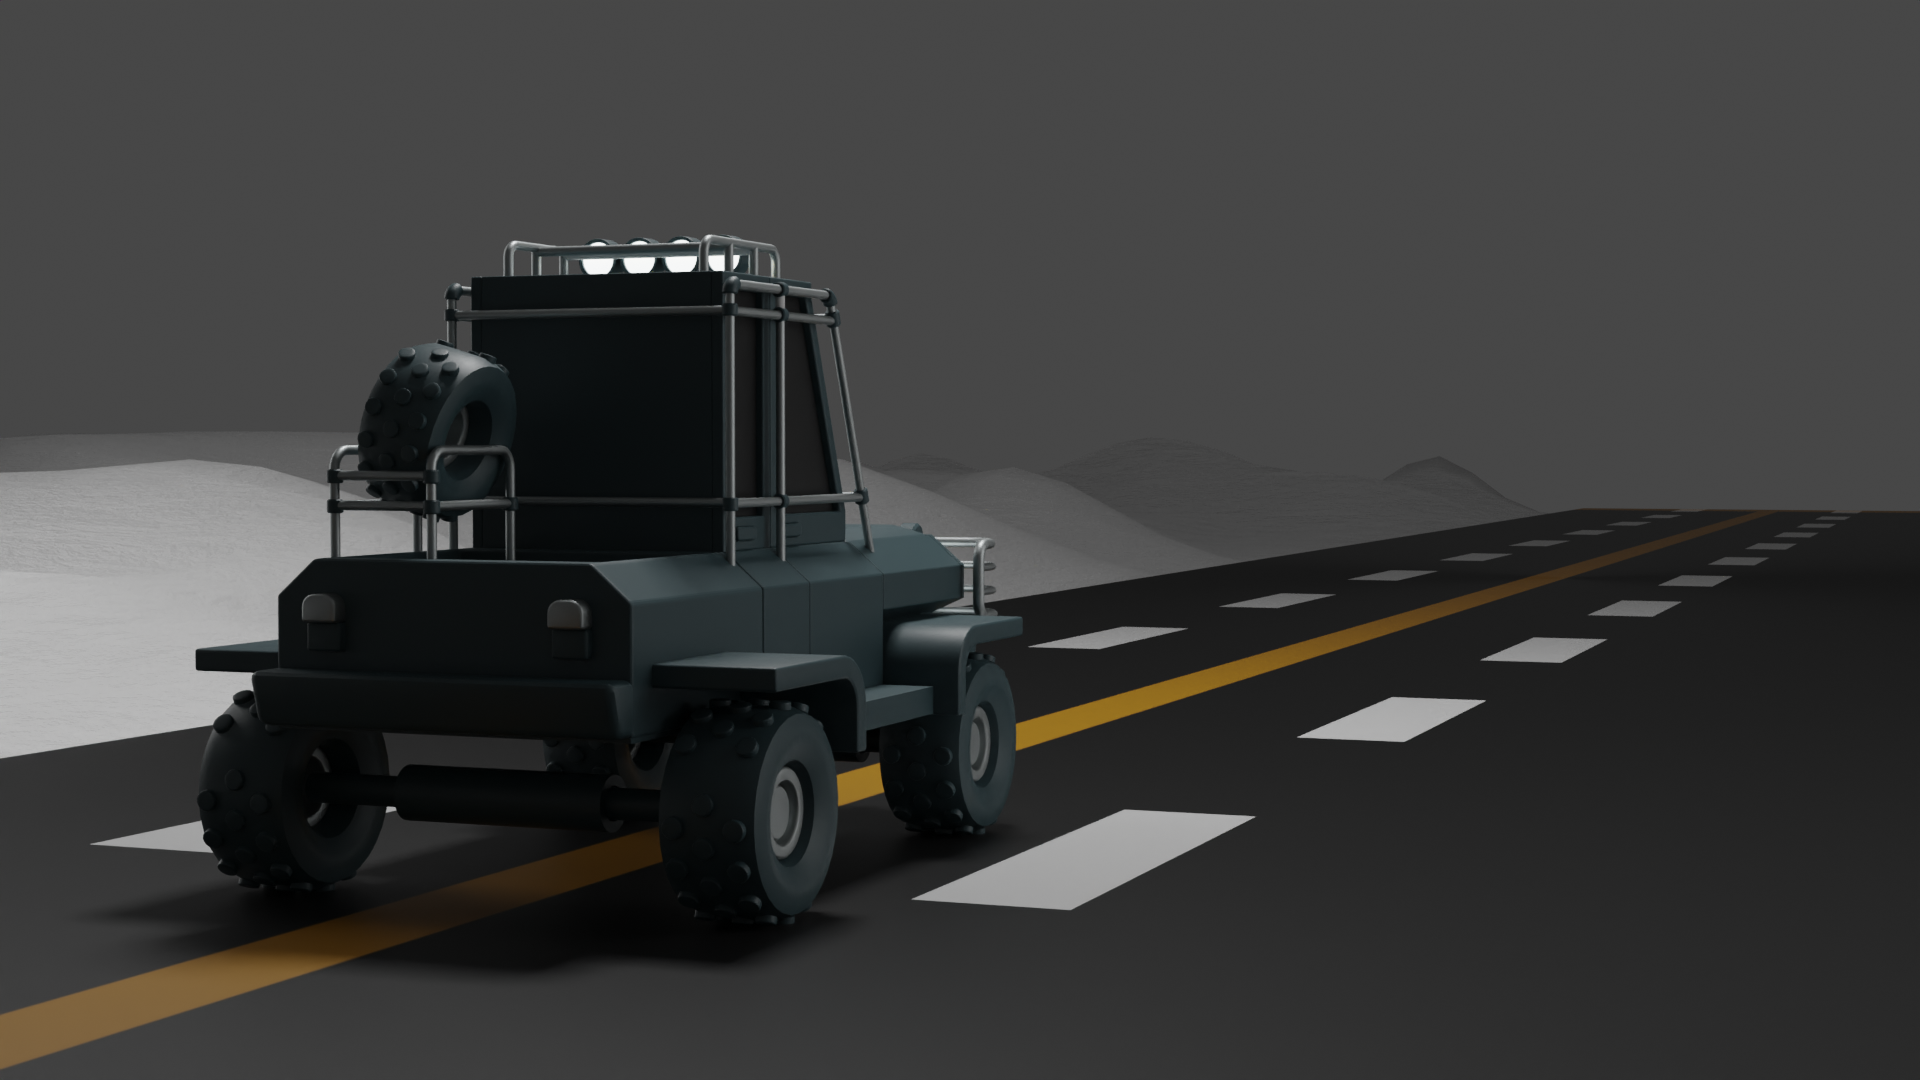
In 2025 I came back to this project and adjusted a few bits:
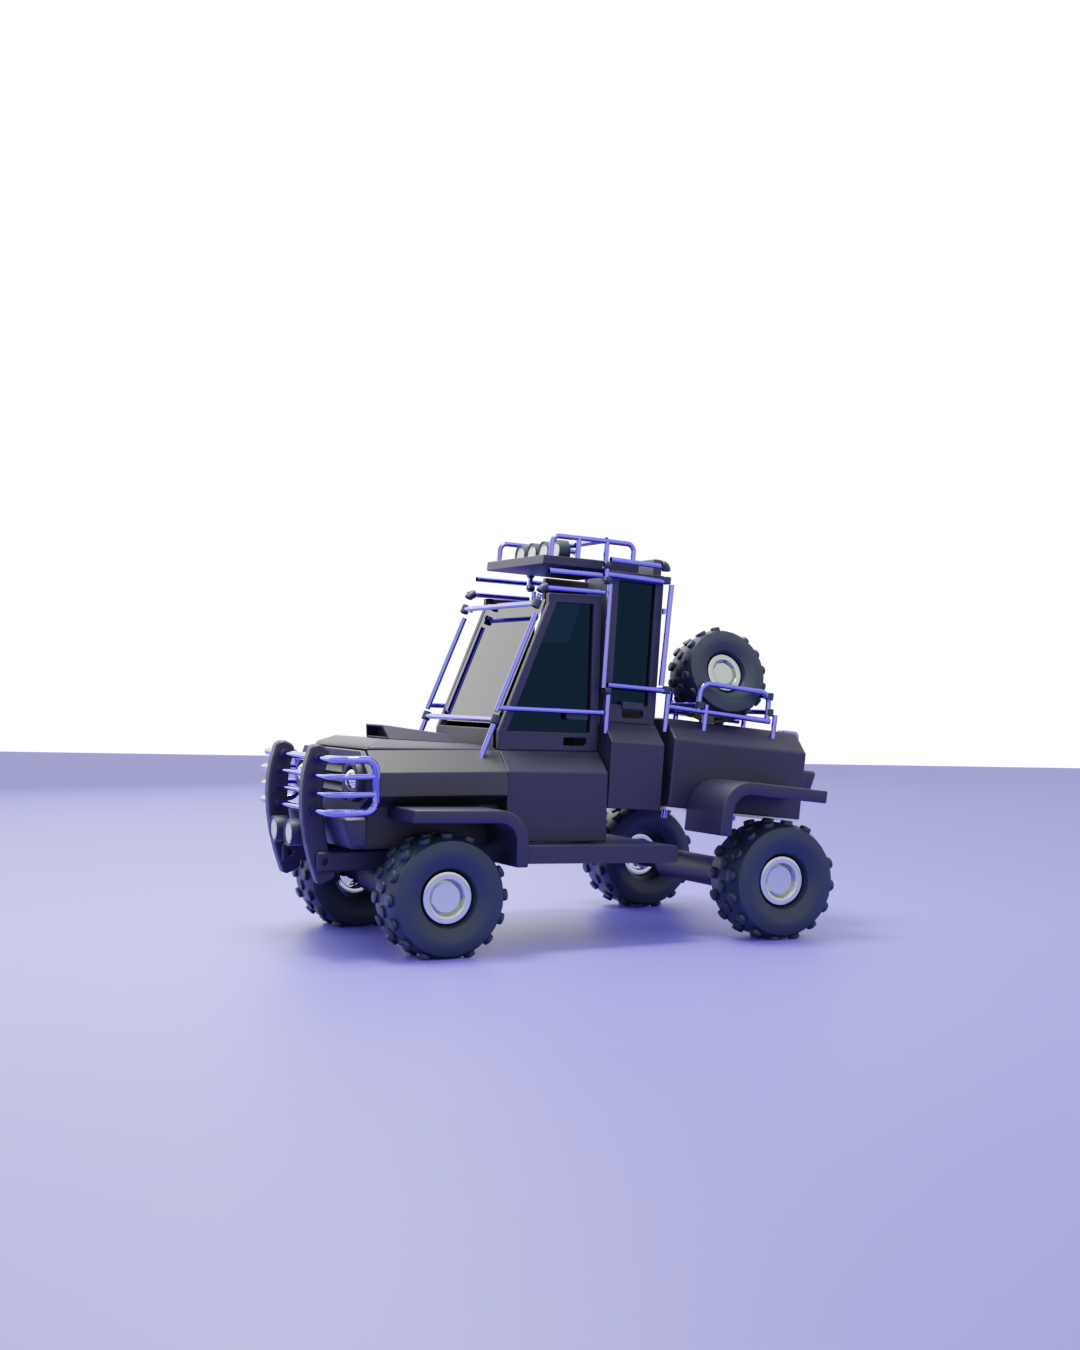
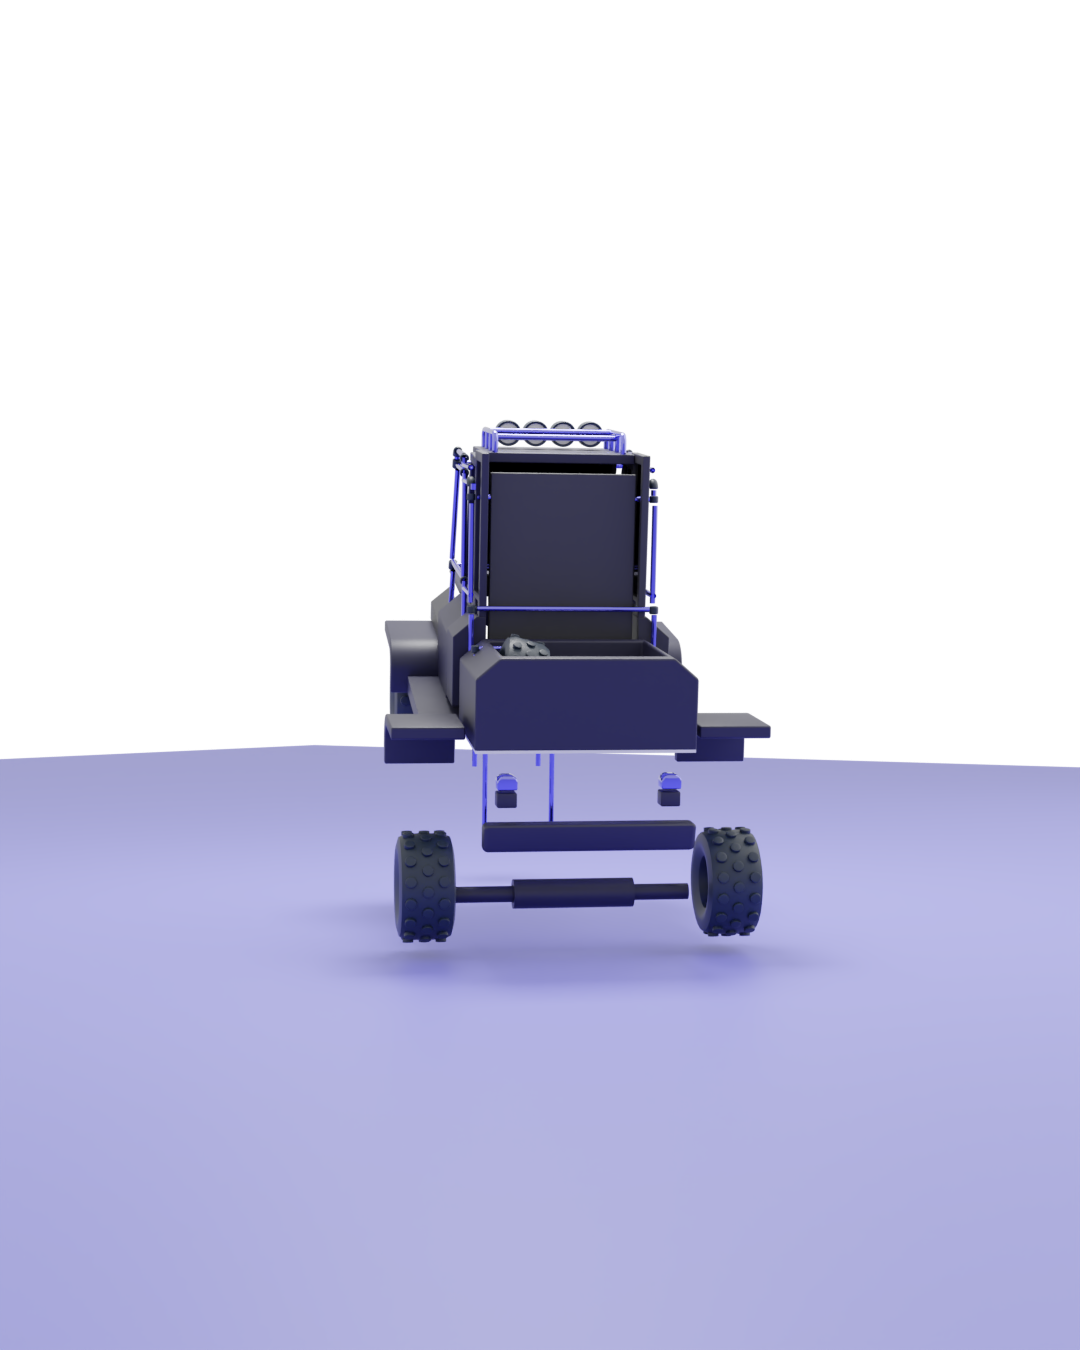
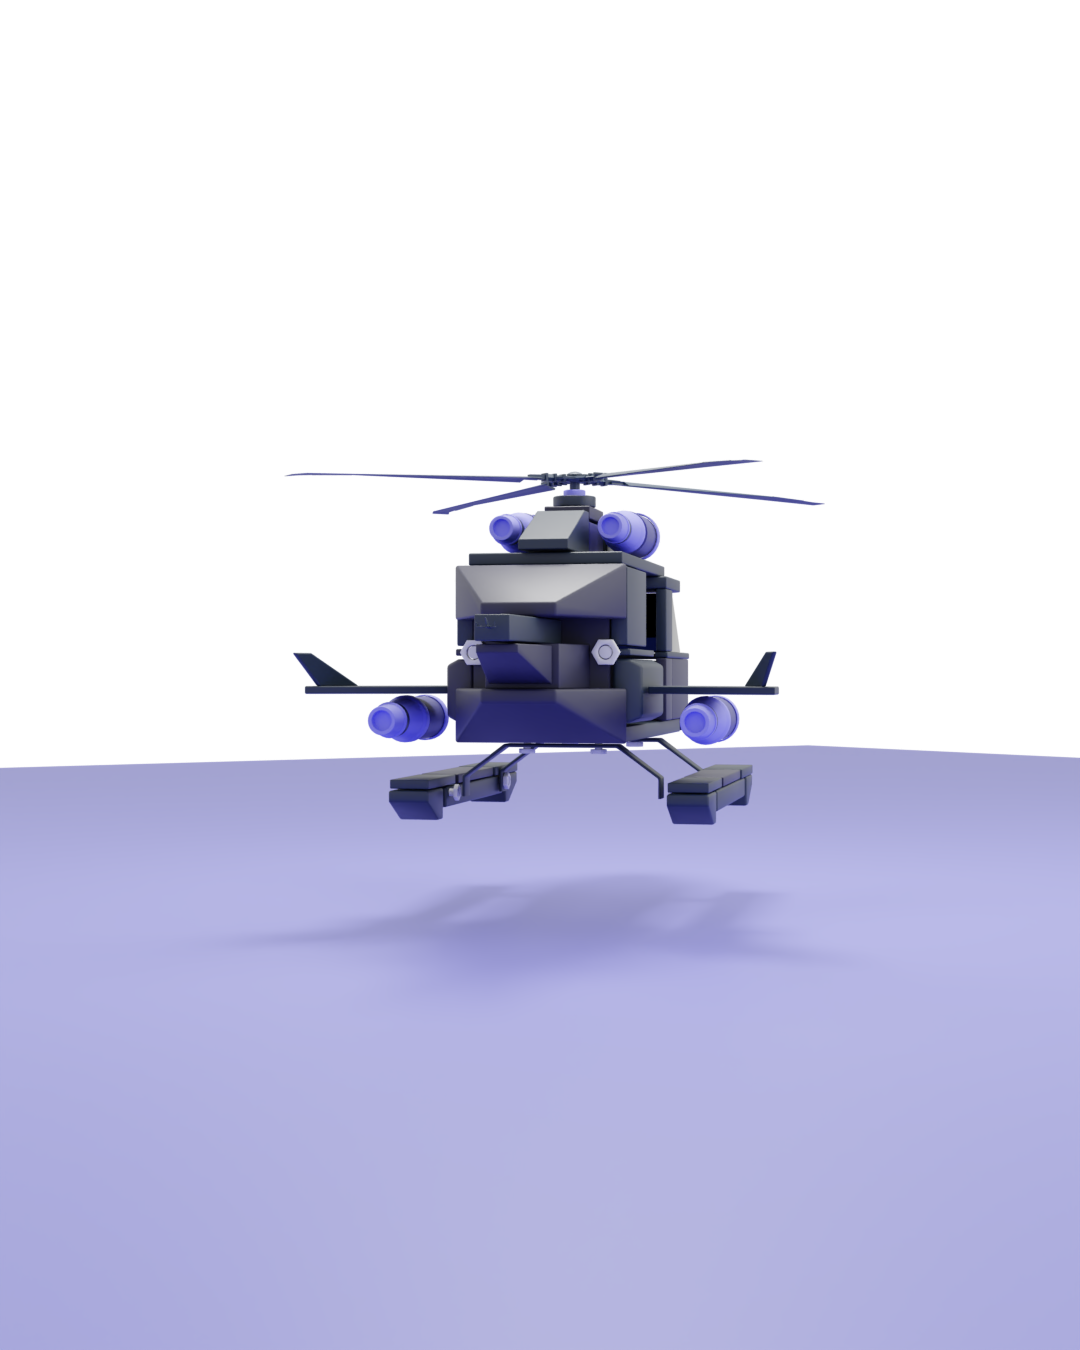
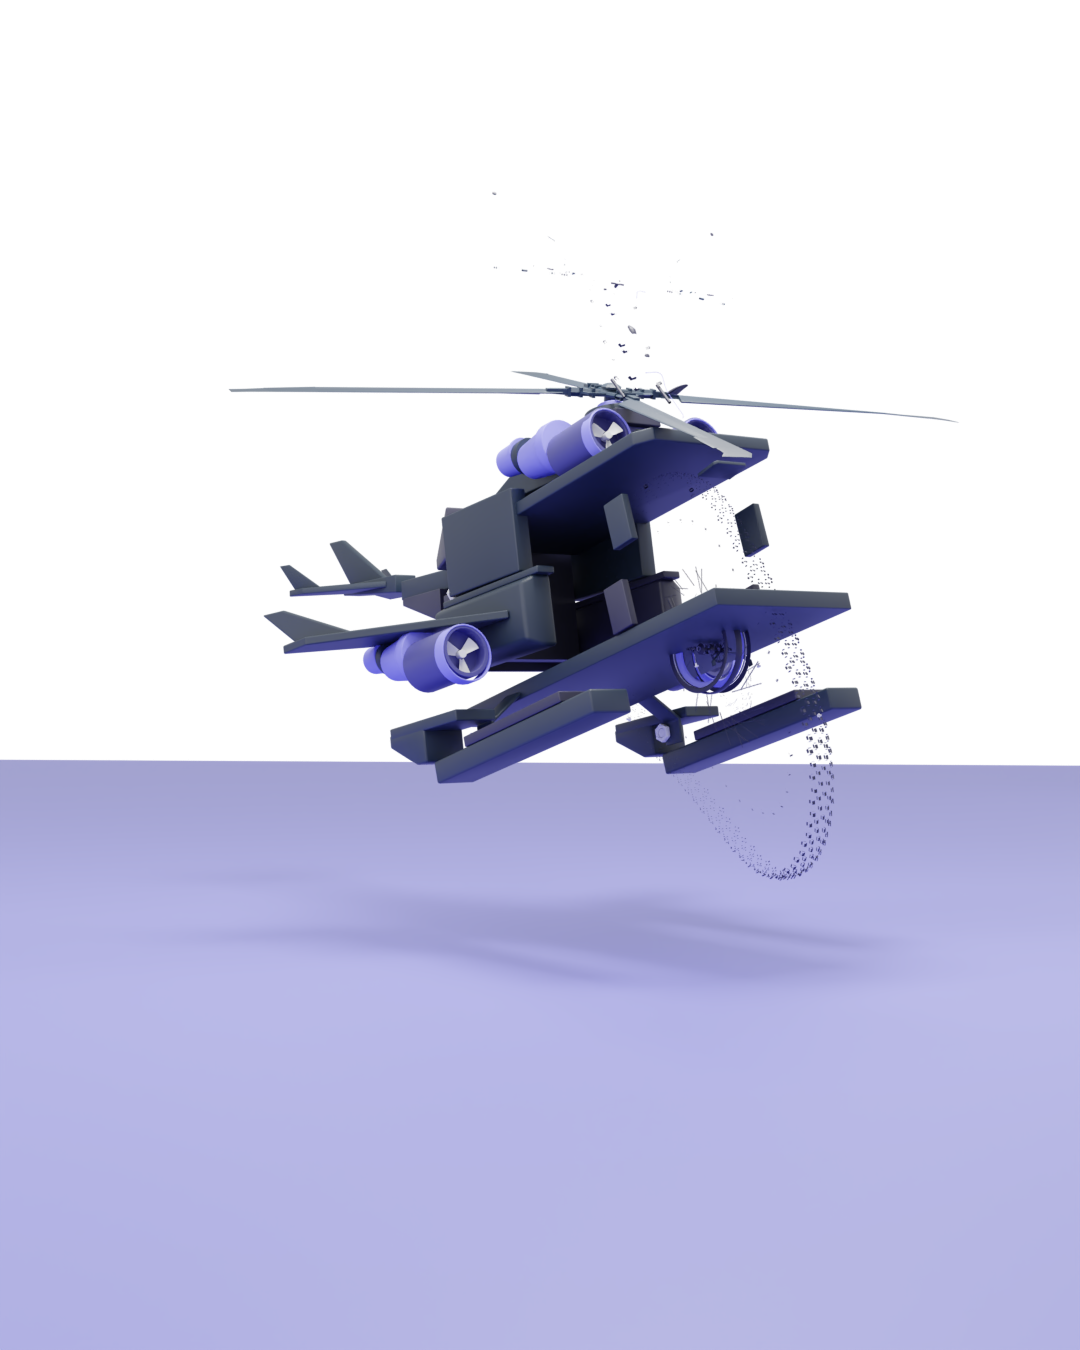
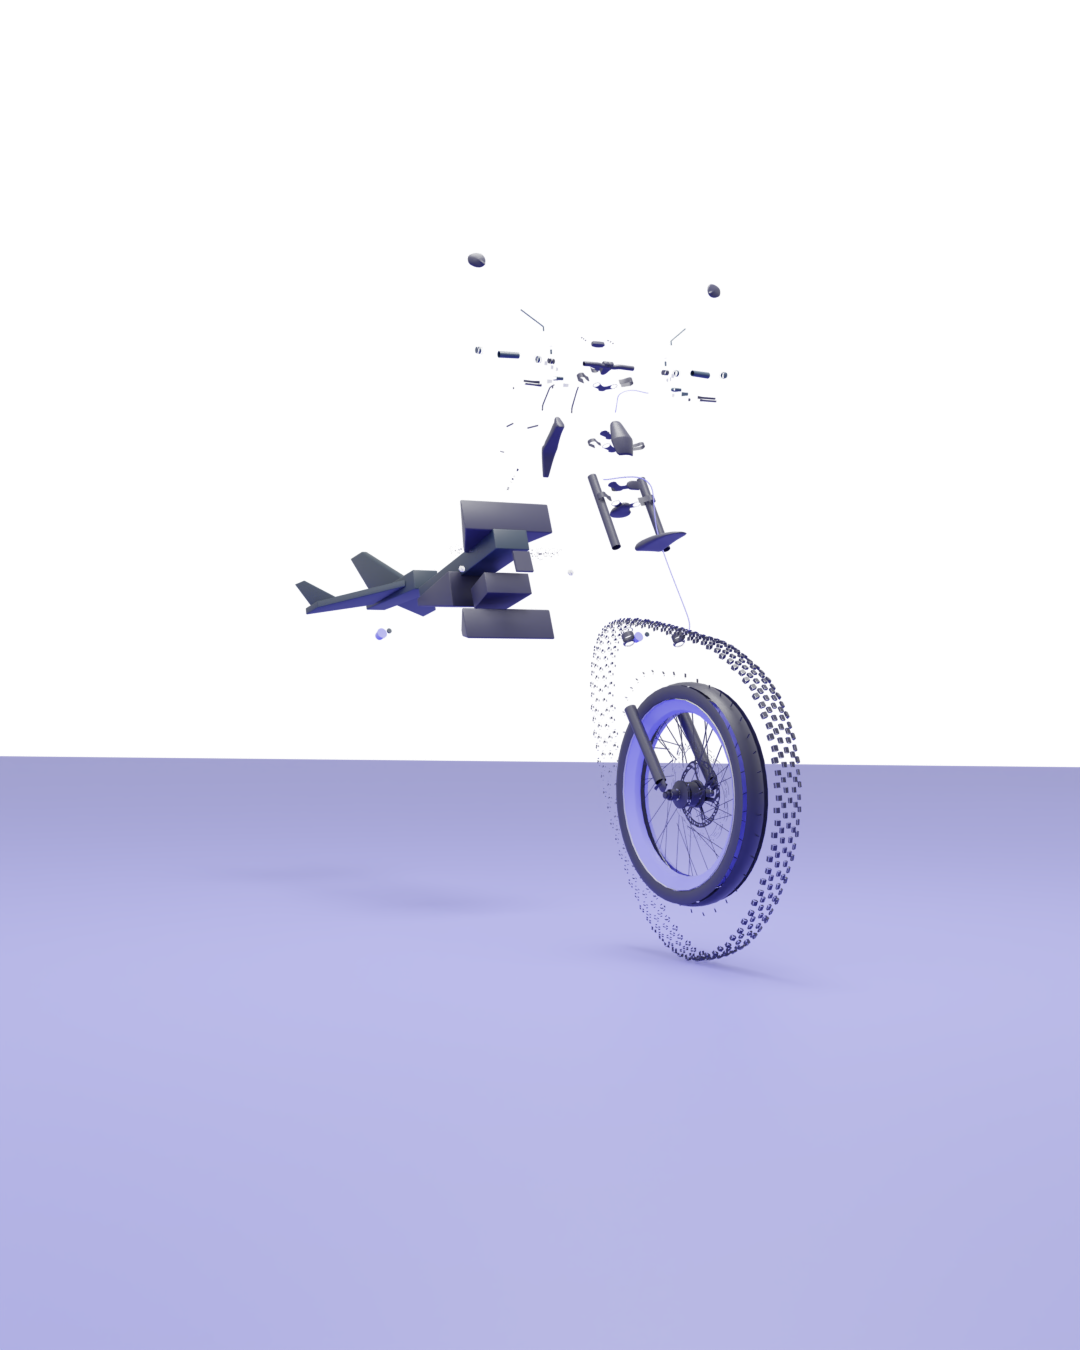
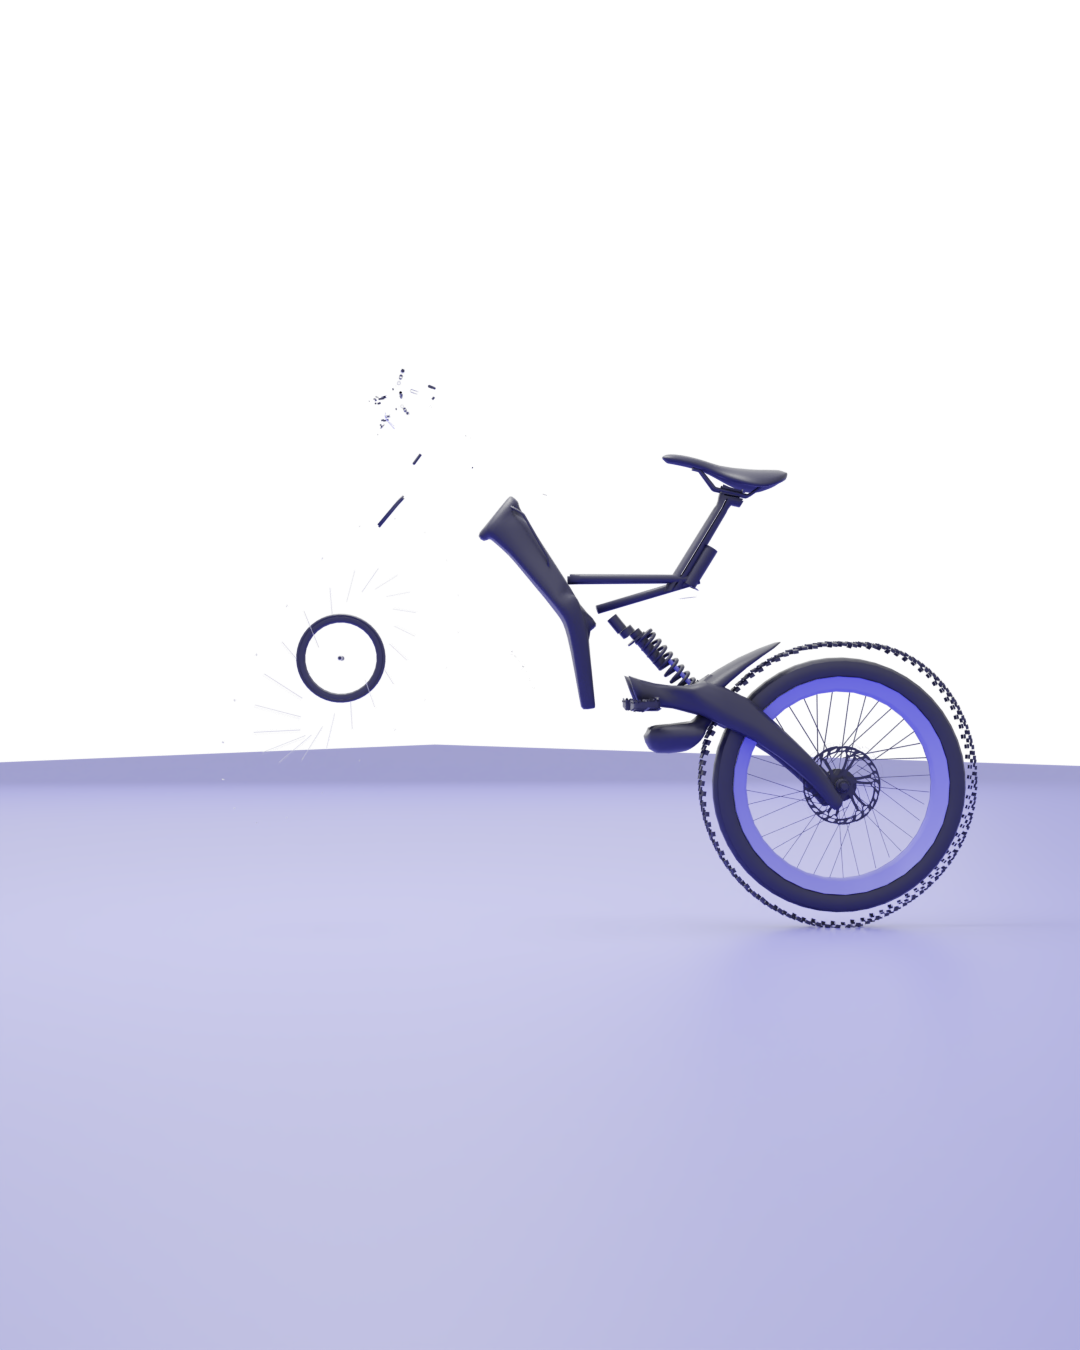
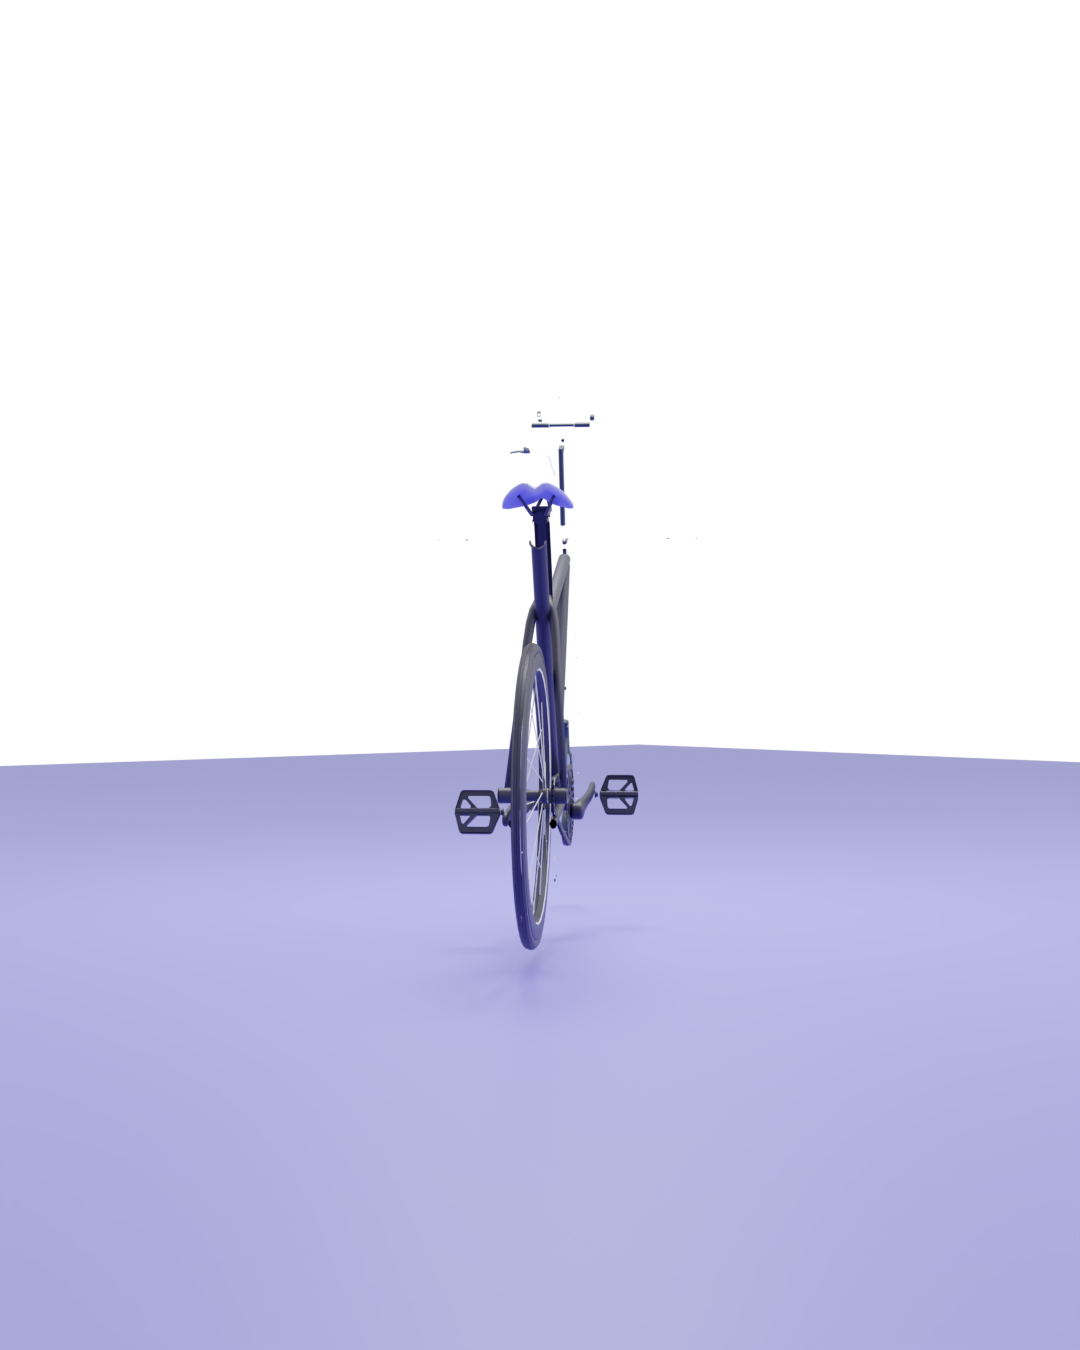
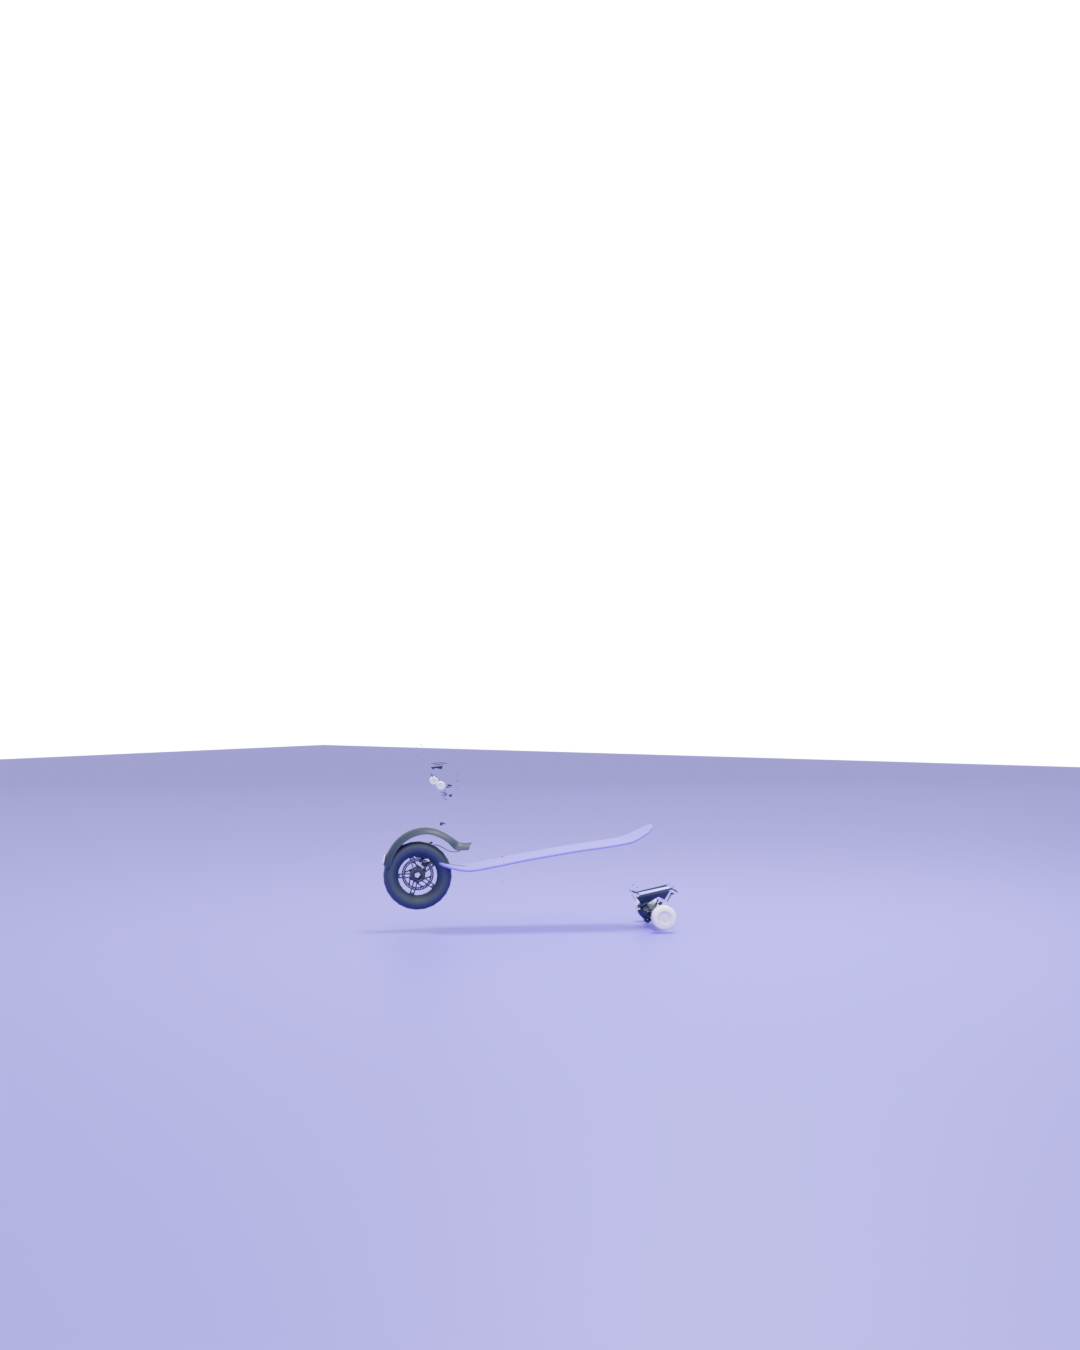
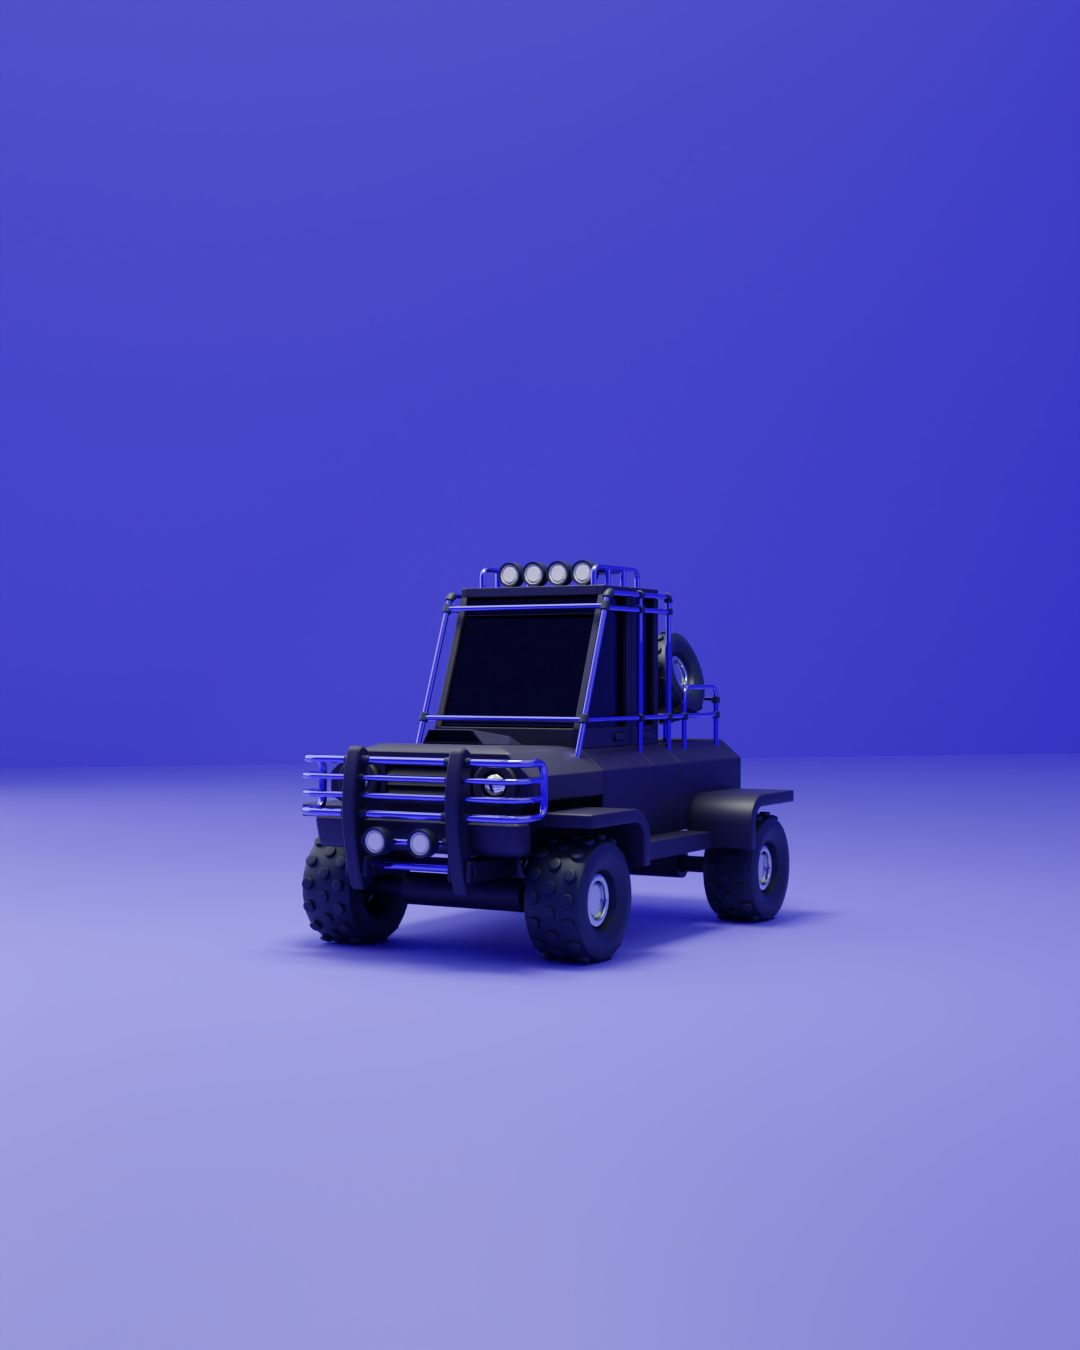
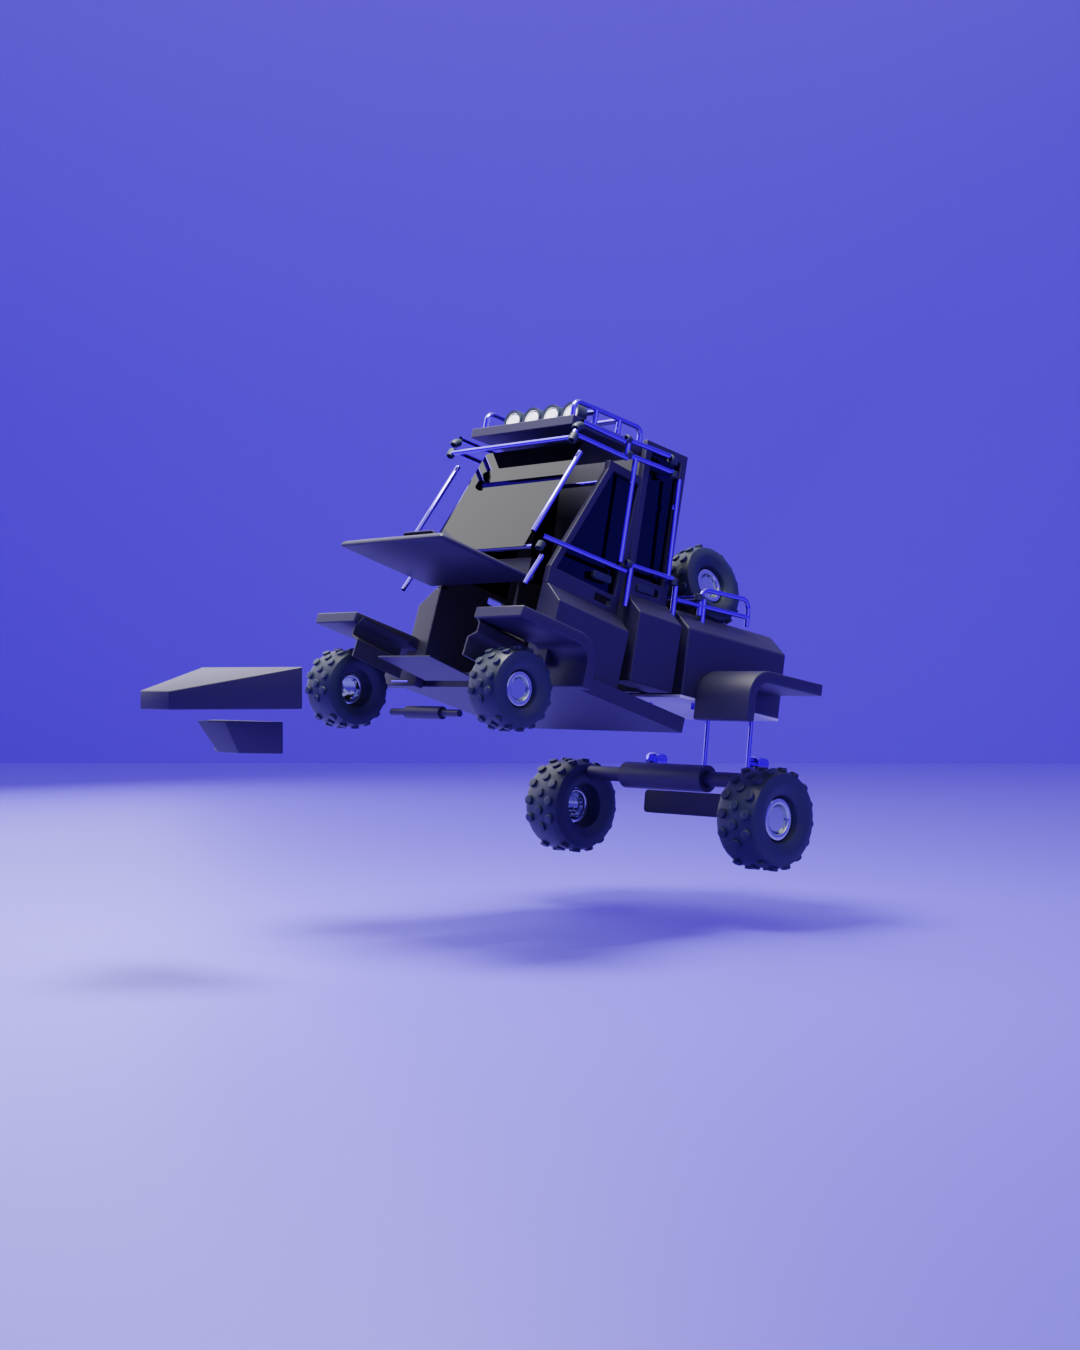
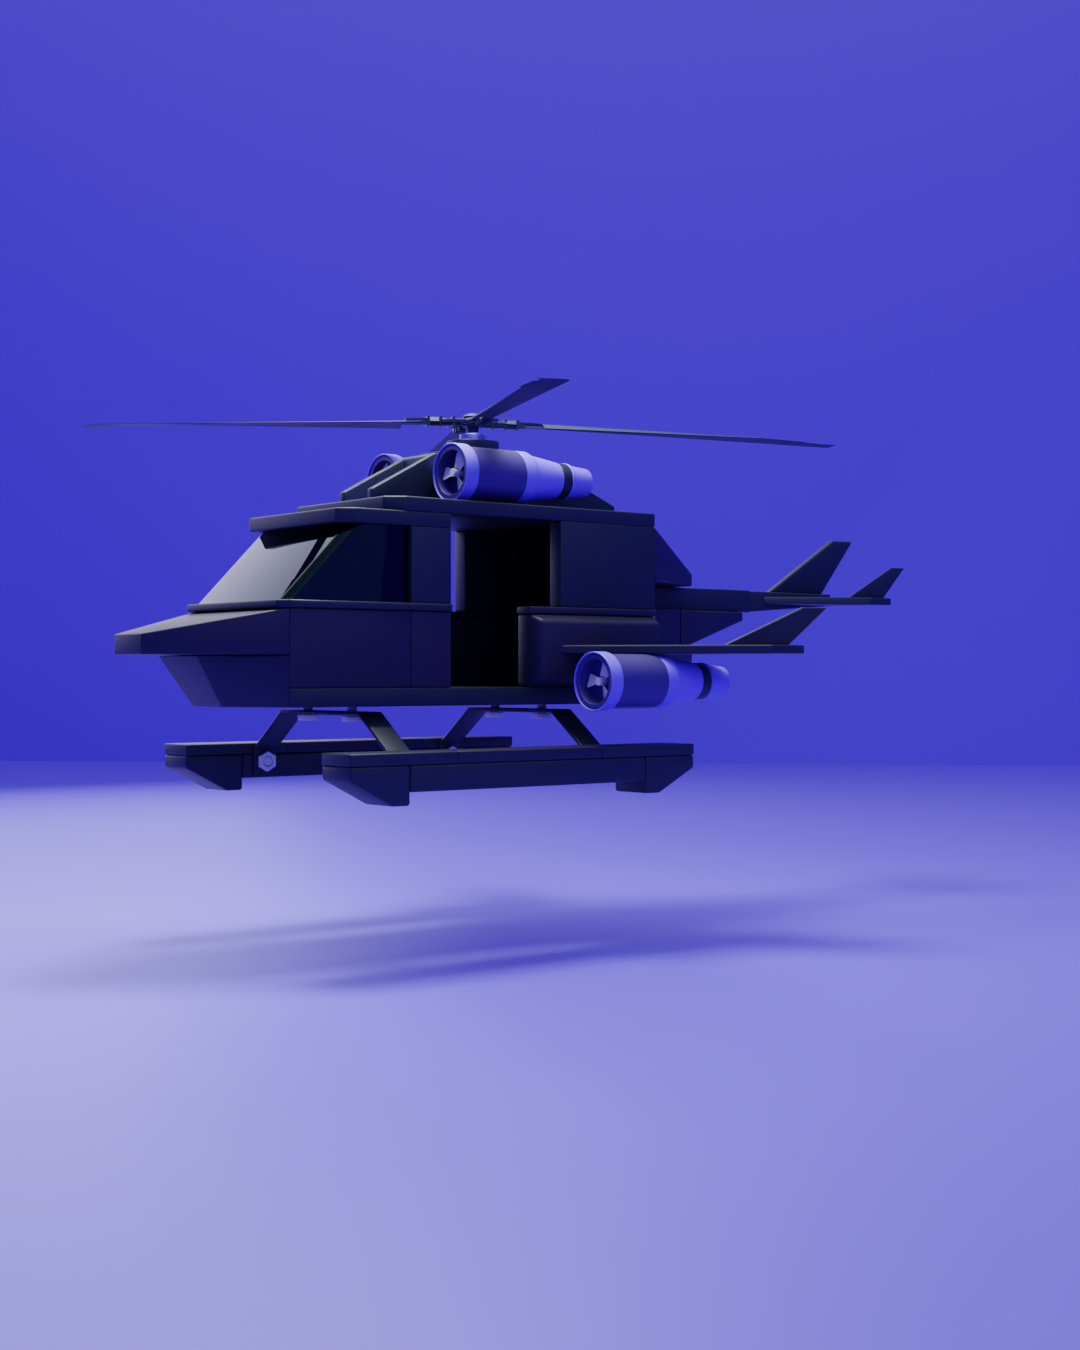
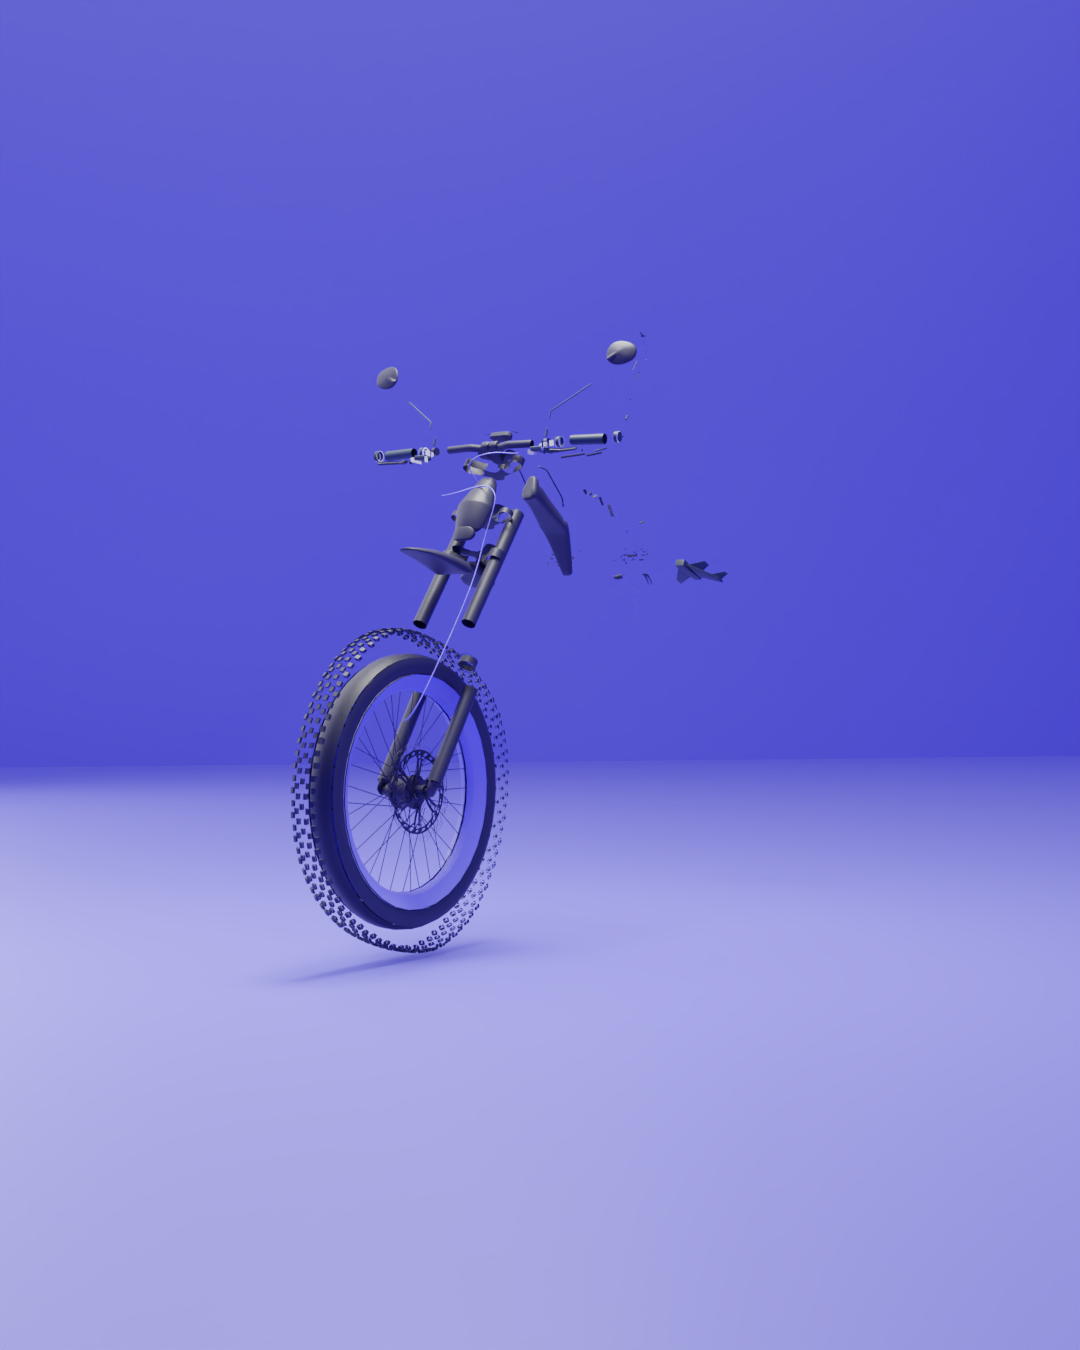
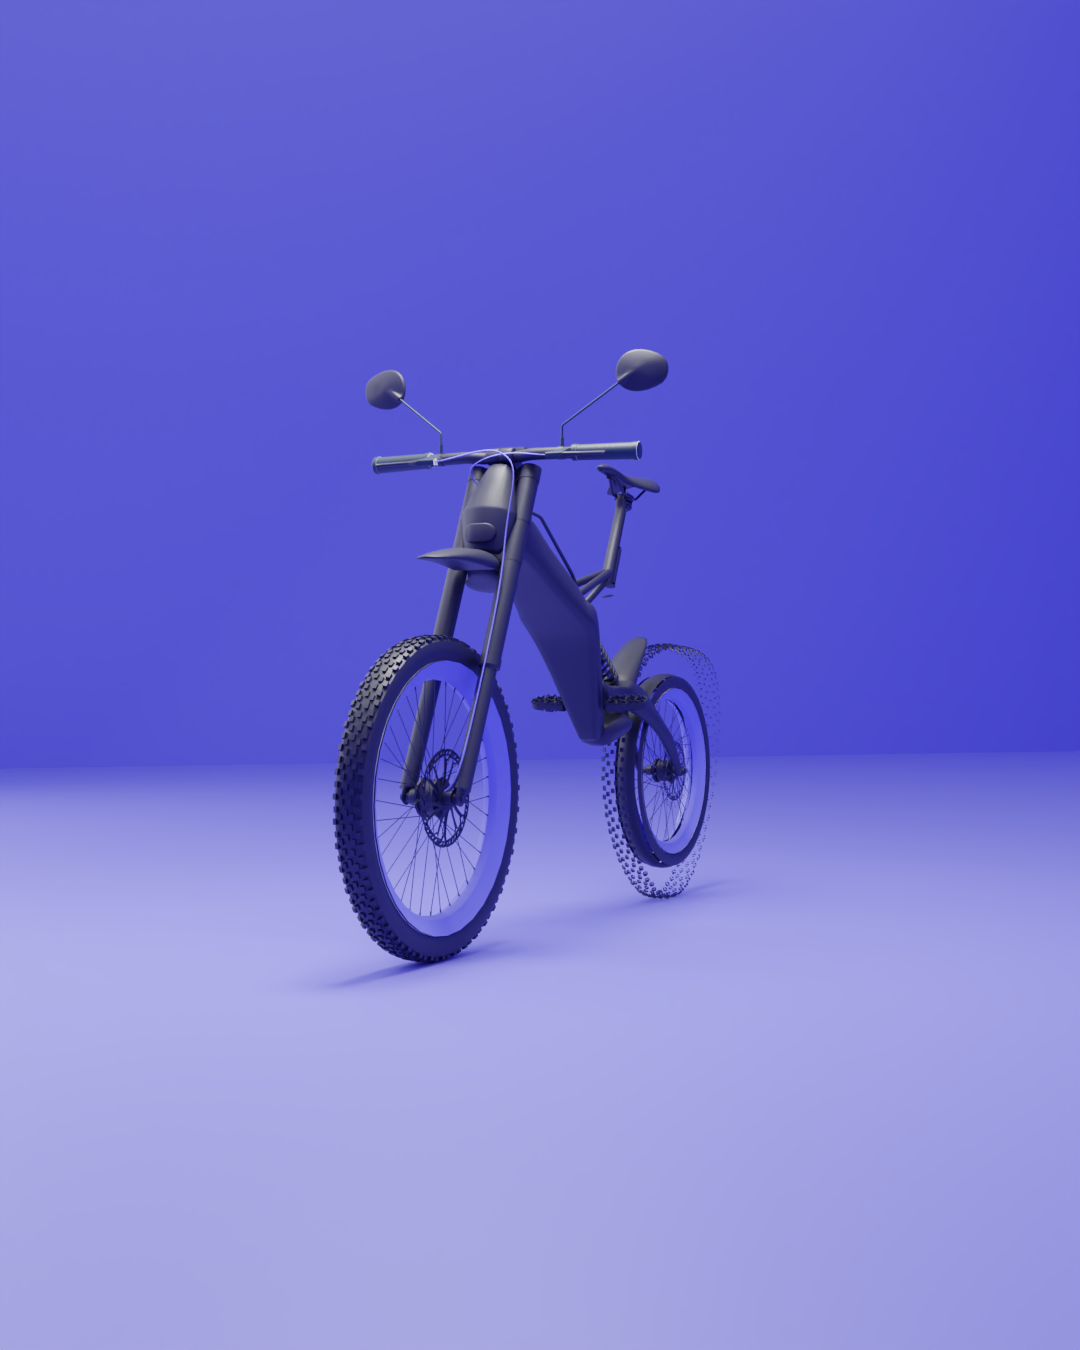
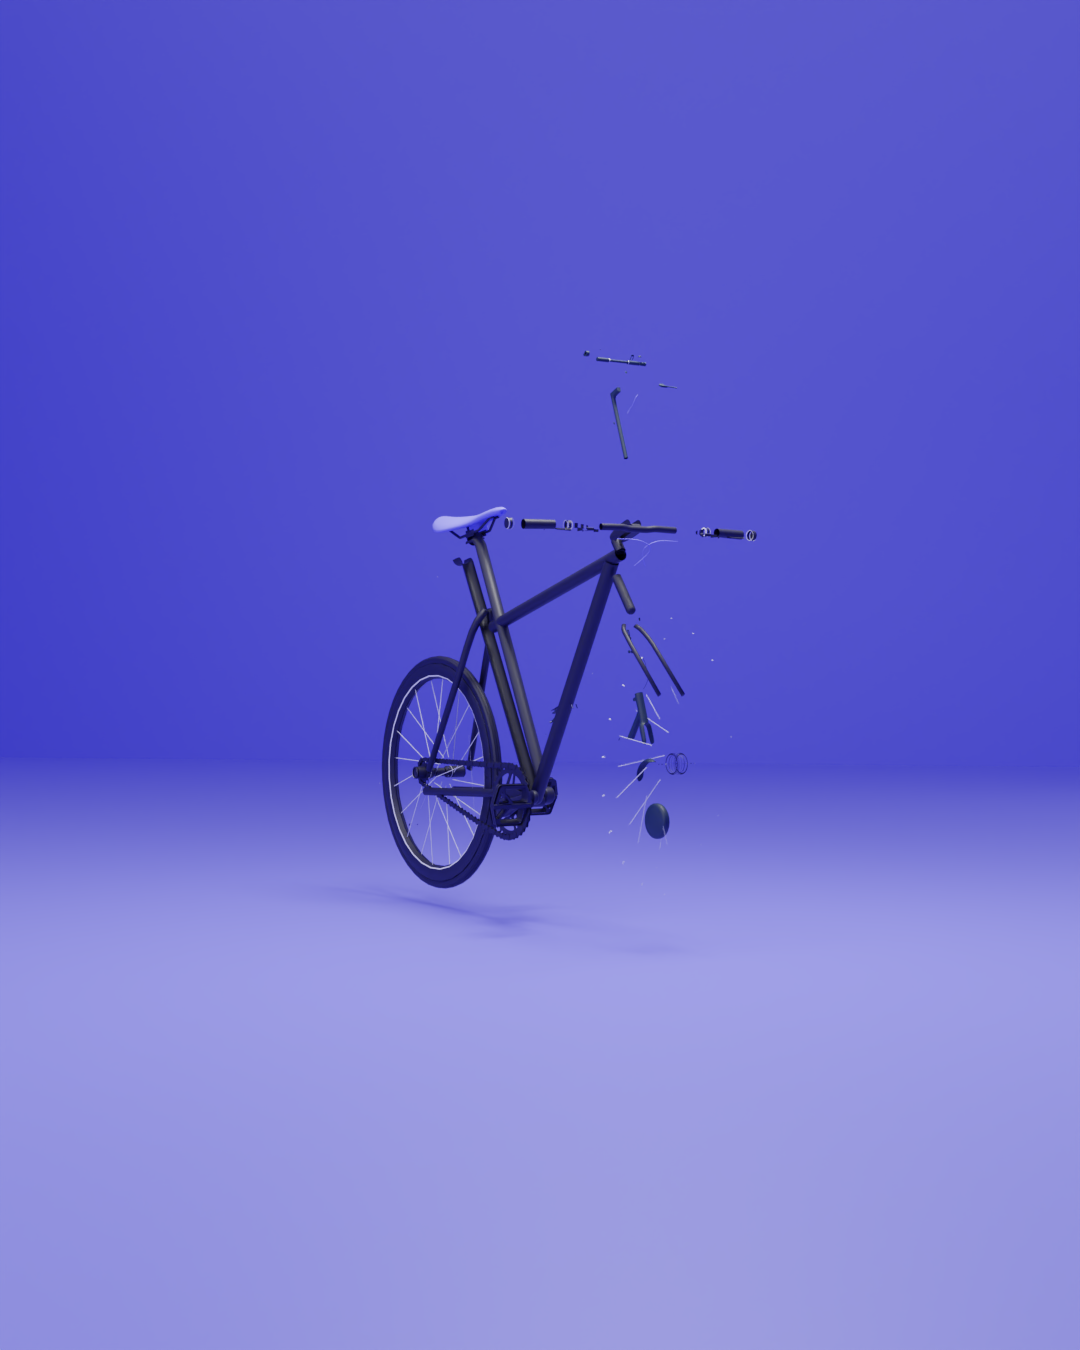
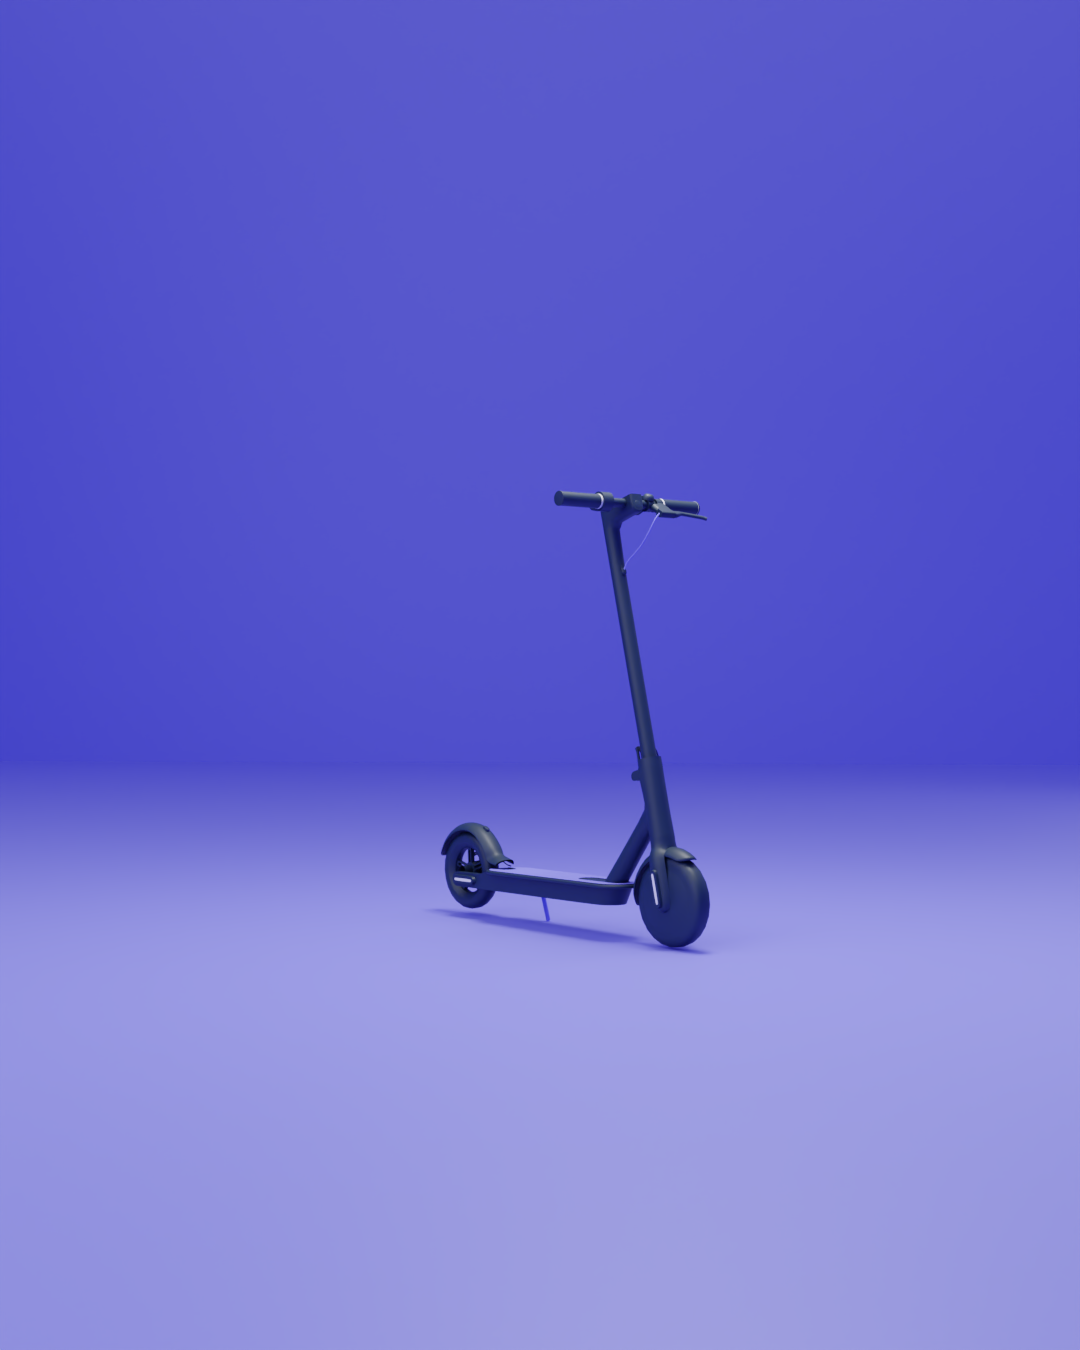
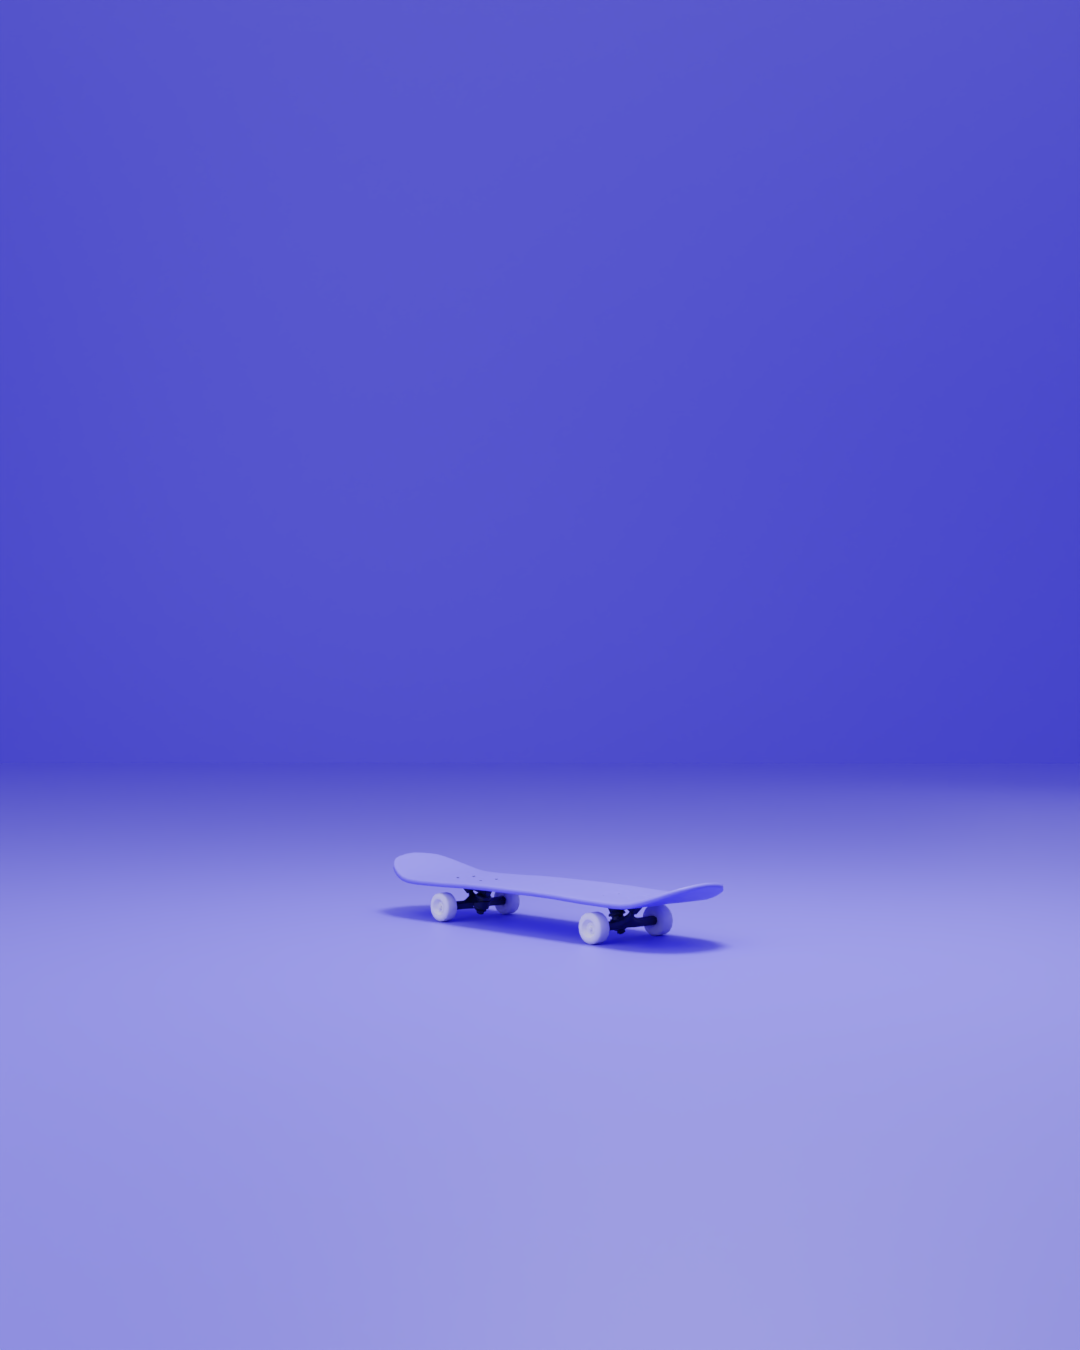
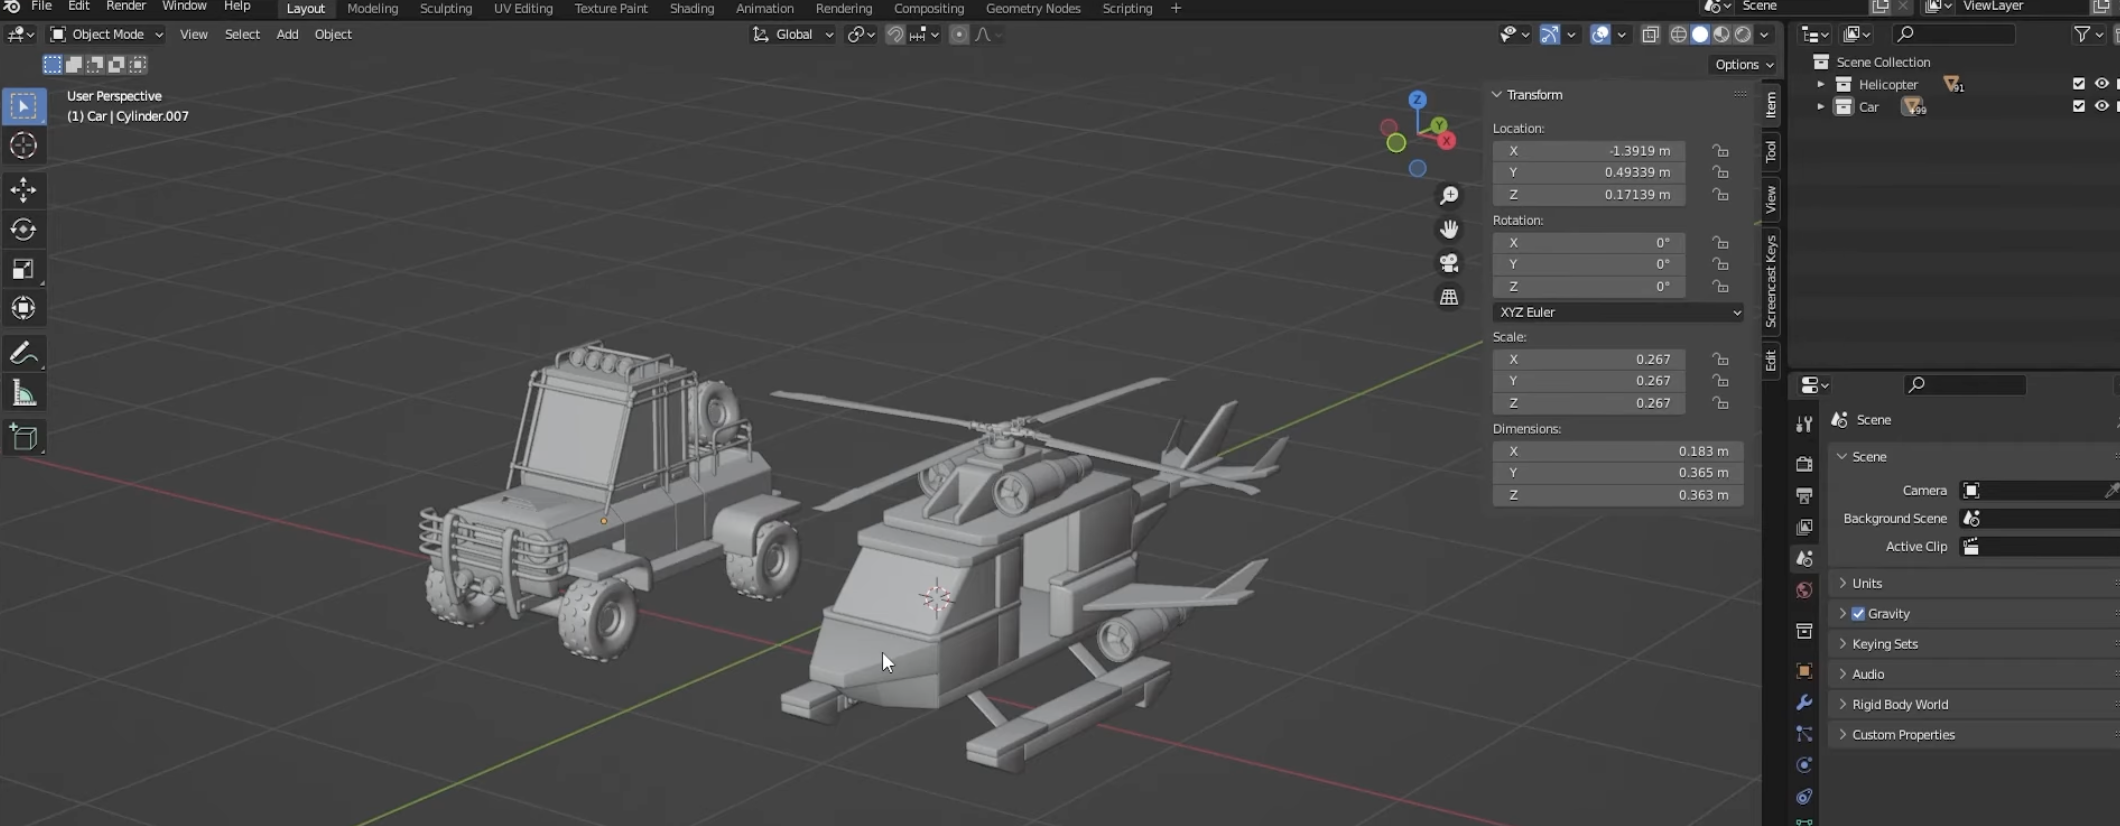
Following the tutorial from Chong 3D I started with having two different objects, where each object is in a separate collection. A very important detail is that those objects have to have their parts separated and each origin point needs to be at the center.
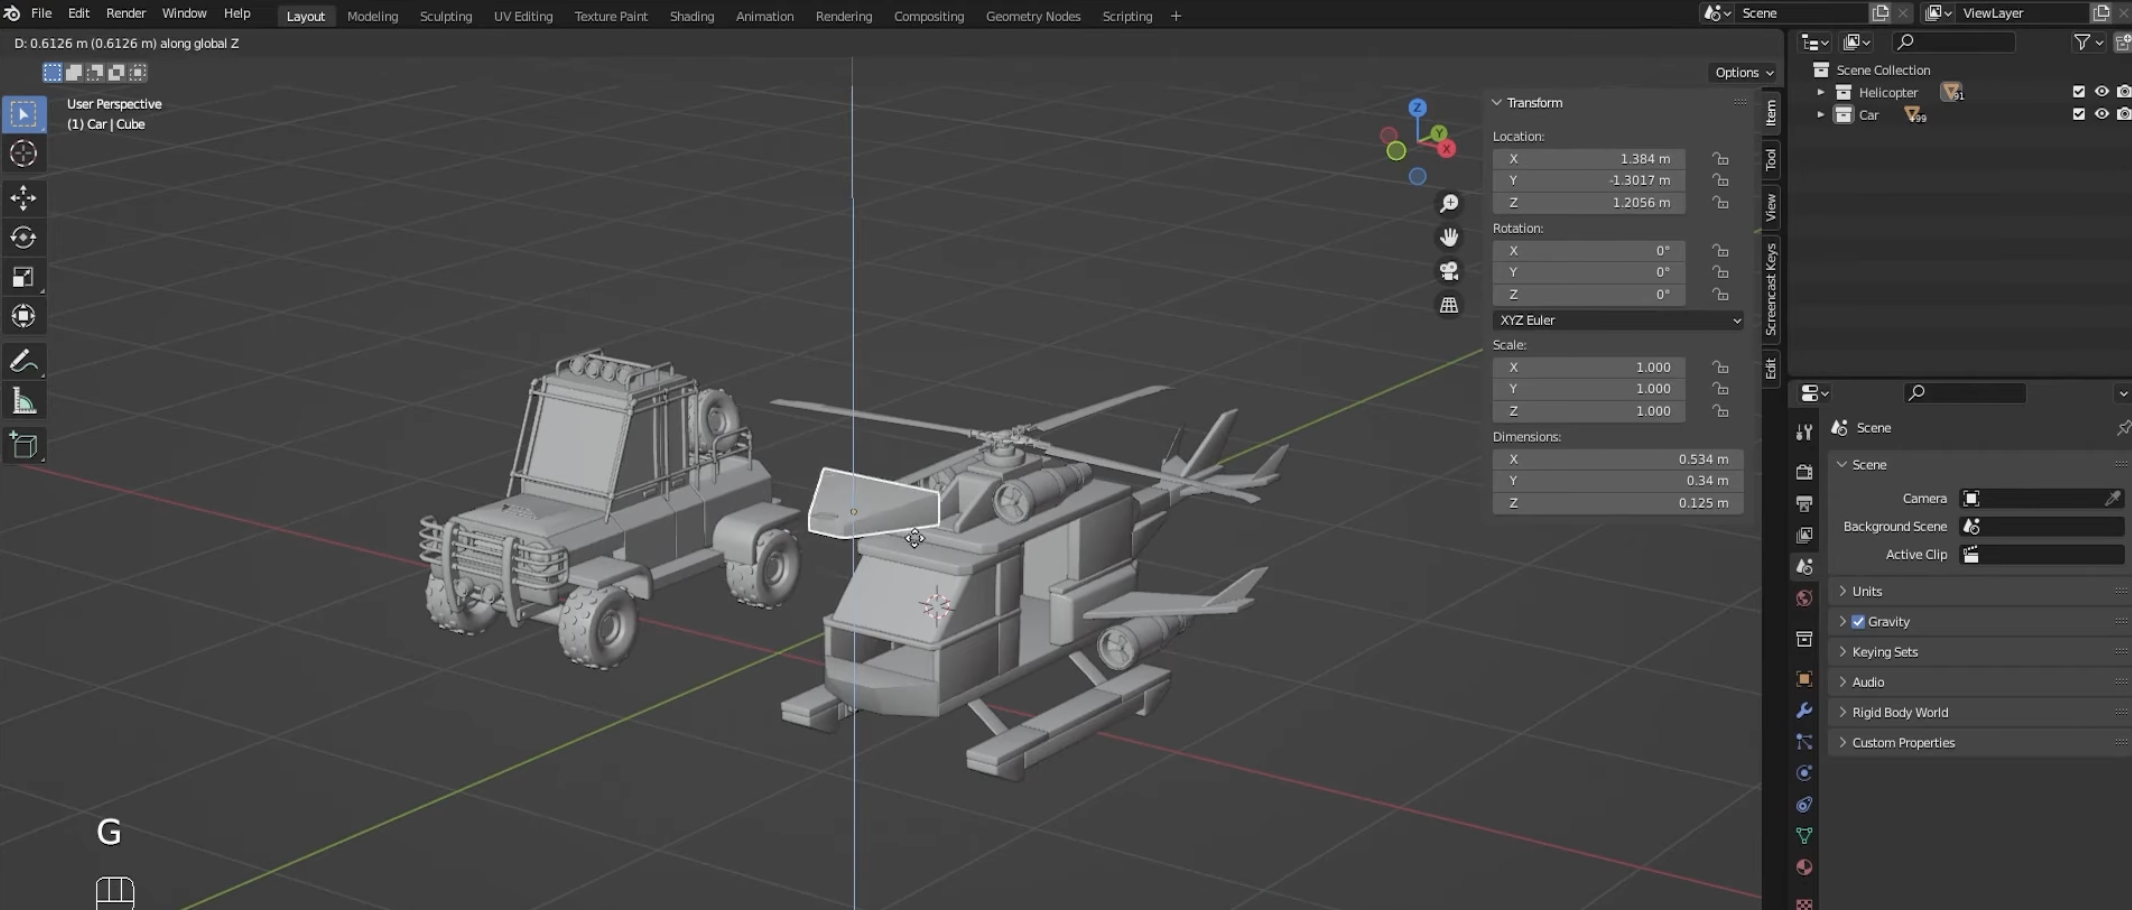
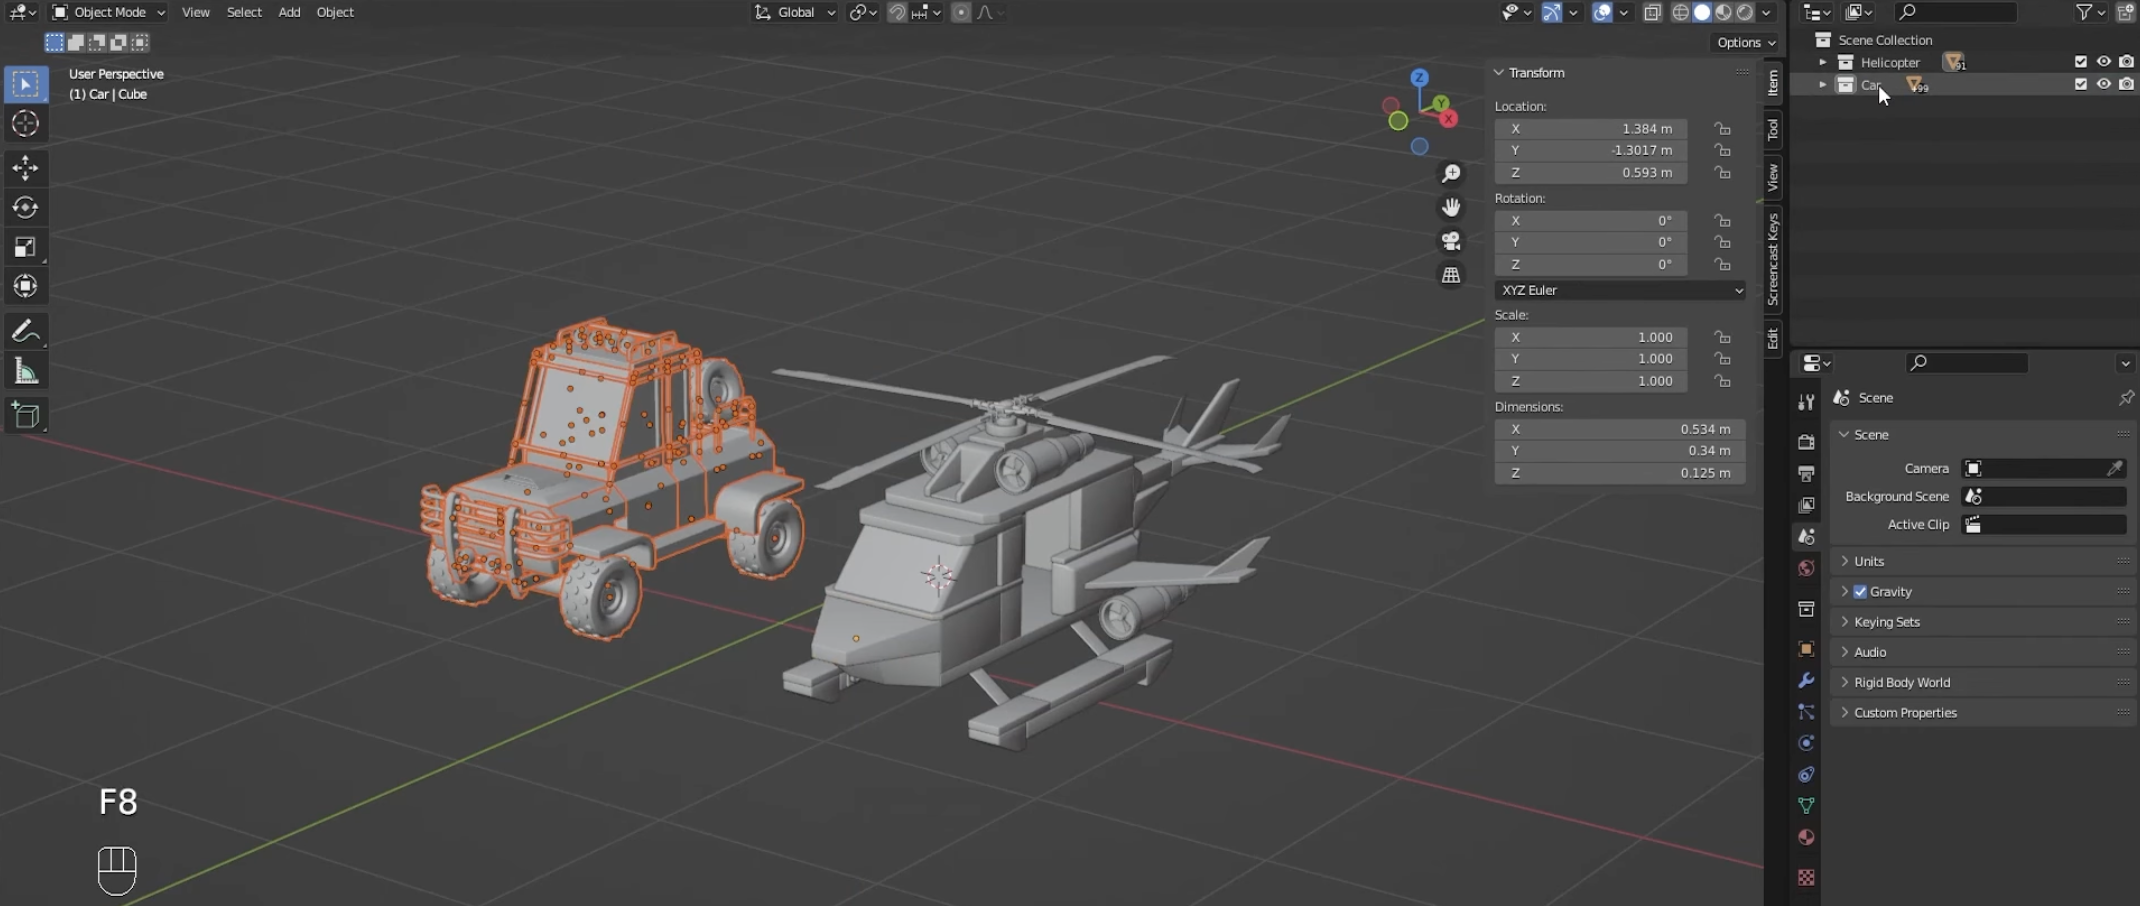
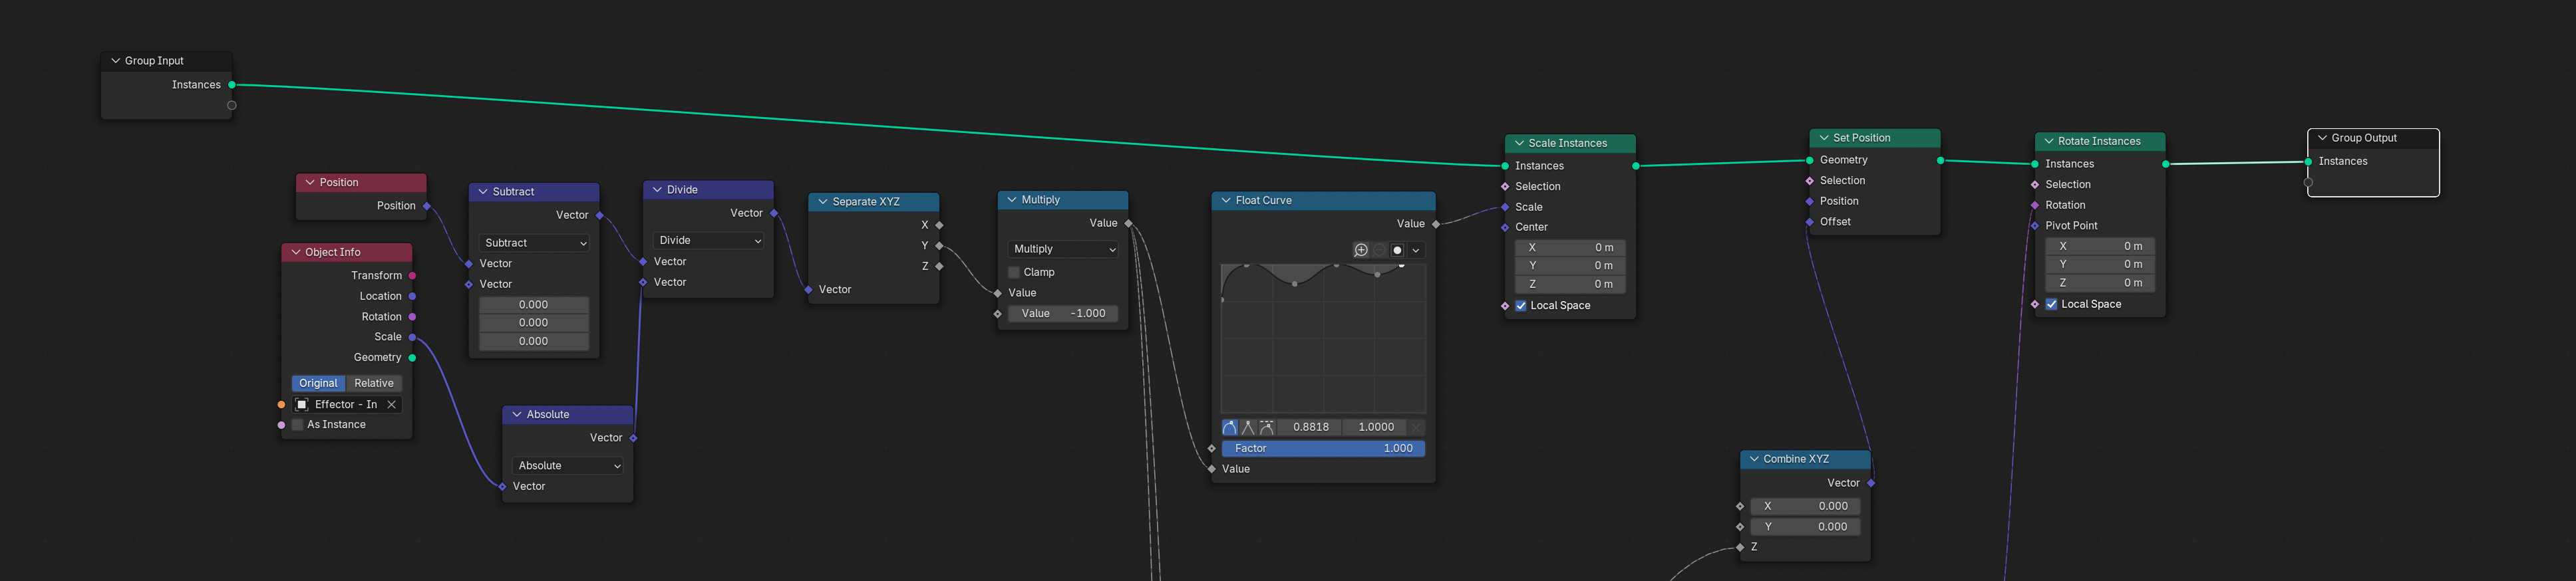
Then I added keyframes to the Effector (animating the scale from 0% to 100%). Going back to the Float Curve I manipulated the curve to get the effect I wanted. The transition was originally too fast so I made the Effector bigger, which slowed down the animation. I also added position (Z Axis) and rotation. I wanted the animation to start from the bottom, so I manipulated the curve. For the rotation I added Rotate Instance, and Combined XYZ, and a third Float Curve. I wanted the rotation to start from -Y and end at +Y, so I added Multiply Node and added a value of -1. When done I selected all nodes except the Collection Node and End Node and group them.
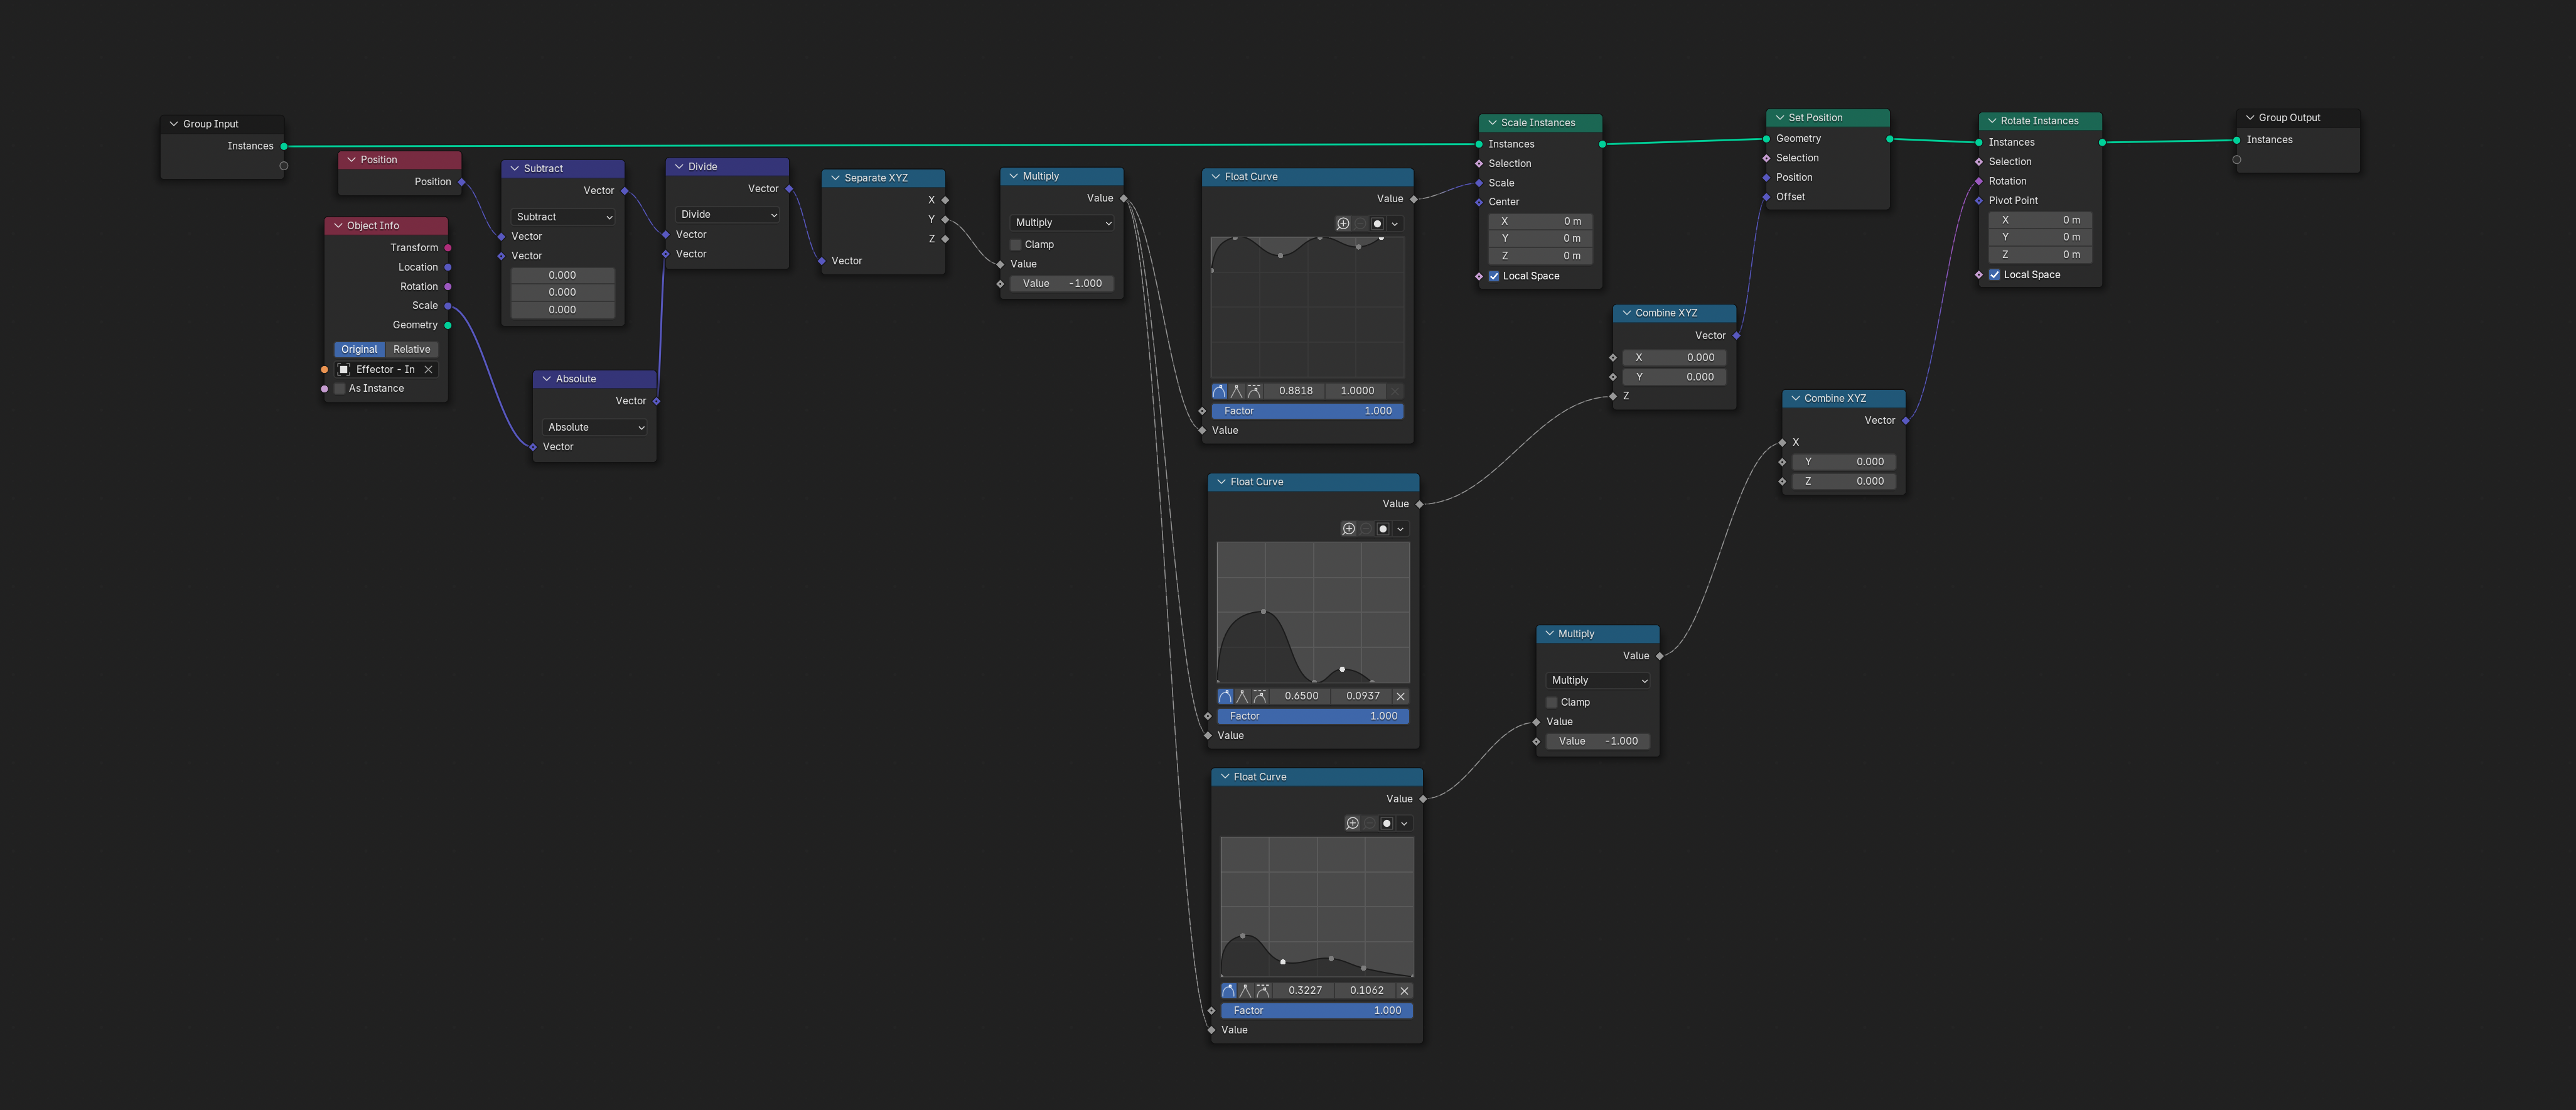
I duplicated the Car - Scale In, node group and clicked on the number to deselect the single copy (this way whathever changes are being made to this node group wont affect the original node group). Then created a new Effector (Scale Down) and I wanted that to follow the Scale In Effector. I went into the Scale Down node group, added Object Info and parented it to the Scale In axis.
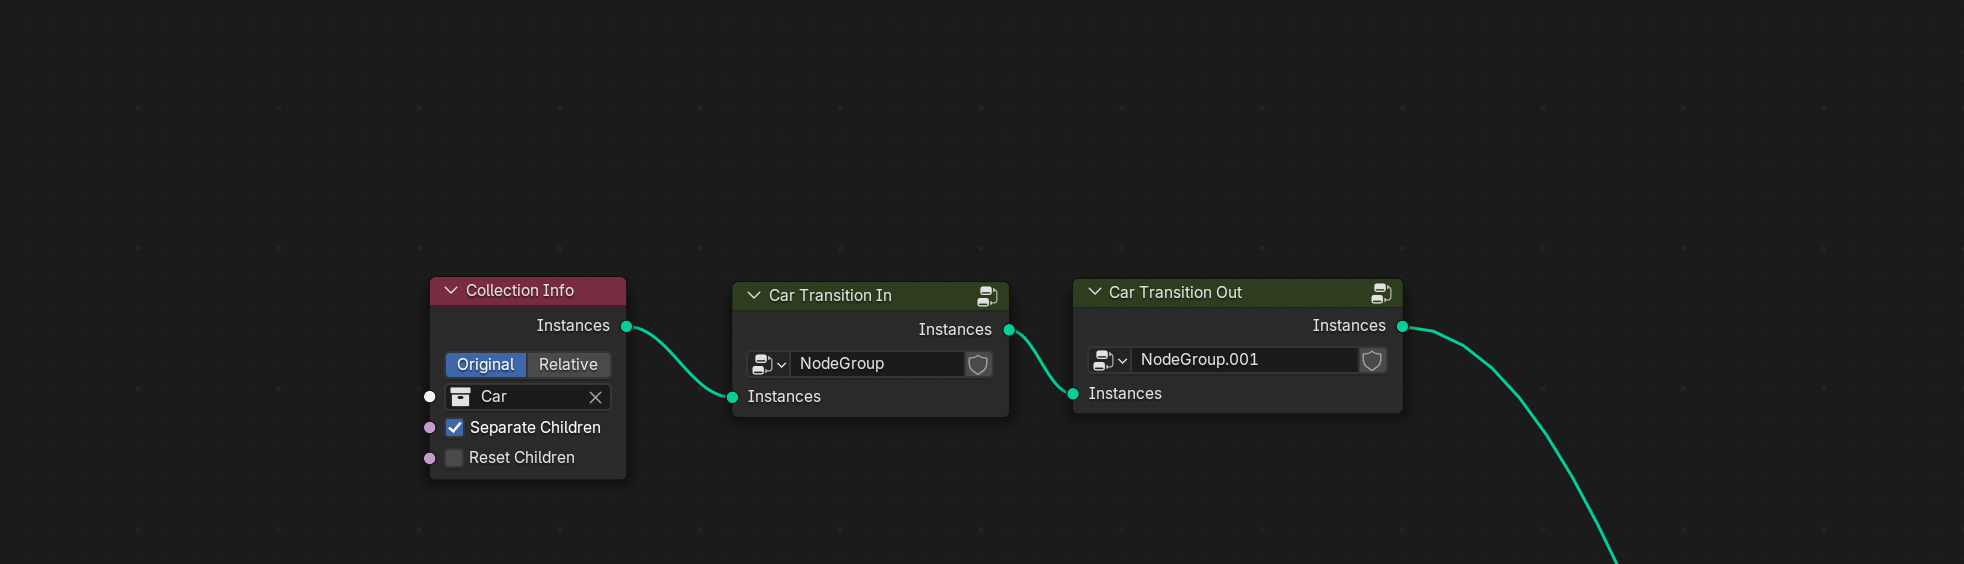
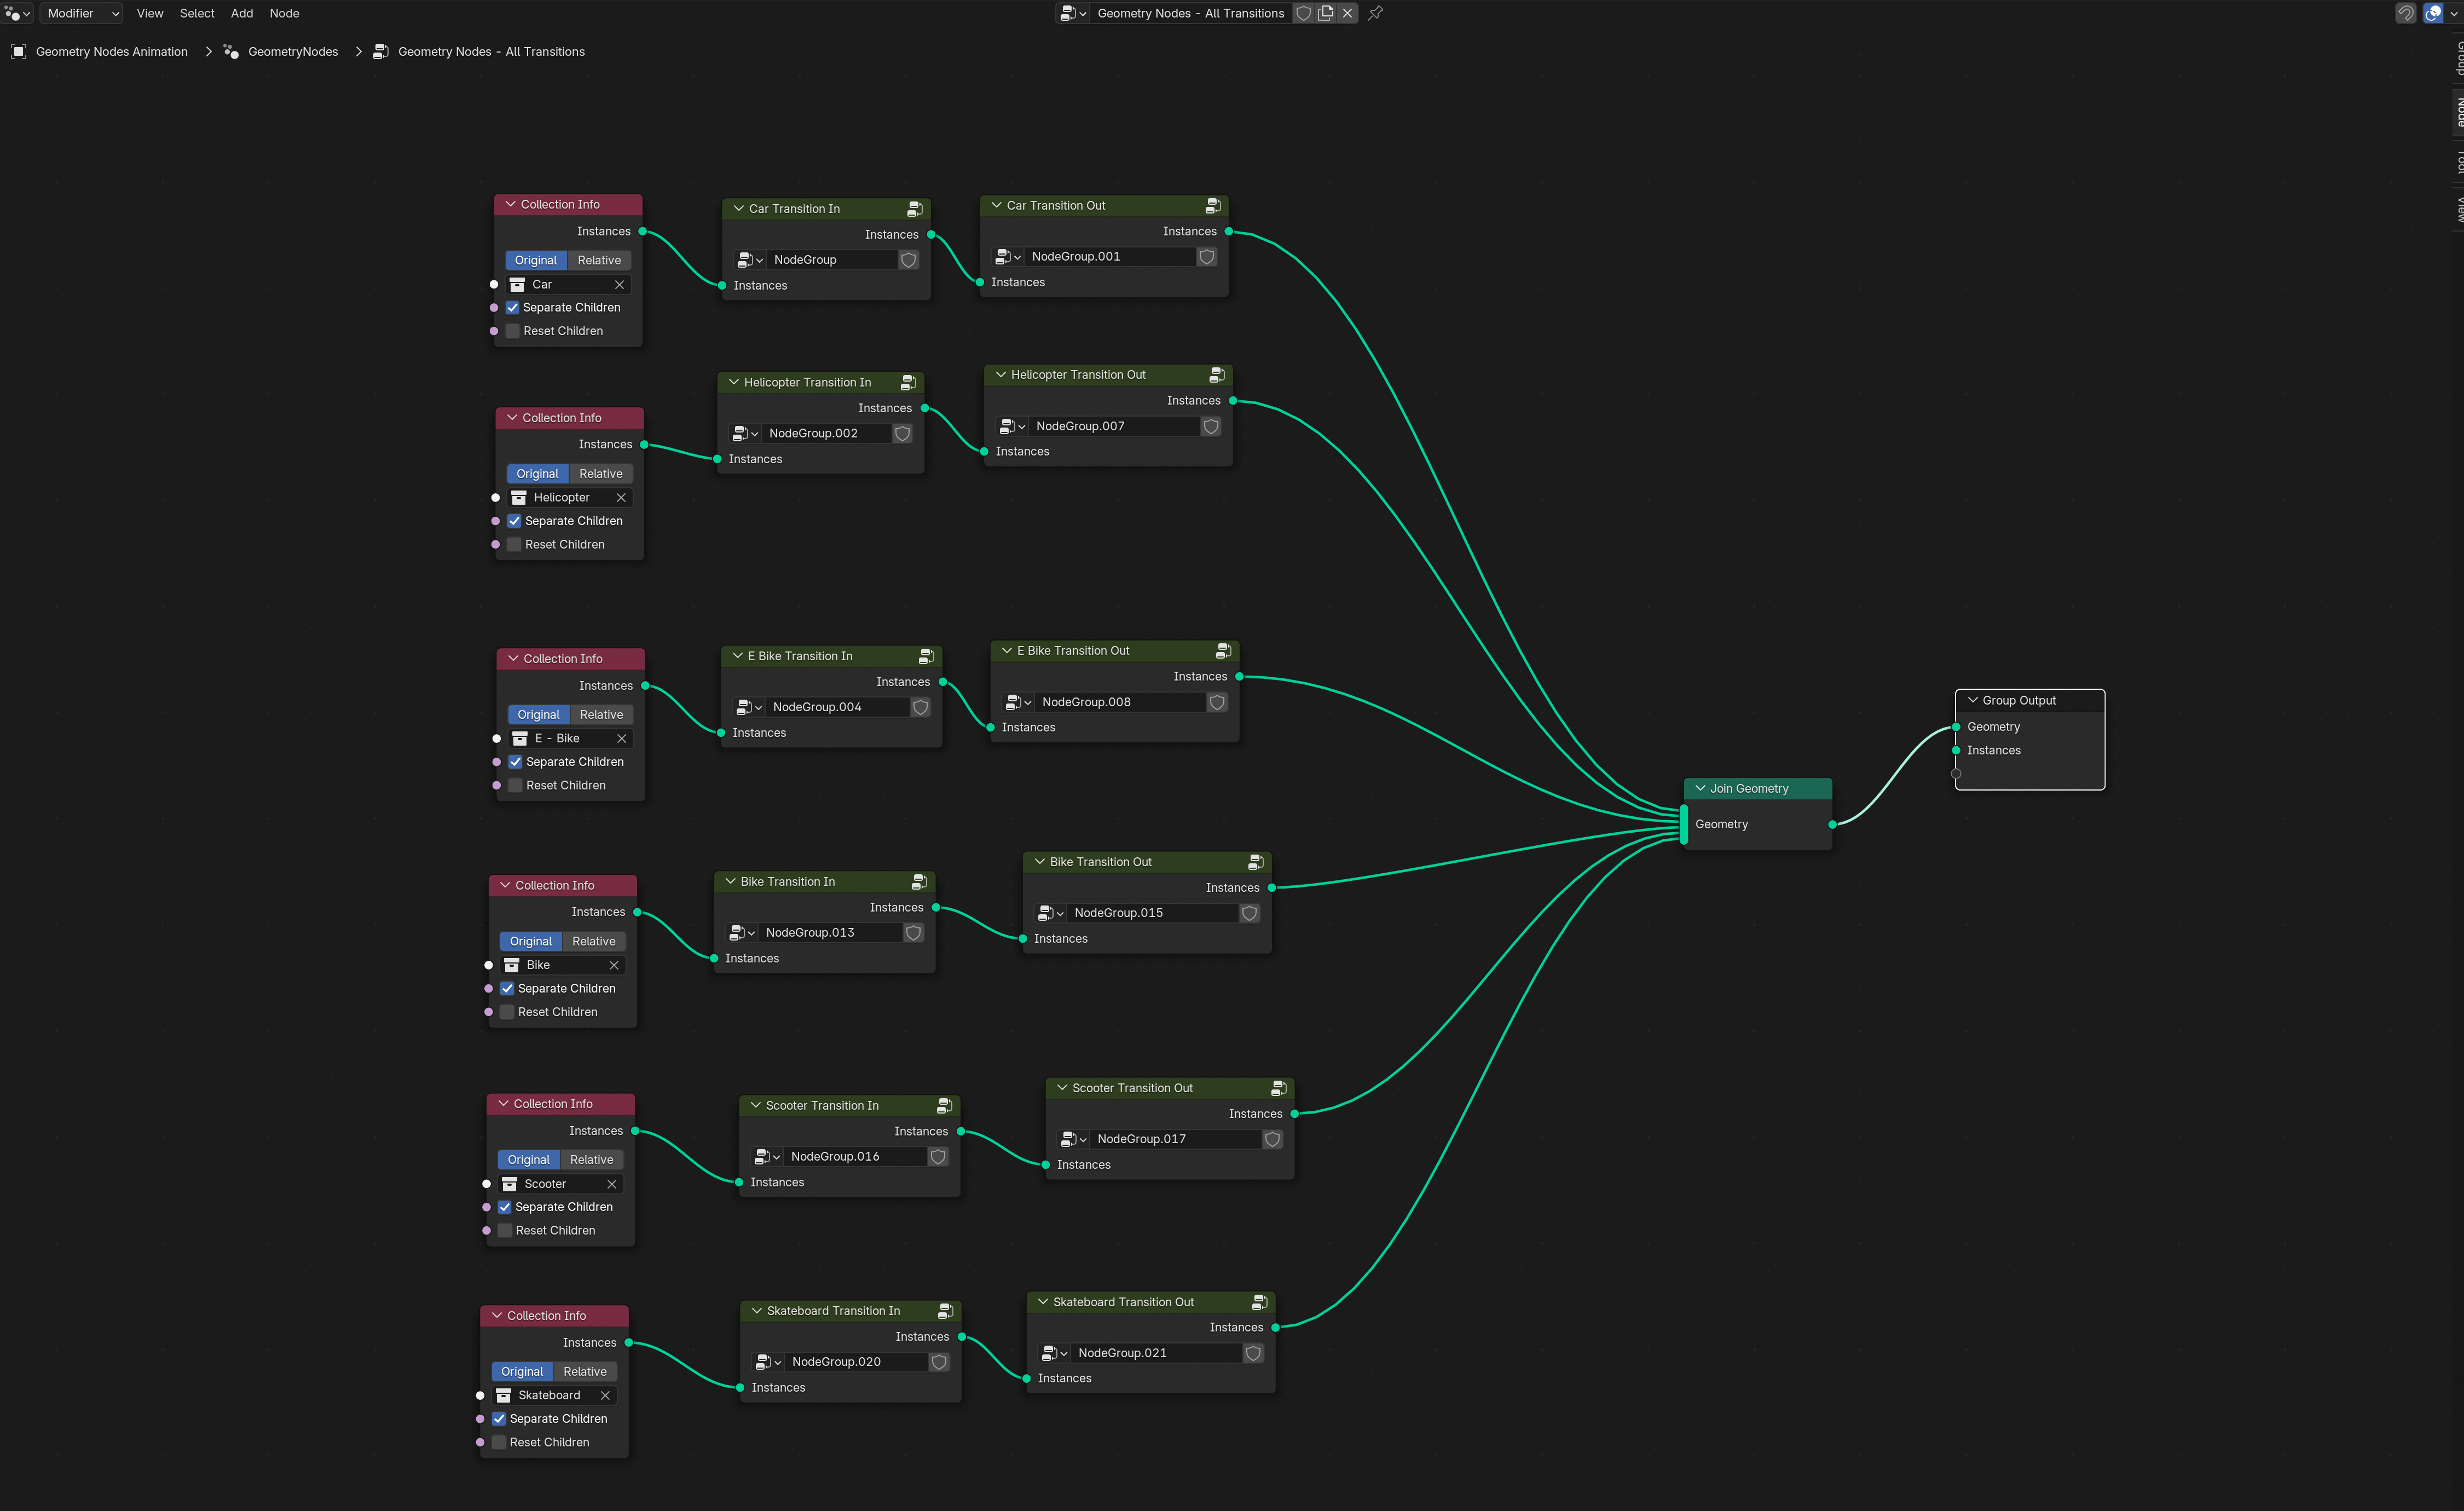
The next step was to add the new object (helicopter), which meant that I had to duplicate all nodes from Car Scale In and Scale Down, and replace the Car Collection with the Helicopter Collection. Then clicked on Separate Children and connected to Instance and the Join Geometry. Then going into the Node group, Object Info - changed the Effector to Scale down the helicopter, then removed the animation for position and rotation.
Once this was completed, I had to figure out a way to add the E-bike, Bike, Scooter and Skateboard and then connect them Join Geometry Node, and this is the final structure:
When I first started this project I didn't know much about Geometry Nodes (Blender), a few years later I have managed to create my own system that works.